Quick Answer
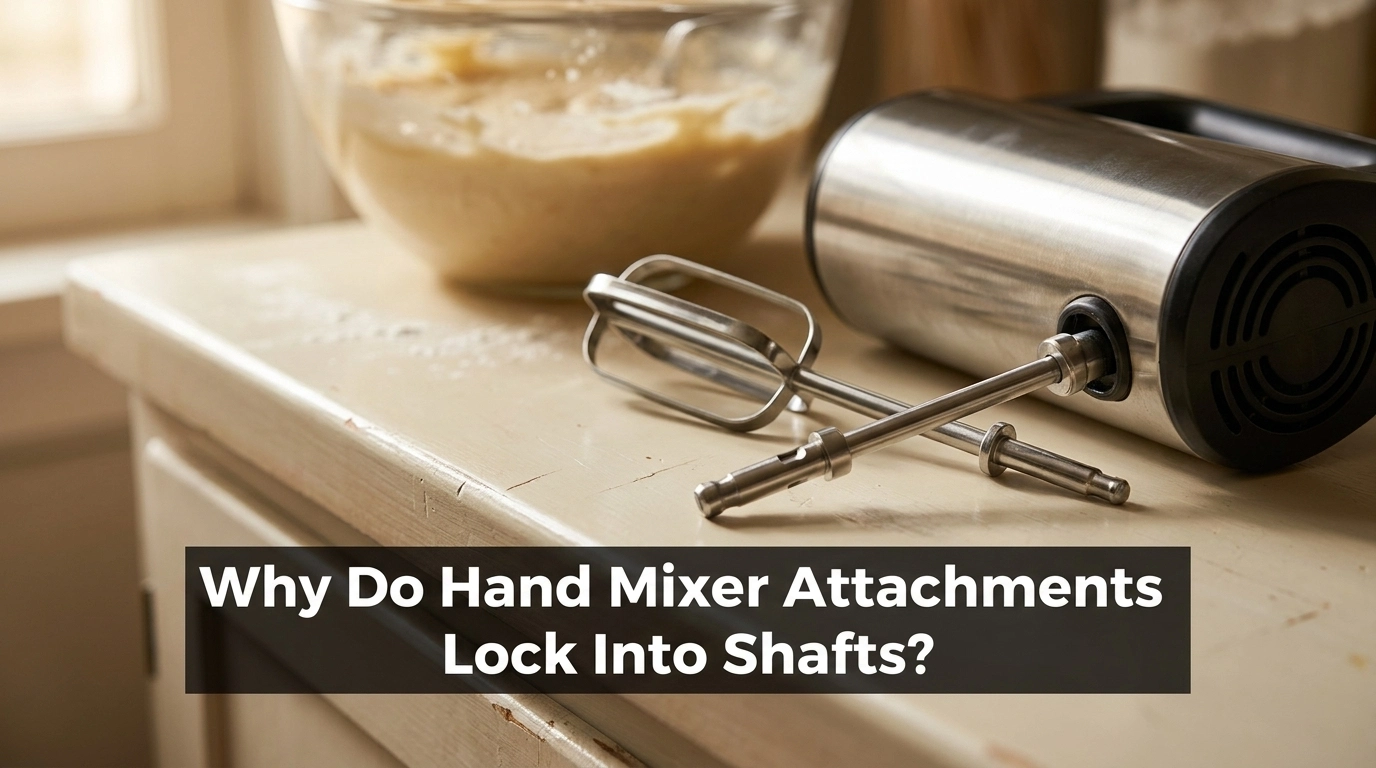
Hand mixer attachments lock into their shafts or sockets to keep them securely connected while the motor rotates them through ingredients. Grooves, slots, flanges, collars, or retaining mechanisms help prevent the beaters from slipping out during mixing, while a release button allows removal after use. The exact design depends on the model, as explained in this guide to hand mixer parts.
Why the locking mechanism matters
- Secure connection: The attachment stays seated instead of slipping out during operation.
- Reliable rotation: The fitted connection transfers movement from the drive mechanism to the attachment.
- Correct alignment: Shaped openings and shaft features help attachments fit their intended sockets.
- Easy removal: A release button or other model-specific mechanism disengages the retaining parts.
- Reduced movement: A properly seated attachment is less likely to wobble or shift unexpectedly.
Quick check if an attachment will not lock
- Unplug the mixer, inspect the shaft and socket, check the correct opening, and push the attachment into place according to the manufacturer’s instructions.
Hand mixer attachments may look simple, but the way they connect to the appliance makes a big difference to safe, dependable mixing. If you have ever pushed a beater into a mixer and heard a small click, you have encountered part of this locking system.
In this guide, I will explain why attachments lock into shafts, how the connection transfers motion, and what the different locking features do. I will also cover loose beaters, difficult removal, and the signs that a locking mechanism may need attention.
In This Guide
- Why do hand mixer attachments lock into shafts?
- How does the attachment locking mechanism work?
- What parts help attachments lock into place?
- Do all hand mixer attachments lock the same way?
- Why won’t a hand mixer attachment lock or release?
- How can you maintain the locking mechanism?
- Frequently asked questions
Why Do Hand Mixer Attachments Lock Into Shafts?
Hand mixer attachments lock into their sockets to maintain a secure connection with the motor-driven mechanism. This connection helps the beaters rotate reliably without slipping out when they encounter resistance from batter, cream, or other ingredients.
Definition: An attachment locking mechanism is the collection of shaped fitting surfaces and retaining parts that secure a removable beater, whisk, or dough hook inside a hand mixer. It holds the attachment in place while allowing removal through the intended release method.
Why isn’t a loose-fitting shaft enough?
A smooth shaft inserted into a smooth opening may slide out when the mixer moves or the attachment encounters resistance. A shaped connection and retaining mechanism provide a more dependable fit.
The connection must also transfer rotational movement. The motor drives internal gears and sockets, and the fitted attachment receives that motion through its engagement with the drive system.
- Retention: Helps prevent the attachment from dropping out during use.
- Drive engagement: Allows the attachment to rotate with the mechanism.
- Alignment: Positions the attachment correctly within its opening.
- Controlled removal: Allows the attachment to be released when mixing is finished.
Does locking improve mixing performance?
Indirectly, yes. A properly seated attachment can receive motion as intended, while a poorly fitted one may wobble, slip, or fail to engage the drive mechanism correctly.
Locking does not make a mixer more powerful by itself. Instead, it helps the appliance deliver its designed movement to the attachment.
For a broader explanation of the motor, gears, and attachment sockets, see how a hand mixer works.
Section Takeaway: The locking system keeps the attachment connected, aligned, and ready to receive rotational movement from the mixer.
How Does the Attachment Locking Mechanism Work?
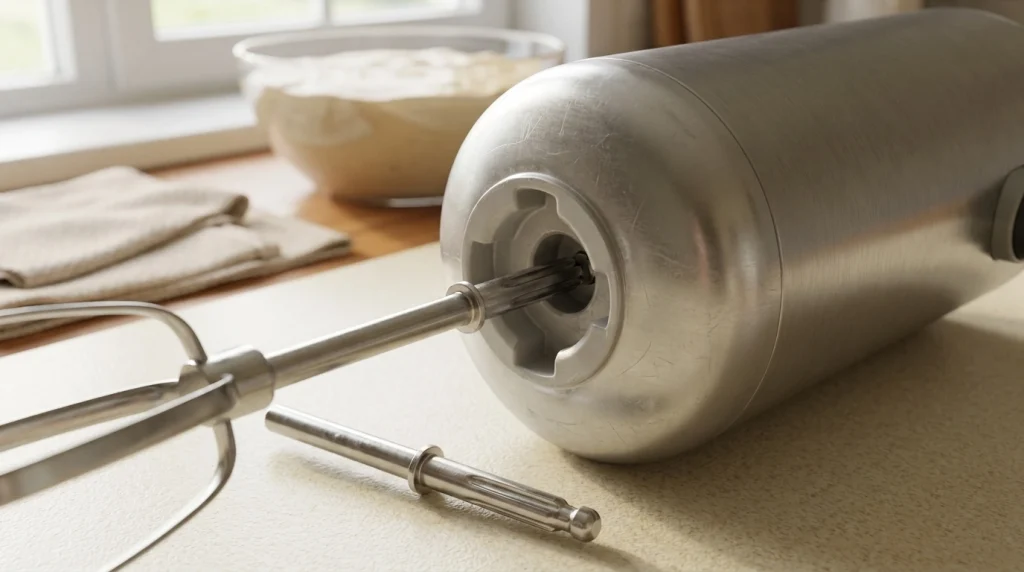
Most hand mixer attachments fit into dedicated openings underneath the housing. The user aligns the attachment’s shaped shaft with the opening, pushes it into place, and allows the retaining mechanism to secure it.
The details vary between manufacturers and models. Some attachments click into position, while other designs rely on a shaped engagement that may not produce an obvious sound.
Step 1: The shaft enters the socket
The shaft is the part of the attachment that enters the mixer body. Its shape may include grooves, flattened surfaces, notches, or flanges designed to match the corresponding socket.
These features help guide the attachment into its intended position. If the shapes do not align, the shaft may stop before it reaches the locking position.
Step 2: The drive connection engages
Once the shaft is seated, its compatible surfaces engage with the mixer’s drive arrangement. Depending on the design, the connection may use shaped shaft features, drive slots, or another mechanical interface.
This engagement lets the drive system transfer rotational movement to the attachment. The locking and drive functions work together, although they are not necessarily performed by the same component.
Step 3: The attachment is retained
A retaining feature holds the attachment against accidental withdrawal. Some models use an internal retaining gear or related mechanism that releases when the eject button is pressed.
KitchenAid’s hand mixer instructions, for example, describe aligning shaft flanges with the slots in the appropriate openings and pushing the beaters into place. The instructions also identify specific openings for collared and uncollared attachments.
Step 4: The release mechanism disengages it
After mixing, the user switches the appliance off, disconnects it from power, and operates the intended release control. On many models, pressing the eject button disengages the retaining mechanism so the attachment can be pulled out.
The eject button does not necessarily drive the attachment itself. Its primary purpose is to release the parts holding the attachment in place.
See the manufacturer’s hand mixer attachment instructions for a documented example of insertion and removal.
Section Takeaway: Insertion, drive engagement, retention, and release are separate steps that work together to make attachments removable yet secure.
What Parts Help Attachments Lock Into Place?
The exact locking arrangement depends on the mixer, but several common features help secure attachments. Understanding their jobs makes it easier to recognize normal fitting behavior and identify potential problems.
Slots, grooves, and flanges
Slots and grooves provide shaped paths or contact surfaces for the attachment shaft. Flanges are projecting edges or collars that may need to align with particular openings.
These features help guide the shaft and establish the correct position. On some mixers, the two attachment openings are intentionally different to prevent incorrect installation.
Collars and shaft stops
A collar is a wider section around part of an attachment shaft. Depending on the model, it can help limit insertion depth or identify which opening should receive the attachment.
Never assume that both beaters are interchangeable just because they look similar. KitchenAid’s documented designs, for example, may require a collared beater to enter the larger opening.
Retaining gear and eject button
The retaining mechanism keeps the attachment from coming out during normal use. An eject button operates the release system on models equipped with that feature.
KitchenAid’s support guidance identifies a broken internal retaining gear as one possible reason beaters fall out. It also warns against forcing beaters out when the release button does not free them.
Drive socket and internal gears
The drive socket is the attachment’s connection point at the mixer body. Internal gears transfer movement from the motor to the sockets, although the precise arrangement differs by model.
These components explain why a beater can fit physically yet still fail to rotate correctly if its drive surfaces do not engage. A secure fit alone does not prove that the internal drive mechanism is working properly.
| Part or feature | Main function | Possible sign of trouble |
|---|---|---|
| Slots and grooves | Guide and engage the shaft | Attachment will not seat correctly |
| Collar or flange | Helps establish fit or insertion position | Attachment meets the wrong opening or stops early |
| Retaining mechanism | Prevents accidental withdrawal | Beater falls out unexpectedly |
| Eject button | Releases the attachment | Attachment remains stuck when correctly operated |
| Drive socket | Transfers movement to the attachment | Attachment fits but does not rotate normally |
The symptoms in this table are clues, not definitive diagnoses. A wrong attachment, residue, wear, or an internal fault can produce similar behavior.
Section Takeaway: The shaft’s shape, the drive socket, and the retaining parts each have different jobs. A problem with any one of them can affect attachment fit or release.
Do All Hand Mixer Attachments Lock the Same Way?
No. Beaters, dough hooks, and whisks may use similar insertion methods, but their shaft shapes, collars, and compatibility requirements can differ.
Always check the instructions for the exact model instead of assuming that every accessory fits either opening.
Standard beaters
Standard beaters usually fit into the sockets beneath the mixer body. Their shafts must match the openings, and some designs require a specific beater to go into a particular side.
Correct placement matters even when both beaters appear nearly identical. A collar or differently shaped shaft may identify the intended socket.
Dough hooks
Dough hooks are designed for particular mixing and kneading tasks, where supported by the appliance. Some models use different shaft shapes or collars to ensure the hooks enter the correct openings.
Never force a hook into a socket that does not accept it. The wrong position can prevent proper engagement and may affect how the hooks operate.
Whisk attachments
A whisk attachment may share the same basic fitting system as a standard beater, but compatibility depends on the model. Some mixers accept optional whisks, while others require a specific accessory design.
Do not assume that a whisk sold for one mixer will fit another brand. Matching the attachment’s appearance is not enough to confirm mechanical compatibility.
| Attachment type | Typical purpose | What to check |
|---|---|---|
| Standard beaters | Batters, eggs, and general mixing | Shaft shape and correct socket |
| Dough hooks | Suitable doughs on compatible models | Hook orientation and collar position |
| Whisk | Whipping and aerating ingredients | Approved accessory and matching fitting |
These are general examples rather than a universal compatibility chart. Consult the manufacturer’s manual for the permitted accessories and their correct positions.
Section Takeaway: Attachment shape and socket compatibility matter more than appearance. Use only accessories approved for your mixer and install them in the specified openings.
Why Won’t a Hand Mixer Attachment Lock or Release?
An attachment that refuses to lock or release may be incorrectly positioned, obstructed by residue, incompatible with the socket, or affected by worn or damaged parts. Start with simple external checks before assuming that the mixer has a mechanical failure.
Why won’t the attachment click into place?
First, unplug the mixer and inspect the shaft and opening. Check whether you have the correct attachment, whether it belongs in a particular socket, and whether dried batter or debris blocks the fitting.
Try aligning the shaft again and pushing gently as the manual directs. Do not twist, hammer, or force an attachment unless the manufacturer’s instructions specifically call for a particular movement.
Some designs do not produce a noticeable click, so the absence of sound alone does not prove that the attachment is loose. Confirm that it has reached its intended position and is retained as described in the manual.
Why does a beater keep falling out?
A beater that repeatedly drops out may not be fully seated, may be incompatible, or may have a damaged shaft or retaining mechanism. If correct installation does not solve the problem, stop using the mixer until the fault is assessed.
KitchenAid’s troubleshooting documentation specifically notes that a broken retaining gear can allow beaters to fall out. Do not attempt to compensate for a damaged mechanism by wedging the attachment in place.
Why is the attachment difficult to eject?
New attachments can sometimes feel tight, and the eject button may need to be pressed fully. However, excessive resistance can also indicate misalignment, residue, or a problem with the release mechanism.
- Switch the mixer off and unplug it.
- Check the manual for the correct removal procedure.
- Press the designated release control fully, without excessive force.
- Inspect accessible attachment surfaces for dried food or visible damage.
- Contact the manufacturer or a qualified service provider if the attachment remains stuck.
Never pull hard on a stuck attachment. Doing so may damage the shaft or internal retaining parts.
What if the attachment locks but does not rotate?
A secure fit does not guarantee that the drive system is functioning. If an attachment remains stationary while the motor runs, the issue could involve the socket, internal gears, or another drive component.
Turn the appliance off immediately if you notice unusual grinding, repeated slipping, burning smells, or unexpected movement. Avoid further testing until you have checked the manual or obtained professional guidance.
Pro tip: Never open a sealed mixer housing or bypass its safety features to investigate a locking fault. Follow the manufacturer’s service instructions or consult a qualified appliance repair technician.
Section Takeaway: Check alignment, compatibility, and visible residue first. Persistent slipping, unexpected release, or a stuck eject mechanism deserves further attention rather than force.
How Can You Maintain the Locking Mechanism?
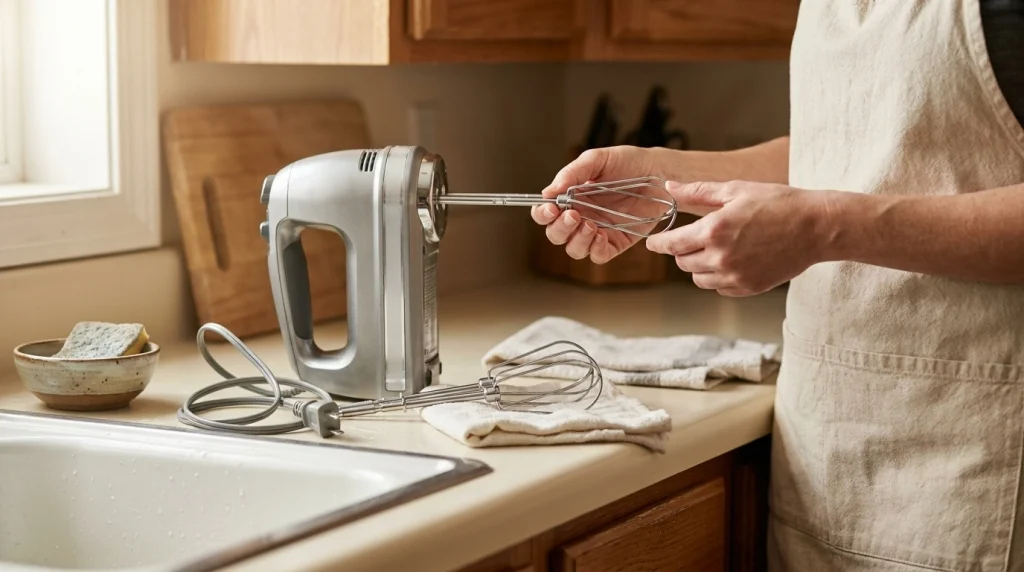
Routine cleaning and careful attachment handling can help keep the fitting surfaces in good condition. The goal is to prevent residue buildup and avoid damaging the parts that align, drive, and retain the attachments.
Clean attachments after mixing
Remove attachments using the manufacturer’s recommended procedure after switching off and unplugging the mixer. Wash the removable parts according to the manual and dry them before storage.
Keep food residue away from the attachment ends and the mixer openings. Never immerse the motor housing in water or pour liquid into the sockets.
Inspect the shaft and openings
Look for bent shafts, damaged grooves, chipped collars, or visible debris. A damaged fitting may no longer align properly, even if the attachment still looks usable at first glance.
Clean only the accessible areas using the method specified by the manufacturer. Avoid inserting sharp tools into the sockets, where they could damage the retaining or drive components.
Insert and remove attachments correctly
Always use the correct opening and align any shaped shaft features before insertion. After fitting an attachment, check that it is seated and retained as the manual describes before plugging in the appliance.
When mixing is finished, switch the mixer off, unplug it, and use the intended release control. This simple habit reduces the chance of accidental operation during handling.
Recognize when replacement or service is needed
Stop using an attachment that is bent, cracked, badly worn, or unable to stay securely in place. Replace it only with an accessory confirmed as compatible with your model.
If the retaining mechanism or internal drive socket appears damaged, check the manufacturer’s support guidance. Some appliances have limited repair options, so the safest solution may be authorized service or replacement of the unit.
For broader context, the U.S. Consumer Product Safety Commission provides consumer product safety information, while UL Solutions explains its work in product safety and testing. Neither resource replaces the specific instructions supplied with your mixer.
Section Takeaway: Keep fittings clean, handle attachments gently, and use the correct accessories. If the mechanism no longer retains or releases an attachment reliably, stop using the appliance until the problem is resolved.
Frequently Asked Questions
1. Why do hand mixer beaters have grooves or notches?
Grooves and notches help the attachment align with matching features in the mixer socket. Depending on the design, they also help establish drive engagement or the correct insertion position, reducing the chance of an improper fit.
2. Should hand mixer attachments always make a clicking sound?
No. Some attachments click audibly when they lock, while other designs engage without a noticeable sound. Check the manufacturer’s instructions and confirm that the attachment is fully seated and securely retained instead of relying on sound alone.
3. Why does one hand mixer beater fit only one opening?
Some mixers use different socket sizes or shapes to ensure attachments are installed correctly. A collar or flange on one shaft may prevent it from entering the wrong opening, so follow the model’s attachment diagram.
4. Can I use a hand mixer if a beater keeps falling out?
No. A beater that will not remain securely attached can create a safety risk and may indicate a damaged retaining mechanism. Stop using the mixer, check compatibility and installation, and seek manufacturer support if the problem continues.
5. Why is my hand mixer eject button not releasing the attachments?
The button may not be fully depressed, or the attachment may be stuck because of tight fitting, residue, or a damaged mechanism. Unplug the appliance and follow the manual’s removal instructions without pulling forcefully on the attachment.
6. Are hand mixer attachments universal?
No. Shaft dimensions, collars, socket shapes, and retaining arrangements vary across brands and models. Check the appliance’s model number and approved accessory list before buying replacement beaters, dough hooks, or whisks.
7. Does the locking mechanism make a hand mixer more powerful?
No. The locking mechanism secures the attachment and helps it engage with the drive system. Mixing power depends on the motor, gearing, control system, attachment design, and the ingredients being mixed.
Final Takeaway
Hand mixer attachments lock into shafts and sockets because they need a secure, correctly aligned connection to receive movement from the motor. Shaped fittings and retaining mechanisms help keep them in place, while an eject button or other release feature makes removal possible.
If an attachment will not lock, falls out, or becomes difficult to remove, begin with compatibility and alignment checks. Keep the fittings clean, avoid forcing the parts, and consult the manufacturer’s guidance when the problem persists.
Understanding this small mechanism makes everyday mixer use easier and helps you recognize when a fitting problem may require service instead of another attempt to push the attachment into place.