Quick Answer
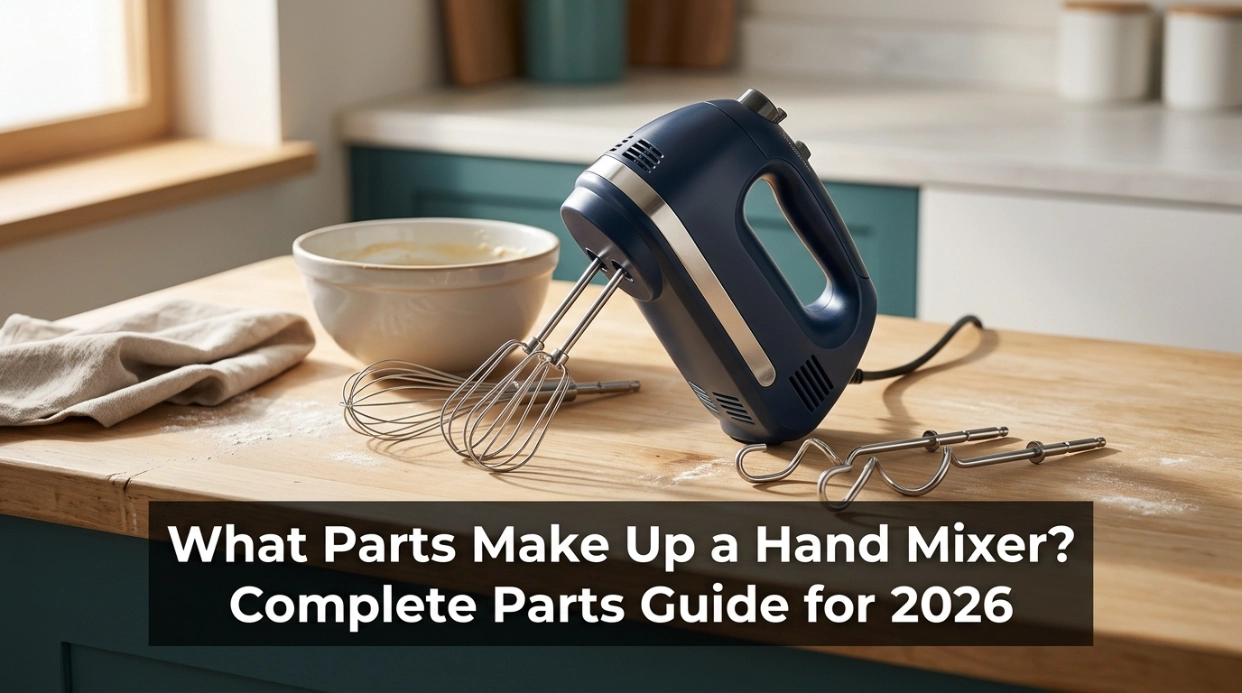
A hand mixer is made from a motor, drive gears, beater sockets, speed controls, an attachment-eject mechanism, housing, handle, cooling vents, and a cord or battery power system. Removable parts usually include beaters and, depending on the model, whisks, dough hooks, or blending accessories; this hand mixer usage guide also shows how common controls and attachments fit together.
Main Hand Mixer Parts
- Motor: Creates the rotational force needed to turn the attachments.
- Drive gears: Transfer motor rotation to the two attachment sockets.
- Beater sockets: Lock removable mixing attachments into the drive system.
- Speed controls: Let you start slowly and increase attachment speed as needed.
- Eject mechanism: Releases beaters or other removable attachments after use.
- Power system: Supplies electricity through a cord or rechargeable battery.
Quick Identification Tip
- The visible parts are easy to identify, while the motor, gears, wiring, and control electronics sit inside the housing.
If you’re wondering what parts make up a hand mixer, it helps to separate the appliance into a few simple systems. I usually think of it as the power system, drive system, controls, housing, and removable attachments.
That approach also makes troubleshooting easier. You can often narrow a problem to one system without taking the appliance apart.
In This Guide
- What parts make up a hand mixer?
- How do the motor, gears, and beater sockets work?
- What do the controls, vents, and power system do?
- Which attachments are part of a hand mixer?
- How do hand mixer parts differ between models?
- What hand mixer parts usually wear out or need attention?
- Frequently asked questions about hand mixer parts
What Parts Make Up a Hand Mixer?
A typical electric hand mixer contains both permanent internal components and removable external components. The exact design varies, but most modern mixers follow the same basic layout.
Definition: A hand mixer is a compact motor-driven kitchen appliance that rotates one or more removable attachments to beat, whip, mix, or knead ingredients.
The core parts normally include:
- Electric motor that generates rotational movement.
- Drive gears or drivetrain that transfer motor movement.
- Beater sockets that connect attachments to the drivetrain.
- Speed selector for controlling rotation speed.
- Power or burst button on models that include one.
- Attachment eject button that releases beaters.
- Electrical wiring and control components inside the housing.
- Cooling vents that allow heat to escape.
- Plastic or metal housing that protects internal parts.
- Handle for supporting and guiding the appliance.
- Power cord or battery depending on the design.
- Beaters and optional attachments that contact the food.
Many mixers also have a heel rest, cord lock, storage case, soft-grip surface, or attachment collar. These improve convenience rather than performing the main mixing action.
When I identify a mixer part, I first ask whether it supplies power, transfers movement, controls operation, or touches the ingredients. That simple test usually reveals its job immediately.
Section Takeaway: A hand mixer is essentially a motor and drivetrain surrounded by controls, a protective body, and removable mixing tools.
How Do the Motor, Gears, and Beater Sockets Work?
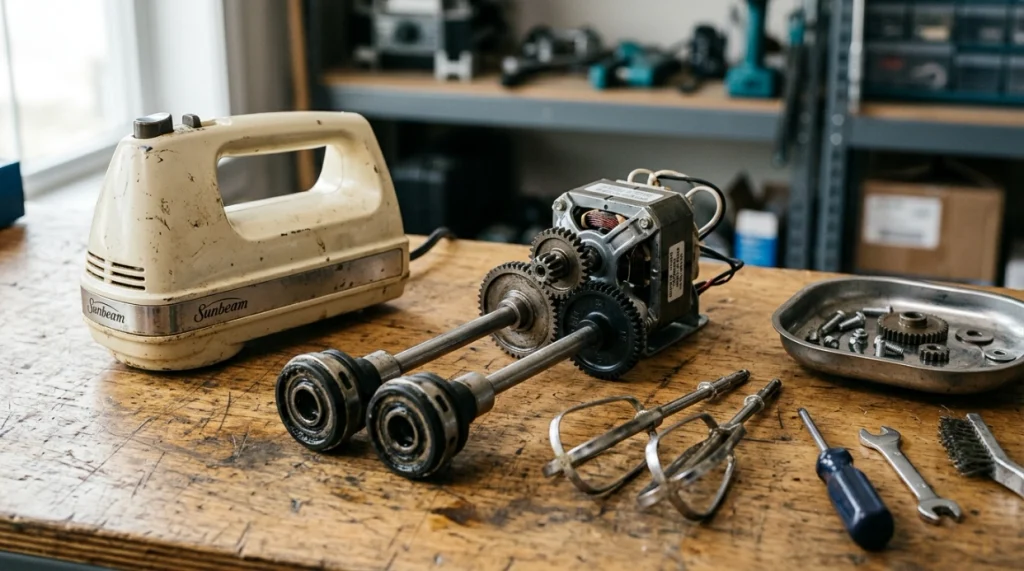
The motor creates rotation, but the beaters usually don’t connect directly to the motor shaft. A small drivetrain transfers that movement to the attachment sockets.
The electric motor
The motor is the heart of the appliance. Electrical energy enters the motor and becomes mechanical rotation.
Motor construction varies by manufacturer. Some mixers use designs intended for high-speed operation, while others emphasize quieter running or more controlled low-speed mixing.
The drive gears
A hand mixer needs two attachments to rotate in a coordinated pattern. Internal gears divide and transfer the motor’s movement to the two output sockets.
- Motor shaft: Starts the rotating movement.
- Drive gears: Transfer and coordinate that movement.
- Output shafts: Carry rotation toward the attachment openings.
- Beater sockets: Hold the attachment shafts securely.
If one beater stops turning while the other continues, the issue may involve the socket, retaining mechanism, or internal drivetrain. A loose attachment doesn’t automatically mean the motor has failed.
The attachment-retaining mechanism
The sockets must do two jobs. They transfer rotation while also holding the beaters in place.
Some attachments have collars or shaped shafts that belong in a particular opening. Forcing the wrong attachment into the wrong socket can prevent proper locking.
Pro tip: If a drivetrain problem appears to require opening a sealed mixer housing, unplug the appliance and check the manufacturer’s service guidance first. Electrical or mechanical repairs are better handled by a qualified appliance technician when the manufacturer doesn’t support user service.
What Do the Controls, Vents, and Power System Do?
The controls determine how the motor operates, while the power system supplies electricity. Cooling features help the appliance manage heat during normal mixing.
Speed selector and electronic controls
Basic hand mixers may use a mechanical sliding switch. More feature-rich models can use electronic speed controls and separate burst or pulse functions.
- Off position: Stops power to normal mixing operation.
- Low speeds: Help reduce splashing when ingredients are first combined.
- Higher speeds: Suit whipping, aerating, and lighter mixtures.
- Burst or turbo control: Temporarily increases mixing action on equipped models.
- Eject control: Releases attachments after the mixer has stopped.
The UL household appliance information explains how household appliances are evaluated against applicable safety requirements. Mixer-specific construction still depends on the individual manufacturer and model.
Air vents
Air vents provide a path for cooling airflow around heat-producing components. Blocking them with flour, batter, or your hand can reduce airflow.
I treat vents as functional parts, not decoration. Keeping them clear is one of the simplest maintenance habits for a motor-driven kitchen appliance.
Corded and cordless power systems
A traditional mixer has a power cord, internal wiring, and electrical connections leading to the motor and controls. Cordless models add a rechargeable battery and charging hardware.
Some cords swivel or lock to one side for easier bowl access. Cordless models remove the trailing cable but add battery weight and charging components.
Which Attachments Are Part of a Hand Mixer?
Standard beaters are the most common removable components. Some models include several specialized attachments for different foods.
Standard beaters
Beaters handle cake batter, cookie mixtures, mashed potatoes, frosting, and many everyday mixing jobs. Stainless steel is common because it resists corrosion and cleans easily.
Whisk attachment
A whisk uses thin wires to incorporate air efficiently. It works well for whipped cream, egg whites, and other mixtures where aeration matters.
Dough hooks
Dough hooks are shaped to pull and fold heavier dough. They shouldn’t be treated as proof that every hand mixer can handle unlimited heavy kneading.
Always follow the model’s duty limits and recommended speeds. Thick dough puts far more load on the drivetrain than whipped cream.
Other attachments
Depending on the model, you may also see:
- Blending rods for certain liquid mixtures.
- Milkshake rods on selected mixers.
- Flexible-edge beaters designed to scrape closer to bowl surfaces.
- Special wire beaters intended to reduce clogging.
Never assume attachments from two similar-looking mixers are interchangeable. Shaft length, collar position, locking shape, and socket size can differ.
How Do Hand Mixer Parts Differ Between Models?
The basic anatomy stays similar, but manufacturers change the power system, controls, accessories, and convenience features. Current models in 2026 range from simple corded mixers to rechargeable designs.
| Example | Power / Speeds | Notable Parts | Attachments / Features |
|---|---|---|---|
| Hamilton Beach 62620T | Corded, 6 speeds, 290-watt peak mixing power | Speed control, pulse function, eject trigger | 2 twisted beaters, 2 dough hooks, whisk, milkshake rod |
| KitchenAid 9-Speed Hand Mixer | Corded, 9 speeds | Air vents, digital speed control, eject button, swivel-lock cord | Beaters, whisk, dough hooks, blending rod |
| KitchenAid Go Cordless design | Removable rechargeable battery | Battery, speed controller, eject button, handle | Turbo Beater II accessories, charging hardware |
Hamilton Beach’s 62620T hand mixer specifications are a useful example of how attachments and controls vary by model. The mixer’s core motor-and-drive principle remains familiar despite these feature differences.
Section Takeaway: Compare mixers by their motor system, controls, attachment interface, power source, and included tools rather than assuming every hand mixer is built identically.
What Hand Mixer Parts Usually Wear Out or Need Attention?
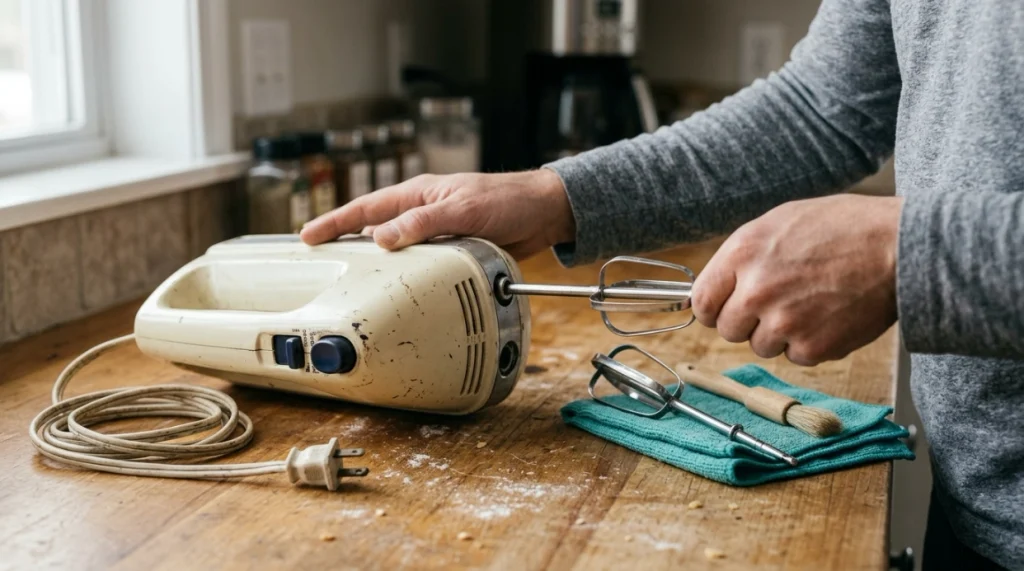
Removable attachments and moving connection points receive the most obvious mechanical use. Cords, switches, batteries, and internal drive components can also develop problems over time.
Before diagnosing a failure, inspect the simple things first:
- Beater shafts: Look for bends, damage, or food buildup near the locking area.
- Attachment sockets: Check for debris and confirm each attachment locks correctly.
- Air vents: Remove dry surface dust without pushing material deeper inside.
- Power cord: Stop using the mixer if the insulation is cracked, cut, or damaged.
- Controls: Watch for intermittent operation, unusual heat, or inconsistent speeds.
- Battery: On cordless units, follow the manufacturer’s charging and storage instructions.
The U.S. Consumer Product Safety Commission safety resources are useful when reviewing general household electrical safety. A damaged electrical appliance should not remain in service simply because the motor still runs.
Unusual grinding, burning smells, electrical shocks, sparking, or repeated circuit trips are warning signs. Disconnect the mixer and seek manufacturer support or qualified repair advice.
My practical troubleshooting order is simple: attachment seating first, vents and controls second, power supply third, and internal drivetrain last. That prevents unnecessary disassembly when the problem is something basic.
Section Takeaway: Inspect accessible parts first and treat electrical damage, overheating, or internal mechanical faults as safety issues rather than normal wear.
Frequently Asked Questions About Hand Mixer Parts
What is the most important part of a hand mixer?
The motor is the main power-producing component, but the mixer cannot work correctly without its drivetrain and attachment sockets. Together, these parts convert electrical energy into controlled beater rotation.
What holds the beaters inside a hand mixer?
The beater shafts fit into sockets connected to the drive mechanism. A retaining or locking system holds each attachment until the eject mechanism releases it.
Why are there two holes on the bottom of a hand mixer?
The two openings connect the pair of beaters to the internal drive system. On some models, one opening is different because a collared attachment shaft must be inserted on a specific side.
What does the eject button do?
The eject button releases the attachment-retaining mechanism so the beaters or other tools can be removed. Turn the mixer off and unplug a corded model before removing attachments unless its manual states otherwise.
Why does a hand mixer have vents?
Vents support airflow around the motor and other heat-producing components. Keeping them unobstructed helps the mixer cool during normal operation.
Are hand mixer beaters universal?
No. Beater shaft dimensions, locking shapes, collar locations, and socket designs can vary between brands and models, even when the attachments look similar.
Does a cordless hand mixer have the same internal parts?
Many mechanical parts are similar, including a motor, drivetrain, controls, and attachment sockets. The main difference is that rechargeable models replace the wall-cord power path with a battery and charging system.
Final takeaway: Once you understand the motor, drivetrain, sockets, controls, power system, housing, vents, and attachments, a hand mixer becomes much easier to use and troubleshoot. Before replacing a mixer, identify which system is causing the problem and check the manufacturer’s manual for model-specific instructions.
