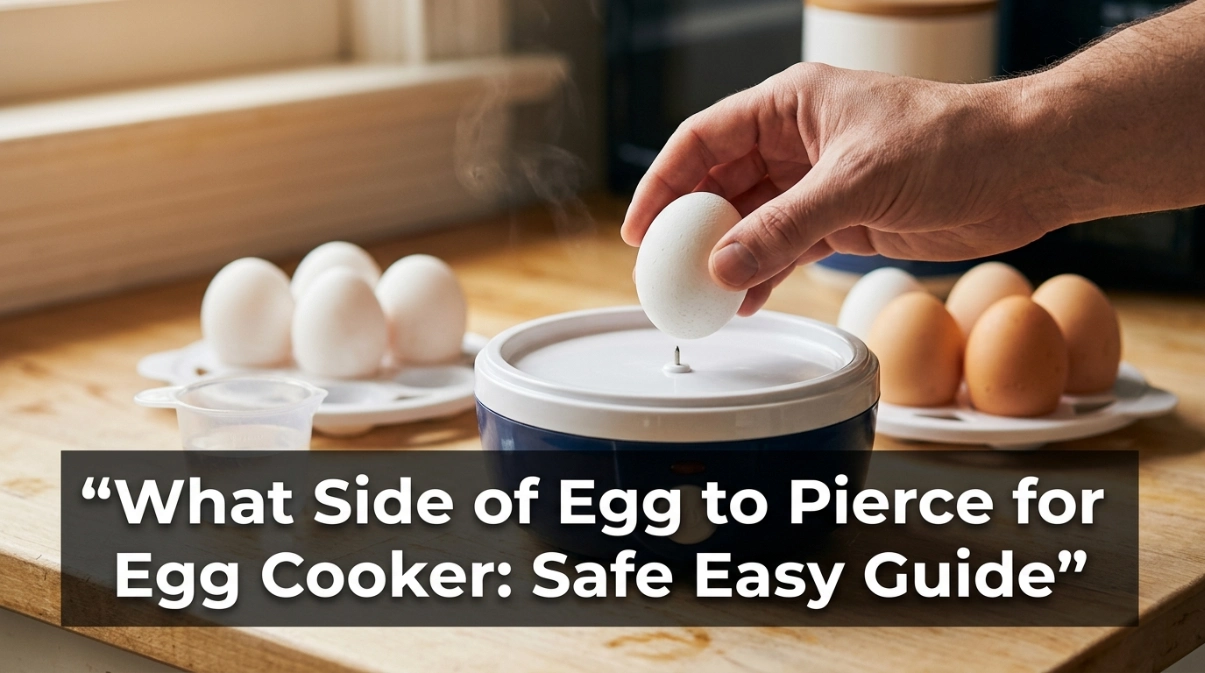
The short answer is simple: pierce the wide, rounded end of the egg. That end holds a small air cell, so a tiny hole can let pressure out as the egg heats.
I once pierced the narrow end because it looked easier to balance. The shell split, some white leaked into the tray, and cleanup took longer than cooking the eggs.
After checking the egg shape and changing my method, I got far fewer leaks. Here, I will show you how to find the right end, use the pin, and avoid common mistakes.
Common Signs of the Problem
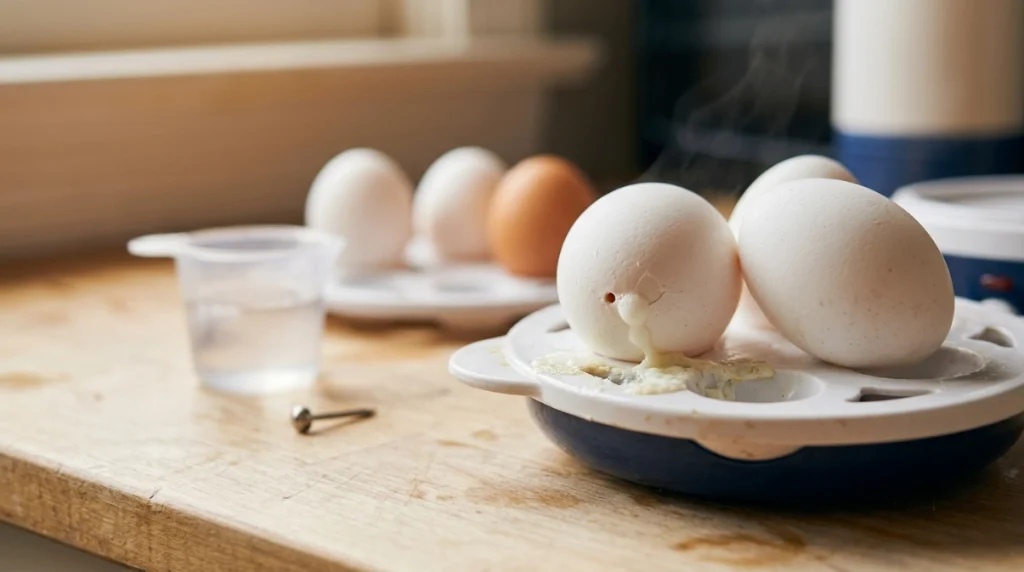
Piercing the wrong end can raise the chance of a crack or leak. This often happens when the pin reaches the egg white instead of only the air cell.
You may see a thin line in the shell, white foam near the hole, or cooked egg stuck to the tray. The shell may also crack as soon as it meets hot steam.
Many cookers include a water measuring cup with a small piercing pin under its base. If that cup or pin is lost, a matching replacement measuring cup is safer and easier to control than a large kitchen needle.
| Symptom | Likely cause | Quick fix |
|---|---|---|
| White leaks from hole | Hole is too deep or on narrow end | Make a shallow hole in the wide end |
| Shell cracks while cooking | Egg was damaged or heated too fast | Check the shell and follow the water marks |
| Egg will not sit well | Egg is placed the wrong way | Put the narrow end down in most upright trays |
Possible Causes
The main cause is confusion. Some eggs have one clear point, while others look almost round at both ends.
Other common causes include:
- Pressing the pin too far into the shell.
- Holding the pin at a sharp angle.
- Using an egg with a hairline crack.
- Adding the wrong amount of water.
- Blocking the lid’s steam vent.
- Piercing eggs when the manual says not to do so.
The wide end holds the air cell. The narrow end has little air space, so a pin pushed there is more likely to reach the white.
How to Fix What Side of Egg to Pierce for Egg Cooker
For most egg cookers that use an egg-piercing pin, pierce the wide end. Set the egg in the insert with the narrow end down and the pierced, wide end up unless your manual shows a different position.
| Problem | Recommended solution | Difficulty |
|---|---|---|
| Ends look alike | Compare both ends under good light | Easy |
| Hole keeps leaking | Use less force and stop once the shell opens | Easy |
| Eggs still crack | Check water, shell damage, tray, and lid vent | Easy |
| Manual bans piercing | Cook the egg unpierced as directed | Easy |
Find the Wide, Rounded End
Hold the egg on its side in your palm. Turn it slowly and look for the end that has a fuller curve; the other end will look tighter and more pointed.
Make One Small, Shallow Hole
Place the raw egg on a dry towel or hold it gently in your palm. Press the wide end straight onto the pin until the shell just gives way, then stop.
Do not twist hard or drive the pin deep. You want a pinhole through the shell, not a large hole through the inner membrane and into the white.
Load the Egg Tray Correctly
Put the narrow end down in the egg tray and keep the pierced end up. This position keeps the air cell at the top and helps limit leaks from the hole.
Make sure each egg sits in its own opening. A tilted egg may touch the lid or another egg and crack as the cooker warms.
Add the Correct Water Amount
Use the water level given for soft, medium, or hard eggs. Water marks can vary by cooker, egg count, and model, so do not copy the amount from a different machine.
Too little water may stop the cycle early. Too much may make the egg firmer than you want.
Check the Lid and Steam Vent
Seat the lid as the maker shows and leave the steam vent open. Never plug the vent with a towel, hand, or utensil because hot steam needs a safe path out.
Before each batch, clean shell bits and dried egg from the tray. Wipe the cool base with a soft cloth, but never place it in water.
Test One Egg First
If the cooker is new to you, cook one egg first. This lets you check the water mark, hole depth, tray position, and final texture.
Let the normal cycle end. Unplug the unit, then lift the lid away from your face so steam flows away from you.
Mistakes to Avoid
The most common mistake is making a big hole. It can tear the membrane and let egg white leak out.
Do not use a bent pin, knife tip, or thick nail. It can slip, split the shell, or cut your hand.
Avoid these errors too:
- Piercing the narrow, pointed end.
- Piercing an egg after it has been heated.
- Cooking an egg with a clear crack or bad smell.
- Touching the heating plate during or just after use.
- Blocking the lid vent to stop steam.
- Adding water above the stated level.
- Bypassing the safety switch or auto shut-off.
Some brands say not to pierce eggs. Follow your manual first because each cooker has its own tray and heat cycle.
Never open the sealed heating unit to fix a switch, cord, or element. If the power cord is split, the base smells burnt, or the cooker trips the outlet, unplug it and stop using it.
When to Replace the Egg Cooker
Piercing the wrong end does not mean the cooker is broken. Try the rounded end, a shallow hole, and the right water level.
Replace the unit when it can no longer control heat safely. A damaged tray, lid, or cup may be replaced with an approved part for that model.
| Repair issue | Typical action | Replace cooker? |
|---|---|---|
| Lost piercing cup | Buy the correct matching cup | Usually no |
| Cracked tray or lid | Fit an approved model-specific part | Usually no |
| Damaged cord | Stop use; seek maker support | Often yes |
| Burning smell or failed shut-off | Unplug at once | Yes |
Stop using a cooker that smokes, smells burnt, gets too hot, or fails to shut off. Egg position does not cause these faults.
My Personal Experience
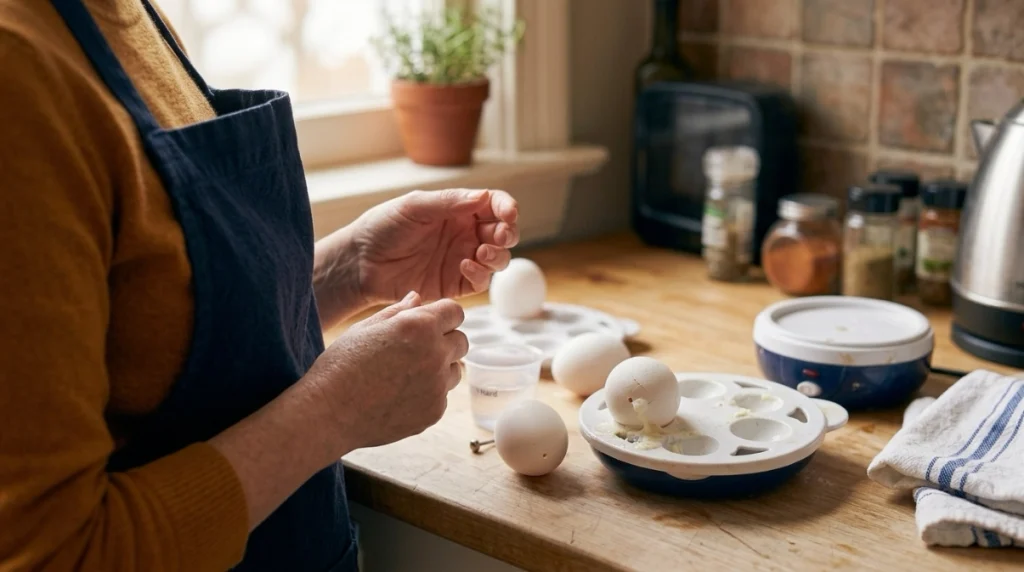
My first try failed because I treated the pointy end like the top. I pushed the pin too far, set the hole down in the tray, and watched a small stream of white cook onto the insert.
For the next batch, I found the broad end, pressed it straight onto the cup pin, and stopped at the first tiny break. I then set the narrow end down and used the hard-egg water line for my model.
That simple change worked best. The eggs stayed upright, the shells did not split, and only a dry pinhole was visible when the cycle ended.
I also learned that piercing cannot save a weak egg. When I tested one with a faint crack, it still leaked, so I now inspect every shell before it goes into the tray.
Final Thoughts
So, what side of egg to pierce for egg cooker use? Pierce the wide, rounded end, where the air cell is, and keep the hole tiny and shallow.
In most upright egg trays, place the narrow end down and the pierced end up. Check your manual, use the stated water level, keep the steam vent clear, and stop using the cooker if any electrical fault appears.