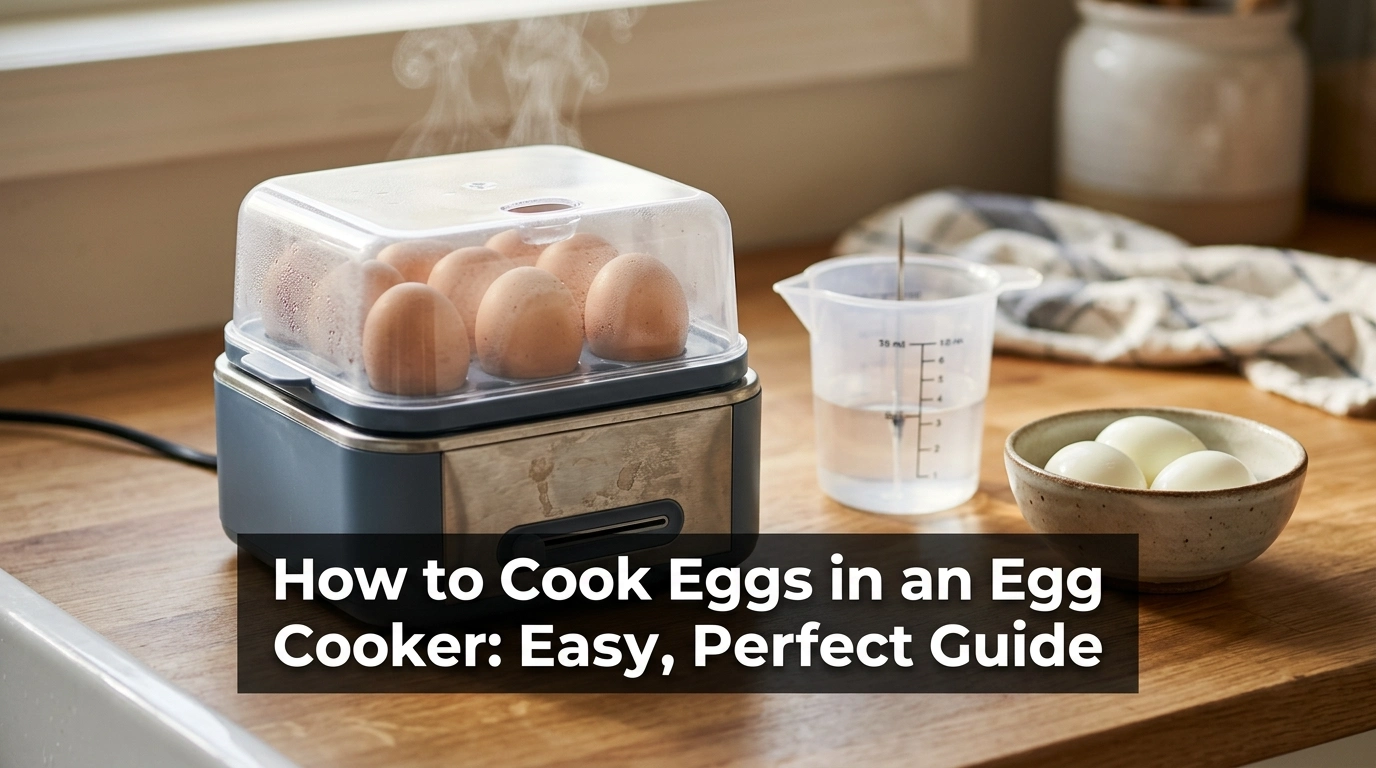
Learning how to cook eggs in an egg cooker seems simple. Yet my first batch came out with runny whites and very firm yolks in the same tray.
The problem was not the eggs or the machine. I had used the wrong amount of water and had placed the eggs in the tray the wrong way.
After testing several batches, I found a simple process that works well. This guide explains that process and shows you how to fix the most common cooking problems.
Common Signs of the Problem
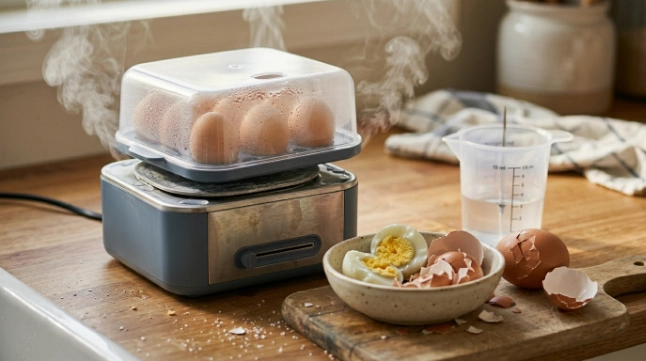
An egg cooker uses water and steam to cook eggs. The heating plate warms the water, and the trapped steam cooks each egg.
Small setup errors can change the result. Here are some signs that something went wrong:
- The egg white is still wet or clear.
- The yolk is firmer or softer than expected.
- Eggshells crack during cooking.
- Water leaks around the base.
- The cooker stops before the eggs are done.
- A burning smell comes from the heating plate.
- The alarm sounds, but water is still inside.
- Steam escapes from the side of the lid.
I once assumed the time setting controlled the result. On many basic models, the amount of water controls how long the cooker runs.
| Symptom | Likely cause | Quick fix |
|---|---|---|
| Eggs are too soft | Too little water | Use the correct water mark |
| Eggs are rubbery | Too much water | Reduce water next time |
| Shells crack | Eggs are too cold | Let them warm for a few minutes |
| Water leaks | Tray or lid is not seated | Refit both parts |
| Cooker stops early | Scale or poor power contact | Descale and check the outlet |
Possible Causes
Most poor results come from setup mistakes rather than a faulty cooker. The following causes are the ones I check first.
- The water amount does not match the egg style.
- The number of eggs was not considered.
- The egg tray is upside down or not seated flat.
- The lid is loose or its steam vent is blocked.
- The wrong cooking mode was selected.
- Mineral scale covers the heating plate.
- The wall outlet or power cord has a poor connection.
- The cooker’s overheat protection has turned it off.
The supplied water measuring cup is more useful than it may look. Its marks are designed for that specific cooker, so a normal kitchen cup may give less accurate results.
If the original cup is lost, a replacement measuring cup made for the same model is the safest choice. A correct replacement egg tray or lid can also help when an old part is cracked or warped.
How to Cook Eggs in an Egg Cooker
Always read the manual first because models vary. Some have separate buttons for boiled, poached, and scrambled eggs, while others use only water to control the cooking level.
Choose Your Egg Style
Decide if you want soft, medium, or hard-boiled eggs. This choice tells you which line to use on the measuring cup.
Soft eggs need less cooking. Hard-boiled eggs usually need more water because the machine must produce steam for a longer time.
| Egg style | Typical result | Best use |
|---|---|---|
| Soft-boiled | Runny yolk and set white | Toast or breakfast bowls |
| Medium-boiled | Thick, creamy yolk | Ramen or salads |
| Hard-boiled | Fully firm yolk | Snacks or egg salad |
Water marks differ between brands. Use the marks on your cooker’s cup instead of following a universal tablespoon amount.
Check the Power Source
Place the cooker on a dry, level, heat-safe counter. Make sure the control is off before plugging it into a wall outlet.
Inspect the power cord for cuts, melted spots, or bent parts. Do not use the cooker if the cord or plug looks damaged.
I also avoid extension cords. A direct wall connection is more stable and reduces the risk of heat at the plug.
Measure the Water
Fill the supplied cup to the line for your chosen egg style and egg count. Pour the water onto the cool heating plate.
Do not guess the amount. When I poured water by eye, my results changed from one batch to the next.
Some cups appear to suggest that fewer eggs need more water. This can be normal because extra empty space changes how quickly steam works inside the cooker.
Prepare the Eggs
Check every shell for cracks. A small hidden crack can grow when the cold egg meets hot steam.
Some egg cookers include a piercing pin under the measuring cup. Pierce the wide end of each egg only when the manufacturer tells you to do so.
The wide end contains a small air pocket. A tiny hole there may reduce cracking and can help the egg cook more evenly.
Be careful with the pin because it is sharp. Place the cup on a stable surface and keep your fingers away from the point.
Fit the Egg Tray Correctly
Set the egg tray flat over the base. Place each egg in its opening, usually with the wider end facing upward.
A tray that sits at an angle can cause uneven steam flow. It may also let water or egg white drip near the edge.
Fit the lid without forcing it. If the lid or tray is warped, use a model-specific replacement rather than trying to bend the part back into shape.
Keep the Steam Vent Open
Check the vent on top of the lid before starting. It must remain open so extra steam can escape safely.
Never cover the vent with a towel, plate, or hand. Pressure and hot steam can build inside the cooking chamber.
If the vent has dried egg or mineral residue in it, unplug the unit and let it cool. Clear the vent with a soft cloth or non-abrasive sponge.
Start the Cooking Cycle
Plug in the cooker and select the correct mode, if your unit has controls. Press the power or start button.
Do not lift the lid while the eggs are cooking. Opening it releases steam and may leave the eggs undercooked.
Most models beep or switch off when the water is gone. Stay nearby even if the cooker has an auto shut-off feature.
Cool the Eggs
Turn off and unplug the cooker when the cycle ends. Lift the lid away from your face so the steam moves in the opposite direction.
Move the eggs into cold water for about five minutes. This stops the cooking process and may make the shells easier to peel.
I use tongs because the tray and eggs remain hot. Oven gloves can also protect your hands from steam.
Check and Adjust the Result
Peel and cut one egg before serving the whole batch. If the yolk is too soft, add a little more water during the next cycle.
If it is dry or has a green-gray ring, use slightly less water. Cooling the eggs at once can also prevent that ring.
Make one small change at a time. Large changes make it harder to learn the best level for your cooker.
Remove Mineral Buildup
White or brown marks on the heating plate are often mineral deposits. They can slow heating and make cooking less even.
For safe cleaning, unplug the cooker and wait until it is cold. Use the descaling method listed in the manual.
Many models can be treated with a small amount of white vinegar and water. Never pour liquid over the controls, cord, or underside of the base.
Wipe the plate with a soft cloth or non-abrasive sponge. Do not scrape it with steel wool or a knife.
Reset Overheat Protection
An egg cooker may stop early if it runs dry. This is often the overheat protection working as intended.
Unplug the unit and let it cool fully. Then check the water amount and make sure the heating plate is free of scale.
Do not bypass the safety switch or auto shut-off. If the cooker keeps stopping with the correct water level, stop using it.
Mistakes to Avoid
The most common mistake is treating every egg cooker the same. Water lines, tray shapes, and cooking controls vary by model.
Avoid these errors:
- Using a random cup instead of the marked cup
- Adding oil or salt to the heating plate
- Starting the unit without water
- Blocking the steam vent
- Touching the lid during cooking
- Piercing eggs when the manual says not to
- Washing the powered base under running water
- Opening the sealed heating unit
- Bypassing the auto shut-off or safety switch
Do not keep using a cooker that has a burning plastic smell. A mild warm-metal smell during the first use may occur, but smoke or a strong electrical odor is not normal.
| Problem | Recommended solution | Difficulty |
|---|---|---|
| Wrong egg texture | Adjust water slightly | Easy |
| Scale on heating plate | Descale after cooling | Easy |
| Cracked tray or lid | Replace the damaged part | Easy |
| Damaged power cord | Stop using the cooker | Requires service |
| Repeated burning smell | Replace or seek service | Do not DIY |
When to Replace the Egg Cooker
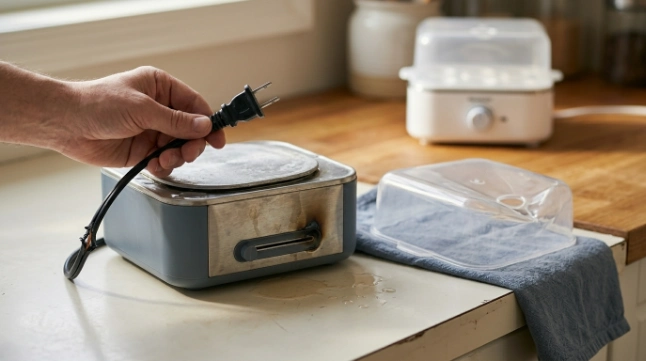
Replacement makes sense when the power cord is damaged, the base leaks, or the cooker produces smoke. It is also wise when the controls fail repeatedly.
Stop using the cooker if it overheats even with the correct water amount. The same applies if the auto shut-off no longer works.
A cracked removable lid or egg tray may be worth replacing. However, do not try to repair a sealed heating element at home.
Low-cost egg cookers are often cheaper to replace than to repair. Safety should matter more than saving a unit with an electrical fault.
My Personal Experience
My first mistake was filling the base with what looked like enough water. The cooker beeped early, and two egg whites were still soft.
For the second batch, I used the marked measuring cup. I also made sure the tray sat flat and kept the lid vent clear.
That batch was much better, but one shell cracked. I had moved the eggs straight from a very cold fridge into the warm cooker.
I let the next eggs rest for a few minutes and pierced the wide ends as directed by my cooker’s manual. All the shells stayed intact.
My best results came from following the cup marks first. I then adjusted the water by a very small amount to suit the egg size and the yolk texture I liked.
I also learned to cool the eggs right away. This stopped the yolks from cooking further and made the final result more consistent.
Final Thoughts
The easiest way to learn how to cook eggs in an egg cooker is to follow the water marks made for your model. Set the tray flat, leave the steam vent open, and let the full cycle finish.
If the result is not right, adjust the water slightly. Check for mineral buildup, damaged parts, and poor lid fit before blaming the heating unit.
Above all, handle the steam with care. Unplug the cooker before cleaning, and never open or alter its sealed electrical base.
4 thoughts on “How to Cook Eggs in an Egg Cooker: Easy, Perfect Guide”