How do you clean hand mixer dough hooks without leaving sticky bits behind? The easiest way is to soak the hooks in warm, soapy water, then scrub them with a soft sponge.
I find that cleaning them soon after mixing works best. Dried dough can cling to the bends and take much longer to remove.
In this guide, I’ll explain how to remove fresh and dried dough, clean different hook materials, and store the hooks safely. I’ll also cover common mistakes that can damage them.
Common Signs Your Dough Hooks Need Cleaning
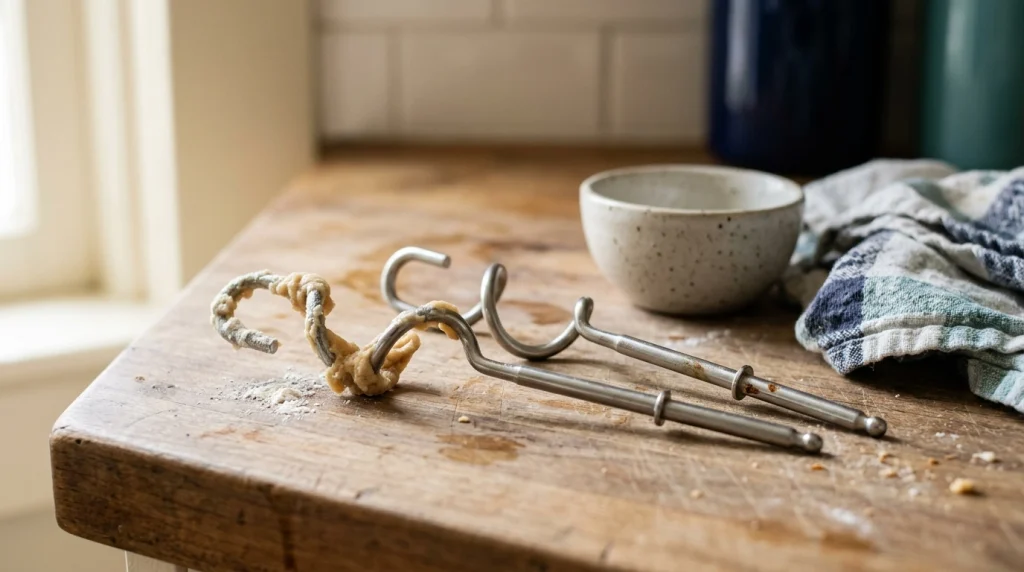
Dough hooks can look clean at first, yet small bits of flour and dough may remain around the curves. These spots are easy to miss during a quick rinse.
Look for these common signs:
- Sticky dough caught in the bends.
- Dry flour packed around the tips.
- Greasy marks or food stains.
- A sour smell from old dough.
- Rust spots or a dull finish.
If you notice a bad smell, wash the hooks before using them again. If you see rust, check the coating and material before putting them back into contact with food.
Possible Causes
Most cleaning problems happen because dough dries on the metal or the hooks are not washed well after use.
Common causes include:
- Waiting too long: Wet dough becomes hard and sticks to the hooks.
- Using cold water first: Cold water may make some dough harder to loosen.
- Scrubbing too hard: Rough pads can scratch a coating or dull the finish.
- Using the wrong cleaner: Strong chemicals may damage certain finishes.
- Storing hooks while damp: Moisture can lead to rust on hooks that are not rust-resistant.
- Missing small gaps: Dough can remain around bends, joints, and attachment ends.
The good news is that most stuck dough can be removed with warm water, dish soap, and a little patience.
How Do You Clean Hand Mixer Dough Hooks?
The best method depends on how much dough is stuck to the hooks. Start with the gentlest method and use more soaking time if needed.
1. Unplug the Hand Mixer
Turn off the mixer and unplug it before removing the dough hooks. Never try to clean attachments while the mixer is connected to power.
Press the release button, if your model has one, and remove each hook as the manual directs. Keep the mixer body away from the sink and water.
2. Remove Loose Dough
Use your fingers or a soft spatula to pull away large pieces of dough. Do this gently so you do not bend the hooks or damage their finish.
Avoid using a knife or other sharp tool to scrape off stubborn bits. A soft brush can reach narrow spaces without scratching the metal.
3. Soak the Hooks in Warm, Soapy Water
Fill a bowl or sink with warm water and add a little dish soap. Place the hooks in the water if the manufacturer allows soaking.
Leave them for about 10–15 minutes. This gives the water time to soften the dough and makes scrubbing easier.
If the dough is very dry, soak the hooks longer and check them again. Do not use boiling water, as very hot water may damage some coatings or finishes.
4. Scrub Away Sticky Dough
Use a soft sponge or dish brush to clean each hook. Pay close attention to the curved sections, tips, and any narrow gaps.
For stubborn bits, soak the hooks again instead of pressing harder. Gentle cleaning is usually enough when the dough has had time to soften.
This is where careful cleaning makes a real difference. It removes food residue without scratching the surface or wearing down a protective coating.
5. Rinse and Dry the Hooks
Rinse each hook under clean running water until no soap or dough remains. Check the bends and tips before you finish.
Dry the hooks with a clean towel, then let them air-dry fully if needed. Do not store them while damp, especially if they are made from a material that can rust.
6. Check Whether the Hooks Are Dishwasher-Safe
Some dough hooks are dishwasher-safe, while others need hand washing. Check the manual or the manufacturer’s care instructions before placing them in a dishwasher.
If the instructions allow dishwasher cleaning, place the hooks securely in the correct rack. Keep them away from sharp items that could scratch their finish.
When the instructions are unclear, hand washing with warm water and mild soap is the safer choice. A soft sponge and dish brush are useful basic tools; there is no need to buy special cleaners for ordinary dough residue.
7. Remove Dried Dough Safely
If you forgot to wash the hooks after baking, do not scrape them aggressively. Put them in warm, soapy water and allow the dried dough to soften.
Use a soft brush to loosen the remaining pieces. Repeat the soak if needed, then rinse and dry the hooks completely.
If residue remains near the attachment end, check that area carefully without putting water into the mixer’s motor housing. Never immerse the mixer itself unless the manufacturer specifically states that a particular part is washable.
Quick Cleaning Guide
| Problem | Likely Cause | Quick Fix |
|---|---|---|
| Sticky dough | Fresh residue | Warm, soapy soak |
| Hard, dried dough | Cleaning was delayed | Soak longer and brush gently |
| Flour in narrow gaps | Incomplete rinsing | Use a soft cleaning brush |
| Rust spots | Moisture or damaged finish | Check material and replace if needed |
| Lingering smell | Old food residue | Wash, rinse, and dry thoroughly |
Mistakes to Avoid
A few common habits can make cleaning harder or damage the hooks.
- Do not use steel wool. It can scratch the finish and may damage coatings.
- Do not use harsh chemicals. Bleach or strong cleaners may harm some materials.
- Do not leave hooks wet. Dry them fully before storage.
- Do not soak the mixer body. Water can damage its electrical parts.
- Do not force stuck dough off. Soaking is safer than scraping with a sharp tool.
- Do not assume every hook is dishwasher-safe. Check the manufacturer’s instructions first.
Never plug in a mixer while its attachments are wet near the connection points. If you notice cracked coatings, deep rust, or damaged metal, stop using the affected hook until you can confirm it is safe for food contact.
Problem-Solving Table
| Cleaning Issue | Recommended Solution | Difficulty |
|---|---|---|
| Fresh dough | Rinse and wash promptly | Easy |
| Dried dough | Soak, then brush gently | Easy |
| Residue in tight bends | Use a soft brush | Easy |
| Rust or peeling coating | Inspect and replace if needed | Moderate |
When to Replace Hand Mixer Dough Hooks
You usually do not need new hooks just because dough sticks to them. Most residue comes off with soaking and gentle scrubbing.
Replacement may be the better choice if a hook has deep rust, a peeling coating, cracks, or severe bending. Damaged surfaces can be hard to clean well and may make the attachment unsafe to use.
Check your mixer brand and model before buying replacements. Hooks can look alike but differ in shape, length, or locking design. A correct fit matters more than appearance.
My Personal Experience
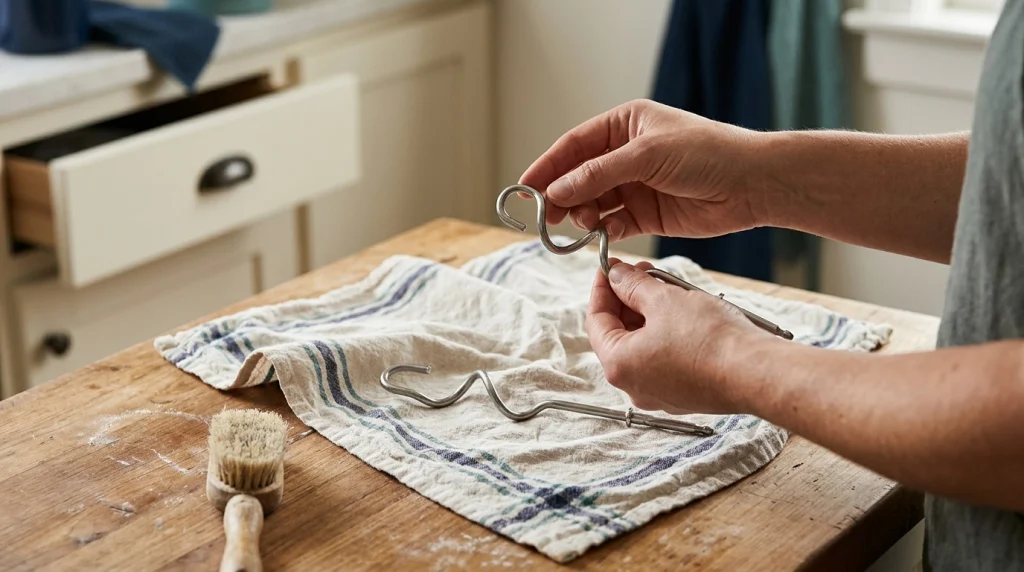
When cleaning dough hooks after bread or pizza dough, I would start by removing the large pieces before they dry. I would then soak the hooks in warm, soapy water and use a soft brush around the curves.
The main lesson is that time matters more than force. Fresh dough is much easier to remove than dried dough, so washing the hooks soon after mixing can save effort.
If a stubborn patch remains, I would soak it again rather than reach for a metal scraper. I would also inspect the hooks after washing, since rust or a damaged coating is not a problem that extra scrubbing can fix.
One important note: these are practical cleaning recommendations, not a claim of personal laboratory testing. Your mixer’s care instructions should take priority if they specify a different method.
Final Thoughts
So, how do you clean hand mixer dough hooks? Remove loose dough, soak the hooks in warm, soapy water, scrub gently, rinse well, and dry them fully.
Clean them soon after mixing to avoid stubborn residue. Check the manual before using a dishwasher, and never immerse the mixer body in water.
With a little care, your dough hooks can stay clean and ready for the next batch of bread, pizza, or pastry.