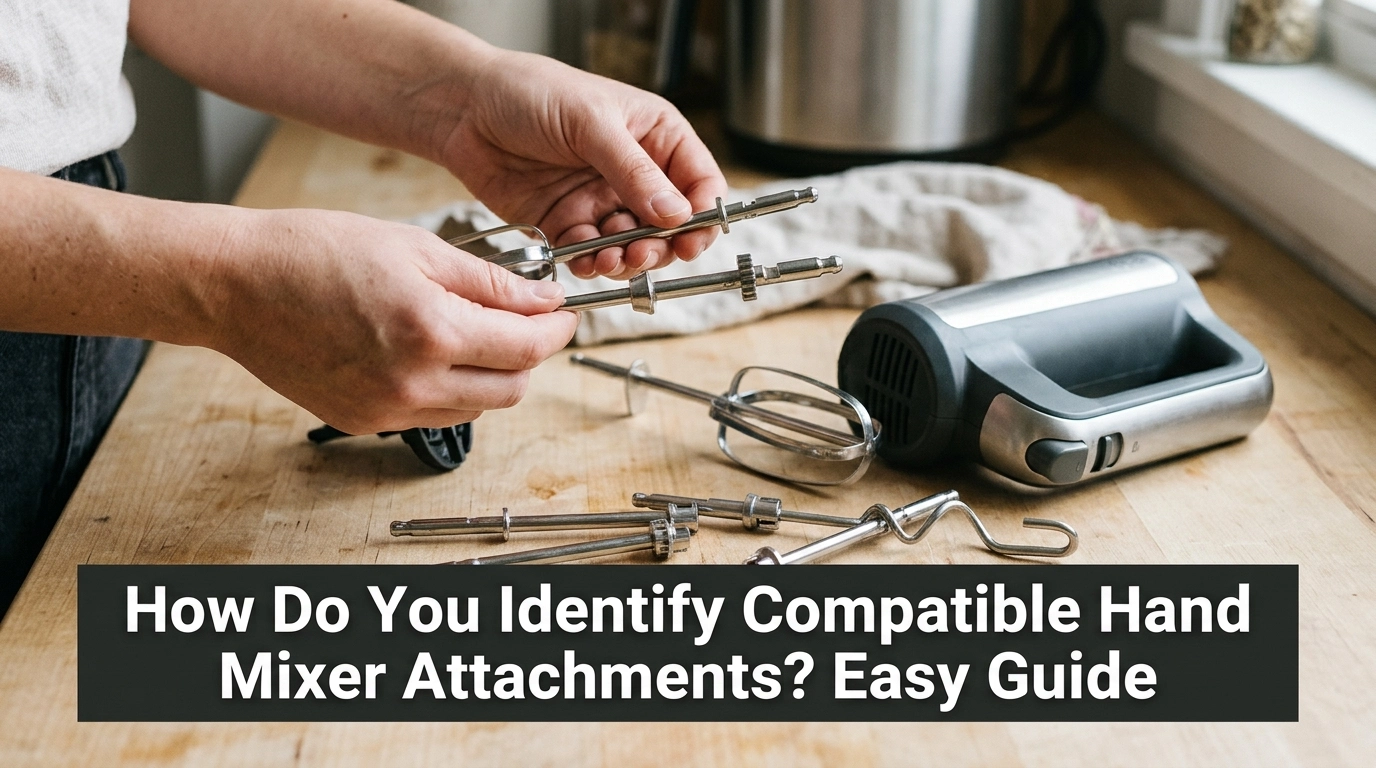
How do you identify compatible hand mixer attachments? Start by checking the brand, model number, connector shape, and size of your current beaters. Attachments can look alike but still fail to fit or lock into place.
When I compare hand mixer attachments, I look at the connector first. I also check the length and locking design. These simple checks can help you avoid a poor fit or damage to your mixer.
In this guide, I explain how to check compatibility, spot common mistakes, and choose the right replacement parts. You do not need special tools to get started.
Common Signs of an Attachment Compatibility Problem
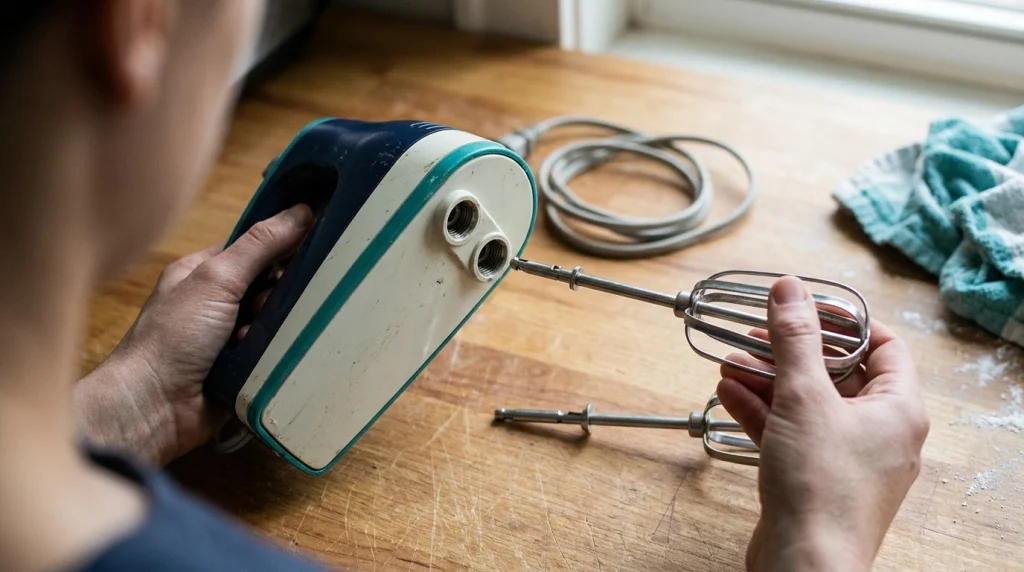
A wrong attachment may seem fine at first. The problem often appears when you try to insert it or start the mixer.
Look for these signs:
- The beater will not slide into the socket.
- The attachment feels loose or will not lock.
- The mixer has two sockets, but the beaters do not fit both.
- One beater sits higher or lower than the other.
- The attachment touches the bowl or scrapes against the mixer.
- The release button will not work as expected.
Stop if an attachment does not fit easily. Never force it into the socket. A tight fit does not always mean a correct fit.
Possible Causes of Incompatible Hand Mixer Attachments
Several small differences can stop an attachment from fitting. The brand name alone does not prove that two parts are compatible.
- Different connector shapes: One mixer may use a round shaft, while another uses a shaped or notched connector.
- Different shaft sizes: A small change in width or length can prevent a secure fit.
- Different locking systems: Some beaters use a collar, notch, or special release design.
- Different mixer models: A brand may change its attachment design between models.
- Different attachment types: Dough hooks, whisks, and standard beaters may use different connectors.
- Missing model information: A part may look right but belong to another product series.
The safest way to choose a replacement is to match the exact mixer model. If the model number is unclear, check the label on the mixer body or the user manual.
How Do You Identify Compatible Hand Mixer Attachments?
Use the steps below before buying or fitting a new attachment. I would start with the model number, then check the connector and compare the part with the original.
1. Find the Hand Mixer Brand and Model Number
Turn off the mixer and unplug it before inspecting the attachments. Look for a label on the handle, underside, or back of the mixer.
Write down the brand and full model number. Do not rely on the brand name alone, as one maker may sell several models with different attachment systems.
Search the manufacturer’s official website or parts list using that model number. Check whether the replacement part is listed for your exact mixer.
2. Compare the Connector Shape
Remove the original beaters and examine the ends that enter the mixer. Look for round shafts, flat sides, grooves, notches, collars, or other locking features.
Compare these details with the replacement part. The shape should match the original design, not just look similar from a distance.
Do not file, bend, or grind a connector to make it fit. Changing the shape may weaken the part or stop it from locking securely.
3. Check the Length and Width
Place the original and replacement attachments side by side. Compare the shaft length, shaft width, and distance from the connector to the beater head.
Even if the ends look alike, different measurements can cause problems. A beater that is too long may strike the bowl, while a short one may not mix well.
If the manufacturer provides measurements, use them as your guide. Avoid guessing based on photos alone.
4. Check the Locking System
Some mixers use two different sockets for their beaters. One socket may have a special shape to ensure each beater goes into the correct side.
Check for markings, grooves, or different connector designs. If the manual shows a specific left and right position, follow those instructions.
The attachment should slide into place without excessive force. Once fitted, give it a gentle check while the mixer remains unplugged. It should feel secure and should not wobble excessively.
5. Match the Attachment Type
Not every attachment made for a hand mixer serves the same purpose. Standard beaters, dough hooks, and wire whisks may have different shapes and fitting requirements.
| Attachment type | Main use | What to check |
|---|---|---|
| Standard beaters | Cake batter and light mixing | Shaft and locking design |
| Dough hooks | Mixing suitable doughs | Model approval and connector |
| Wire whisk | Whipping cream or egg whites | Socket fit and approved use |
| Specialty attachments | Specific mixing tasks | Exact model compatibility |
Use only attachment types approved for your mixer. A whisk that fits the socket may still be unsuitable for a particular model or task.
6. Check Official Replacement Part Information
If you are unsure, contact the manufacturer or an authorized parts seller. Give them the full model number and, if needed, a clear photo of the connector.
Ask whether the part fits your exact model. If a replacement beater is discontinued, ask whether an approved newer part replaces it.
This is also the point to consider buying a matched pair of replacement beaters if your mixer requires two identical parts. A replacement lid or egg cooker accessory will not solve a hand mixer fitting problem; choose parts designed for the appliance you own.
7. Test the Fit Safely
Insert the attachment with the mixer unplugged. Follow the manual’s instructions for inserting and removing the beaters.
Check that the attachment locks in place and that the release mechanism works as intended. If it sticks, sits unevenly, or feels loose, remove it and check the part number again.
Once the fit is confirmed, place the mixer over a suitable bowl and keep your hands, hair, and loose clothing away from the beaters. Start at a low speed and watch for unusual movement or noise. Stop immediately if the attachment wobbles or strikes the bowl.
Mistakes to Avoid
A few common errors can waste money or damage a mixer. Take care to avoid these mistakes:
- Buying by brand alone: Check the full model number and approved part number.
- Trusting appearance: Similar-looking connectors can use different locking systems.
- Forcing a tight fit: This can damage the socket or attachment.
- Ignoring attachment type: A beater and a dough hook may not be interchangeable.
- Testing at high speed first: Begin at low speed only after confirming the fit.
- Ignoring damage: Do not use bent shafts, cracked beaters, or damaged locking parts.
Always unplug the mixer before fitting, removing, or cleaning attachments. Never open the motor housing or attempt electrical repairs just to make an attachment work.
Around the middle of my checks, I also make sure the parts are clean before comparing them. Dried batter can hide grooves or make a connector appear thicker than it is. Use a soft cloth and follow the manual’s cleaning instructions.
When to Replace the Hand Mixer or Its Attachments
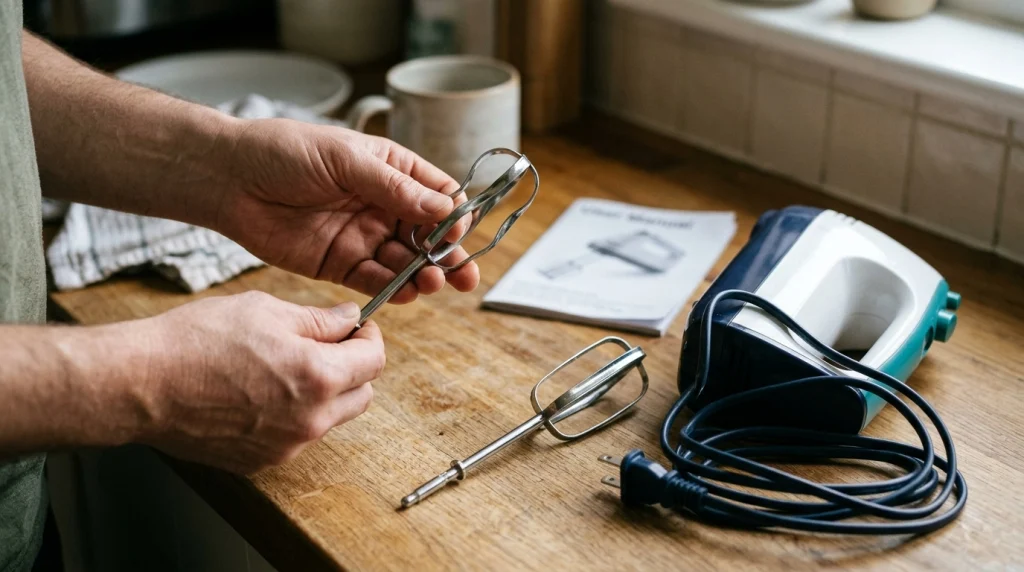
Replacing one attachment is usually the simplest option when the mixer itself works well. However, the replacement must be approved for the exact model.
| Problem | Recommended solution | Difficulty |
|---|---|---|
| Bent or damaged beater | Replace with an approved part | Easy |
| Wrong connector shape | Find the correct model-specific part | Easy to moderate |
| Worn locking socket | Ask an authorized repair service | Moderate |
| Damaged release button | Arrange a proper repair | Moderate |
| Motor housing or wiring damage | Stop using the mixer and seek service | Professional |
Compare the cost of an approved part with the price of a suitable replacement mixer. If the sockets are damaged, parts are unavailable, or the mixer has electrical faults, replacing the appliance may make more sense.
Do not use an attachment that cannot lock securely, even if it seems to work for a short time.
My Personal Experience
When comparing hand mixer attachments, I find it helpful to work through the checks in the same order every time. First, I identify the model. Next, I compare the connector shape and length before looking at the beater head.
The biggest lesson is that appearance can be misleading. Two beaters may look almost identical but have different shaft designs. A quick model-number check can prevent an unnecessary purchase.
I would also avoid testing a questionable attachment by running the mixer. An unplugged fit check is safer and often reveals the problem right away.
If the model information is missing, I would contact the manufacturer with clear photos and measurements rather than guess. That takes a little more time, but it is better than damaging a working mixer.
Final Thoughts
How do you identify compatible hand mixer attachments? Start with the exact model number, compare the connector shape and measurements, and confirm the replacement part with the manufacturer.
Never force a part into place or use a loose attachment. A careful check before buying can save money, protect your mixer, and help you mix safely.
When in doubt, choose a verified replacement over one that merely looks right.