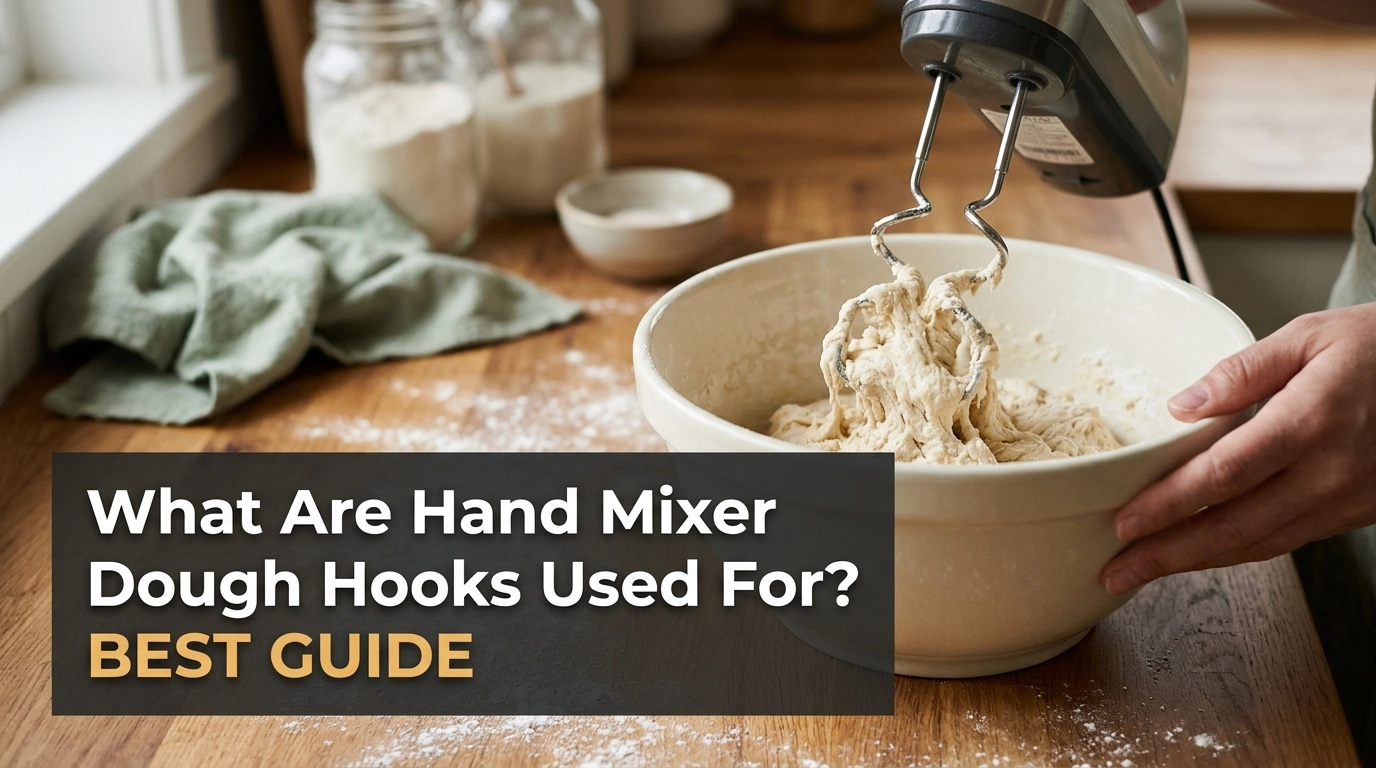
Hand mixer dough hooks are used to mix and knead soft dough with less effort. They help bring flour, water, yeast, and other ingredients together to form dough for bread, rolls, and pizza.
I used to think dough hooks could handle any bread recipe. But I learned that the dough type and the mixer’s power both matter. Some hand mixers work well with light dough, while others are not built for heavy mixes.
In this guide, I explain what dough hooks do, how to use them, which doughs suit them best, and how to avoid common mistakes. I’ll also cover simple care tips to help your attachments last longer.
Common Signs of a Dough Hook Problem
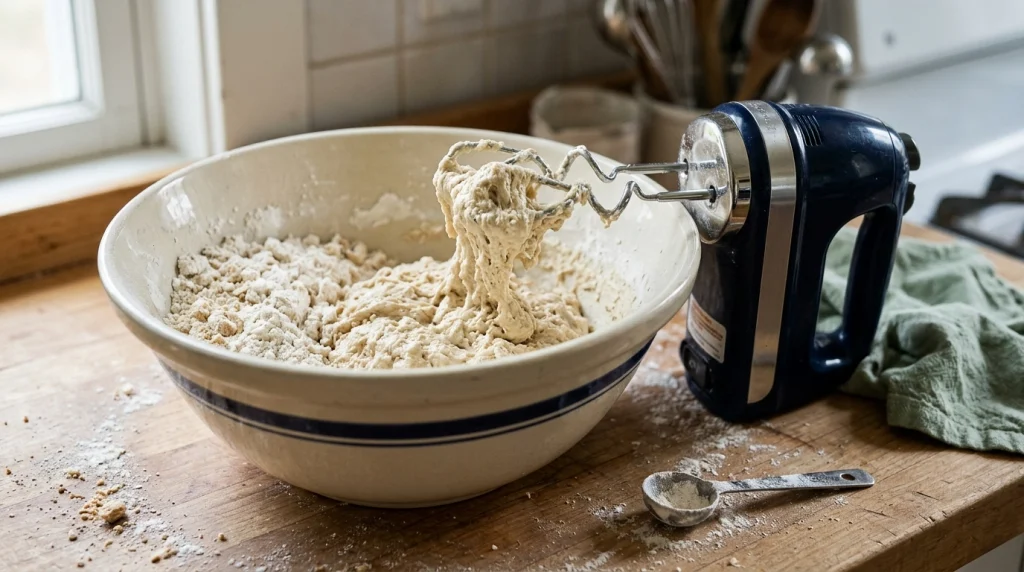
Dough hooks should move through soft dough and help bring the mix together. If they struggle, the dough or the mixer may not be a good match.
Here are some signs to watch for:
- Dough stays crumbly: The mix may need more liquid or more mixing.
- Dough wraps around the hooks: The dough may be too sticky or too soft.
- The mixer slows down: The dough may be too thick for your model.
- The hooks barely move: The mixer may be overloaded or the attachments may not fit.
- Dough remains uneven: The ingredients may not be mixed well yet.
These signs do not always mean the hooks are faulty. Check the recipe and your mixer’s manual before deciding that something is broken.
Possible Causes
Dough hooks work best when the dough is suited to the mixer. Several things can affect how well they work.
- Heavy dough: Dense bread dough can strain a small hand mixer.
- Wrong attachment: Beaters are designed for lighter mixing, not kneading dough.
- Too little liquid: Dry dough can be hard to mix and may strain the motor.
- Too much liquid: Very wet dough may cling to the hooks instead of forming a ball.
- Incorrect speed: Starting too fast can scatter flour and make mixing messy.
- Overmixing: Running the mixer for too long can cause excess heat and strain.
- Poor attachment fit: Hooks that are not fitted correctly may not rotate as intended.
The right approach is to match the hooks to the recipe and follow the speed and time limits set by the manufacturer.
How to Use Hand Mixer Dough Hooks
Dough hooks are not used to cook food or fix an egg cooker. They are mixing attachments for dough. The steps below show how to use them with a suitable hand mixer.
1. Check What the Dough Hooks Are Designed For
Look at your mixer’s manual before making dough. Some models include hooks for light kneading, while others are meant mainly for cake batter, cream, and similar mixtures.
If the manual says not to knead bread dough, use a suitable stand mixer or knead by hand instead. Do not assume that every hand mixer can handle the same load.
2. Fit the Hooks Correctly
Unplug the mixer before attaching or removing the hooks. Check that each hook goes into the correct socket and locks into place.
Some mixers use hooks with different shapes or collar sizes to ensure they fit only on the correct side. Never force an attachment that does not fit.
If your hooks are bent, cracked, or badly worn, stop using them. Check whether the manufacturer offers compatible replacement hooks for your exact model.
3. Add Ingredients in the Right Order
Follow the recipe for the correct amounts of flour, water, yeast, salt, and other ingredients. Add them in the order the recipe recommends.
I find it easier to start with a wide, deep bowl. This gives the hooks room to move and helps keep flour from spilling over the edge.
4. Start at a Low Speed
Lower the hooks into the ingredients before switching the mixer on. Start slowly so the flour does not fly out of the bowl.
Increase the speed only if your manual allows it and the dough needs more mixing. Keep the hooks below the surface of the ingredients to reduce splashes and mess.
5. Watch the Dough as It Comes Together
At first, the mixture may look rough or crumbly. As the ingredients combine, the dough should become more even.
Stop the mixer and unplug it before scraping the bowl or touching the dough. If the dough stays very dry, check the recipe measurements before adding a small amount of liquid.
Do not keep running the mixer if the motor slows, smells hot, or struggles to turn the hooks.
6. Know When to Stop Mixing
Dough hooks help combine and knead dough, but they do not guarantee that every recipe will reach the right texture. Some doughs need a short period of hand kneading after mixing.
Follow your recipe and the mixer’s recommended run time. If the dough remains tough or uneven, check the liquid amount and flour measurement rather than running the motor for longer.
7. Clean the Hooks After Use
Unplug the mixer before removing the hooks. Wash them according to the manual, since some attachments are dishwasher-safe and others are not.
Good cleaning helps prevent dried dough from building up around the attachment ends. Dry the hooks fully before putting them away, and wipe the mixer body with a soft, slightly damp cloth.
| Problem | Likely Cause | Quick Fix |
|---|---|---|
| Dough stays dry | Too little liquid | Check the recipe measurements |
| Dough clings to hooks | Dough is very sticky | Check the recipe and use a suitable bowl |
| Mixer slows down | Dough is too heavy | Stop and reduce the load |
| Flour spills out | Speed starts too high | Begin at the lowest setting |
| Hooks do not fit | Wrong attachment | Check model compatibility |
Which Doughs Can Hand Mixer Dough Hooks Handle?
Dough hooks are useful for some home baking tasks, but they are not suitable for every dough. The mixer’s power, design, and stated limits all matter.
| Dough Type | Suitability | Helpful Tip |
|---|---|---|
| Soft bread rolls | Often suitable | Follow the manual |
| Pizza dough | Model-dependent | Use a small batch if permitted |
| Light yeast dough | Often suitable | Watch the motor for strain |
| Very stiff bread dough | Often unsuitable | Knead by hand or use a suitable stand mixer |
| Cookie dough | Usually better with beaters or a paddle | Follow the recipe and mixer guidance |
Do not judge a mixer’s ability by the shape of its hooks alone. If the manual does not permit a particular dough, choose another mixing method.
Mistakes to Avoid
A few simple mistakes can make mixing harder or damage the mixer.
- Using beaters for heavy dough: Beaters are generally better for cake batter, eggs, cream, and other light mixtures.
- Filling the bowl too much: Large batches can overload the motor.
- Starting at high speed: This can scatter flour and make the bowl messy.
- Ignoring the manual: Each model has its own limits for speed, load, and run time.
- Pulling dough off moving hooks: Always switch off and unplug the mixer first.
- Running a hot mixer: Stop if the motor smells burnt, makes unusual noises, or becomes unusually hot.
Never open a sealed motor housing or attempt electrical repairs unless you are qualified to do so. Do not bypass safety features or force the hooks to turn when the motor is struggling.
When to Replace Hand Mixer Dough Hooks
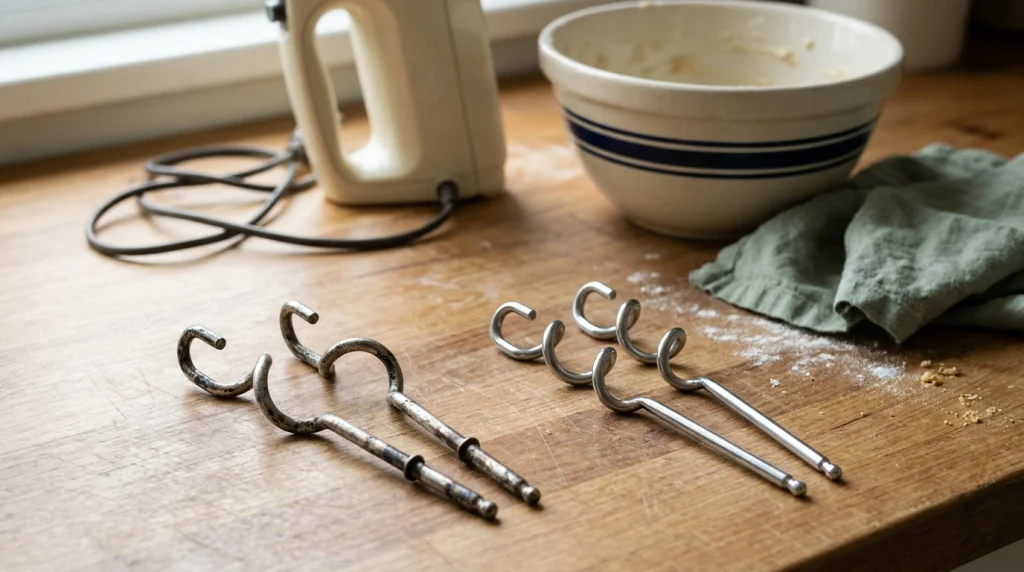
Replacement hooks may be worth considering if the original pair is bent, cracked, badly corroded, or no longer locks into place. Check the model number and buy only attachments listed as compatible by the manufacturer.
If the hooks look fine but the mixer keeps stopping, the problem may be the motor or the type of dough. Replacing the hooks will not fix an overloaded or faulty motor.
| Repair Issue | Recommended Action | Replace Instead? |
|---|---|---|
| Bent or cracked hooks | Stop using them | Replace the hooks |
| Hooks do not lock in place | Check the correct fit | Replace if damaged |
| Motor struggles with stiff dough | Reduce load or change method | Consider a more suitable mixer |
| Burning smell or repeated shutdown | Stop and seek service | Replace the mixer if repair is not worthwhile |
A burning smell or repeated loss of power calls for caution. Unplug the mixer and contact the manufacturer or a qualified repair service.
My Personal Experience
When I first tried dough hooks, I expected them to turn a rough mix into smooth dough with little effort. I learned that the recipe and the mixer matter just as much as the attachment.
I found it helpful to measure the ingredients carefully, use a deep bowl, and start at a low speed. When a mix looked too dry, I checked the recipe before changing anything. This helped me avoid adding too much liquid too soon.
I also learned not to push the mixer through stiff dough. If the motor slowed or seemed strained, stopping was a better choice than trying to force it through the batch.
The biggest lesson is simple: dough hooks save effort when used for the right job. They are not a substitute for a mixer designed to handle heavy bread dough.
Final Thoughts
Hand mixer dough hooks are used to combine and knead suitable doughs for bread rolls, pizza, and other home baking recipes. They can reduce the effort needed to mix ingredients, but they cannot handle every dough or every batch size.
For the best results, check your manual, fit the hooks correctly, measure ingredients carefully, and start at a low speed. Stop if the mixer struggles, and clean and dry the attachments after use.
Most of all, match the dough to the machine. That simple step can help you bake with less mess and avoid unnecessary wear on your hand mixer.