
I love making crispy food in my kitchen every single week. But recently, my favorite machine started to smell very bad. I noticed thick grease buildup near the top metal parts. I had to learn how to clean Ninja air fryer heating element.
It was much easier than I thought it would be. I want to share my personal cleaning process with you today. You will learn the exact steps to remove burnt food residue. This simple guide will help keep your machine running perfectly.
Why Regular Cleaning Matters
Food grease easily splashes up into the top over time. This gross buildup will cause a bad smell and thick smoke. Too much grease can even create a dangerous airflow blockage. That means your food will not cook evenly or stay crispy.
I try to avoid huge messes inside the main cooking area. I find that using silicone air fryer liners helps me immensely. The liners catch oil residue before it splatters everywhere inside. They really cut down on my daily cleaning time too.
Taking care of your machine protects the non-stick coating properly. Regular maintenance keeps your food tasting fresh and super healthy. Smoke prevention should be your top goal for kitchen safety. A quick wipe down is always worth your daily effort.
Things You Need Before Cleaning
You do not need fancy tools to get this job done. Look inside your kitchen for some basic and safe items. You want tools that are very gentle on the machine. Harsh tools will easily scratch the inside of your fryer.
Here are the basic items you need to grab first. You need a soft cloth or a simple paper towel. Grab some mild dish soap for cutting through heavy grease. Find a soft bristle brush or a clean old toothbrush.
How To Clean Ninja Air Fryer Heating Element
Many people feel scared to touch the top heating parts. It is actually very safe if you follow these easy steps. I will walk you through my exact daily deep cleaning routine. Just take your time and never rush this important process.
Unplug and Cool Down
You must always unplug the machine from the wall first. Let the whole unit cool down completely before you touch it. A hot machine can burn your hands very badly indeed. Wait at least one full hour after you finish cooking.
Remove Basket and Tray
Pull the main drawer all the way out of the machine. Take out the inner tray so it is completely empty. Basket cleaning is much easier when everything is fully separated. Set these parts near your kitchen sink for washing later.
Wash Removable Parts
Fill your sink with warm water and some mild dish soap. Let the basket and tray soak in the soapy water. This makes crisper tray maintenance very fast and super easy. Scrub them with a soft sponge and rinse them off.
Wipe Interior Surfaces
Take a damp cloth and gently wipe the inside walls. Never use dripping wet rags inside the main machine body. You only want to pick up loose crumbs and dirt. Wipe the bottom area where the drawer usually sits too.
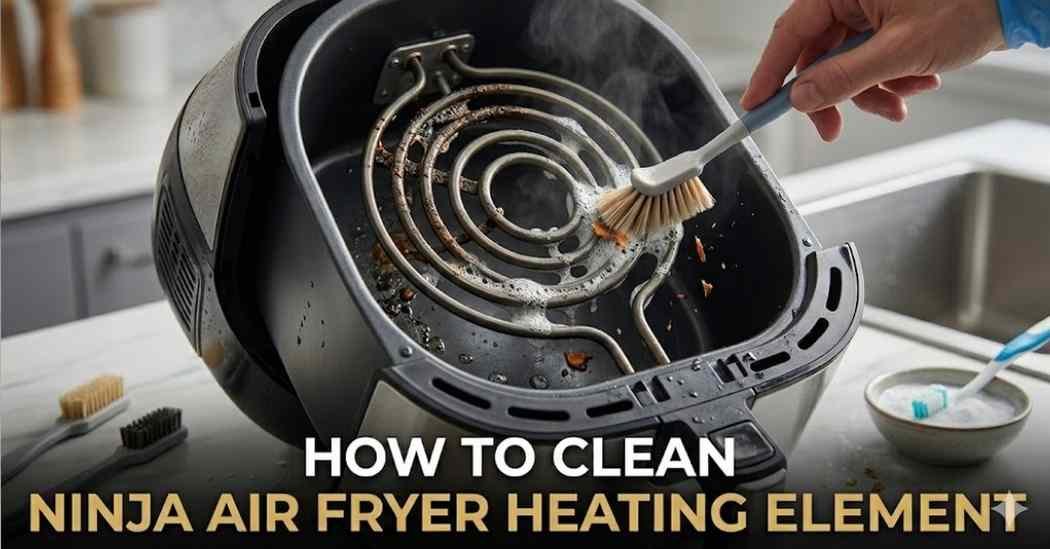
Clean the Heating Element
Turn the machine upside down so you can see better. Take a soft brush and gently wipe the metal coils. If grease is stuck, use a damp cloth with soap. Be very gentle so you do not bend the fragile parts.
Dry and Reassemble
You must dry every single piece before putting it together. Use a fresh towel to wipe away any leftover water. Slide the dry basket back into the main base unit. Your machine is now totally ready to cook delicious food!
| Cleaning Tool | Recommended Use | Safety Level |
| Soft Sponge | Washing basket and tray | Very Safe |
| Damp Cloth | Wiping inner walls | Very Safe |
| Soft Brush | Scrubbing heating coils | Safe |
How To Remove Burnt Grease and Stains
Sometimes normal soap is just not strong enough to work. You will need a better trick for really dark stains. I like to use a very simple baking soda paste. Mix pure baking soda with a tiny bit of water.
Rub this thick paste onto the cold metal heating coils. Let it sit there for about ten to fifteen minutes. Taking time for a deep clean makes a huge difference. Use a soft brush to gently scrub the loose grease away.
You can also spray a little vinegar on the paste. The mix will fizz and lift the burnt dirt quickly. Wipe it all away with a slightly damp soft cloth. This simple method is amazing for stubborn odor removal fast.
| Problem | Cause | Cleaning Method |
| Bad Smell | Burnt food residue | Baking soda paste |
| Thick Smoke | Splattered oil | Warm soapy water |
| Sticky Coils | Grease buildup | Vinegar spray |
Dishwasher Safety
Many people ask me about putting parts in the dishwasher. You must always check your specific brand guidelines first today. Good dishwasher safety habits will make your machine last longer. My specific basket and tray can go inside very safely.
However, I still prefer to wash them by hand instead. The hot water inside a dishwasher is sometimes too harsh. Hand washing protects the delicate non-stick coating from peeling off. It only takes me five extra minutes at the kitchen sink.
Never ever put the main electronic unit in any water. That part holds the motor and all the power wires. You will completely ruin the machine if it gets wet. Just stick to wiping the main base with a dry cloth.
What Not To Use While Cleaning
You have to be very careful with your kitchen products. Harsh kitchen chemicals will ruin your food and your health. Never use strong oven degreasers inside your food cooking machine. Those chemicals leave a toxic film on the metal parts.
Do not use rough steel wool or hard metal scrubbers. They will scratch the metal and ruin the non-stick parts. Scratches will cause your food to stick and burn easily. Stick to soft sponges to keep things safe and smooth.
Do not spray water directly inside the main electrical unit. The water can leak into the motor and cause sudden sparks. Always apply your soapy water to the soft cloth first. This simple habit prevents serious electrical damage in your home.
How Often You Should Clean an Air Fryer
You should ideally do a light wash after every meal. Wash the basket and tray while you wash your dishes. Wiping the inside walls daily stops grease from getting hard. A fast daily habit saves you lots of hard work.
You only need to do a major cleaning once monthly. That is when I check the top coils for thick grease. If I cook greasy foods, I check the coils sooner. Bacon and burgers will make the top parts dirty faster.
| Air Fryer Part | Best Cleaning Method | How Often |
| Basket & Tray | Warm soapy water | After every use |
| Inner Walls | Damp soft cloth | Once a week |
| Heating Coils | Soft brush and paste | Once a month |
My Personal Experience
I ignored my top coils for the first few months. I honestly did not even know I had to check them. One day my kitchen filled with a terrible white smoke. I realized I was doing my regular maintenance all wrong.
Once I finally looked inside, I was totally shocked today. The metal loops were covered in thick, dark, sticky oil. It took me over an hour to scrub it all away. I learned my lesson about kitchen maintenance that exact day.
Now I turn my machine over every single few weeks. Keeping an eye on it stops the mess from growing bigger. My food tastes much better since I changed my daily habits. I feel much more confident using my favorite kitchen gadget.
Final Thoughts
Taking care of your kitchen gadgets is a simple process. You now know exactly how to clean Ninja air fryer heating element. Just use gentle soap and a very soft brush today. Never rush the process and always unplug the power first.
Stay consistent with your daily wiping and quick washing habits. Your machine will cook perfect, crispy food for many years. It feels great to cook in a fresh, clean kitchen space. I hope these easy steps help you as much today!