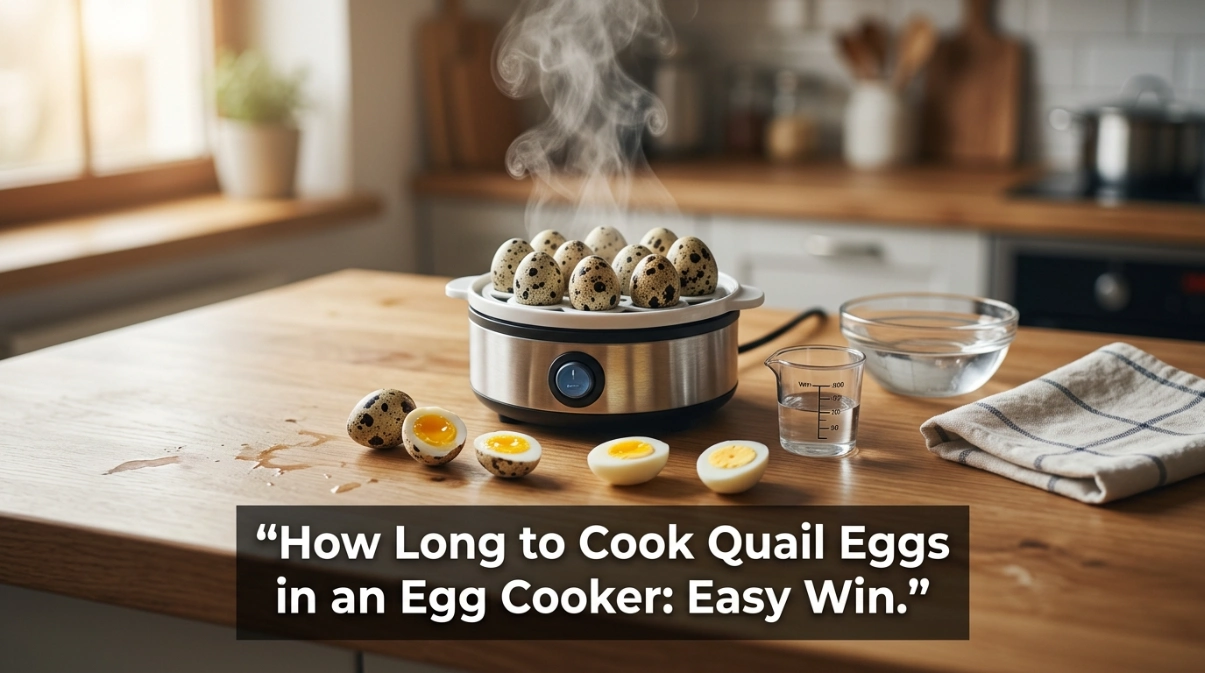
The short answer is 4 to 7 minutes. Cook them for about 4 minutes for soft yolks, 5 minutes for medium yolks, or 6 to 7 minutes for firm yolks.
I learned this after my first batch came out far too hard. I used the same water level that I use for large chicken eggs. That was a mistake.
Quail eggs are much smaller. They heat fast and need less cooking time. In this guide, I will share the timing, water tips, and testing method that worked for me.
Common Signs of the Problem
The main problem is often an egg that does not match the texture you wanted. A small change in water or time can make a big difference.
You may see one or more of these signs:
- The yolk is dry, gray, or chalky.
- The white is firm, but the yolk is still raw.
- The shell cracks during cooking.
- Water spits from the steam vent.
- The cooker turns off before the eggs are done.
- The eggs are hard to peel.
- Some eggs cook more than others.
My first batch had dry yolks and tough whites. The eggs were safe to eat, but they were not pleasant.
A water measuring cup helps you repeat a good result. If your original cup is missing, use a small marked replacement measuring cup instead of guessing with a kitchen glass.
Quail Egg Cooking Time at a Glance
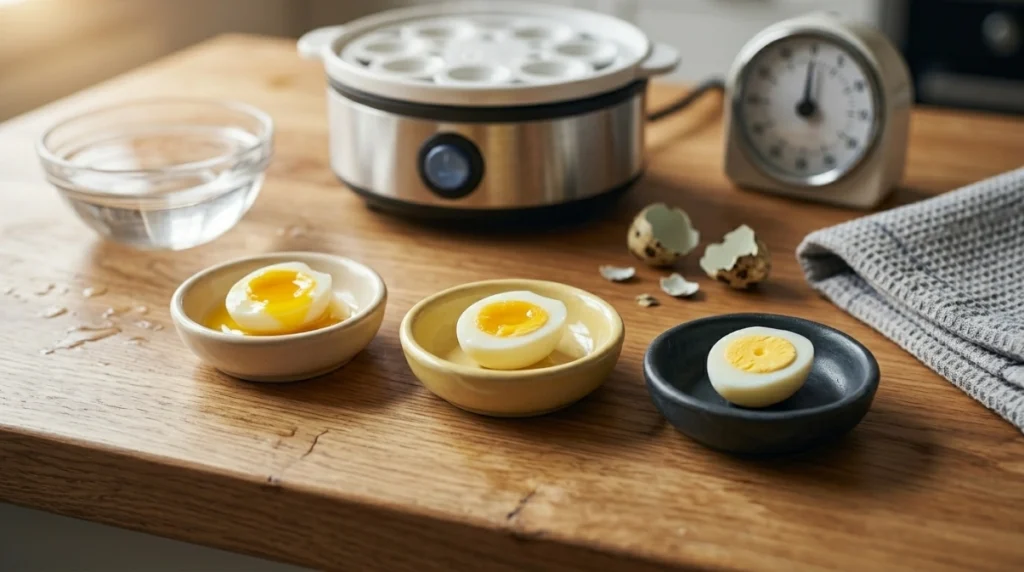
Cooking time can vary by cooker. Egg temperature and water level also matter.
Use this chart as a safe starting point:
| Desired result | Approximate time | Yolk texture |
|---|---|---|
| Soft-cooked | 3½–4 minutes | Warm and runny |
| Medium-cooked | 4½–5 minutes | Soft and jammy |
| Hard-cooked | 6–7 minutes | Fully firm |
Start counting when steady steam appears if your cooker has no timer. If it shuts off on its own, note the total cycle time for your next batch.
Always cut open one test egg before serving the rest. This is vital for children, older adults, pregnant people, and anyone with a weak immune system.
Possible Causes of Poor Results
The egg cooker may be working well even when the eggs come out wrong. In most cases, the cause is water, egg size, temperature, or tray position.
Too Much Water
Most basic egg cookers run until the water is gone. More water creates a longer steam cycle.
This means too much water can overcook tiny quail eggs. The amount marked for chicken eggs may be far too high.
Too Little Water
Too little water can make the cooker stop early. The whites may set while the center stays undercooked.
A dry heating plate can also leave a cooked-on mark. Stop the unit if you smell burning or hear unusual sounds.
Cold Eggs
Eggs taken straight from the fridge need a little more heat. Room-temperature eggs often finish sooner.
I found that cold eggs took about 30 to 60 seconds longer in my cooker. Your result may differ.
An Overloaded or Unstable Tray
Quail eggs may not sit well in a tray made for chicken eggs. They can lean, touch the lid, or roll toward one side.
Crowding also blocks the flow of steam. Cook a small test batch before filling every open space.
Mineral Buildup
White marks on the heating plate are often limescale. This layer can slow heat transfer and make results less even.
A heavy layer may also cause early shutoff or longer cycles. Regular descaling helps the cooker heat in a steady way.
A Blocked Steam Vent
Steam must leave through the lid vent. Food, shell pieces, or scale can block it.
Never cover the vent to speed up cooking. Trapped steam may lift the lid or force hot water out around its edge.
How Long to Cook Quail Eggs in an Egg Cooker
I use a small test batch of four to six eggs when trying a new cooker. This keeps waste low and makes timing easier to adjust.
Check the Cooker and Power Source
Place the cooker on a dry, level counter. Check that the cord is in good shape and that the plug fits firmly in the wall outlet.
Do not use the cooker if the cord is split or the unit smells burnt. Never handle its plug with wet hands.
Measure a Small Amount of Water
There is no single water amount that works with every model. Some cookers use time controls, while others stop when all the water has boiled away.
If your manual lists quail eggs, follow that amount first. If it does not, begin with about half the water used for the same number of hard-cooked chicken eggs.
Do not pour water above the cooker’s limit. Write down the amount so you can change it by a small step during your next test.
Arrange the Eggs Carefully
Place each egg in the insert without forcing it into a hole. Keep the eggs upright and leave room for steam to move around them.
Do not use a loose tray that can tip onto the heating plate. A stable quail egg tray is useful if the standard insert cannot hold the smaller eggs safely.
Choose the Right Cooking Point
For soft eggs, check them after about four minutes. For medium eggs, aim for five minutes.
For hard eggs, allow six to seven minutes. Add 30 seconds when the eggs are very cold, but avoid adding several minutes at once.
Cool the Eggs Right Away
Move the cooked eggs into a bowl of cold water. Let them cool for three to five minutes.
This stops the yolks from cooking further. It can also make the shells easier to peel.
Check One Egg
Peel and cut one egg in half. If the yolk is too soft, cook the remaining eggs for another 30 to 60 seconds.
If it is too firm, use less water or stop the next cycle sooner. Small changes work better than large ones.
Quick Troubleshooting Chart
This chart covers the issues I saw most often during testing:
| Symptom | Likely cause | Quick fix |
|---|---|---|
| Dry or gray yolk | Too much water or time | Shorten the cycle |
| Raw center | Too little water or time | Add 30–60 seconds |
| Uneven eggs | Crowded or tilted tray | Use fewer eggs |
| Cooker stops early | Scale or low water | Descale and retest |
| Water leaks near lid | Poor lid fit or blocked vent | Reseat lid and clear vent |
| Eggs crack | Rapid heat or damaged shells | Use sound eggs and less water |
Cleaning the Cooker for Even Heat
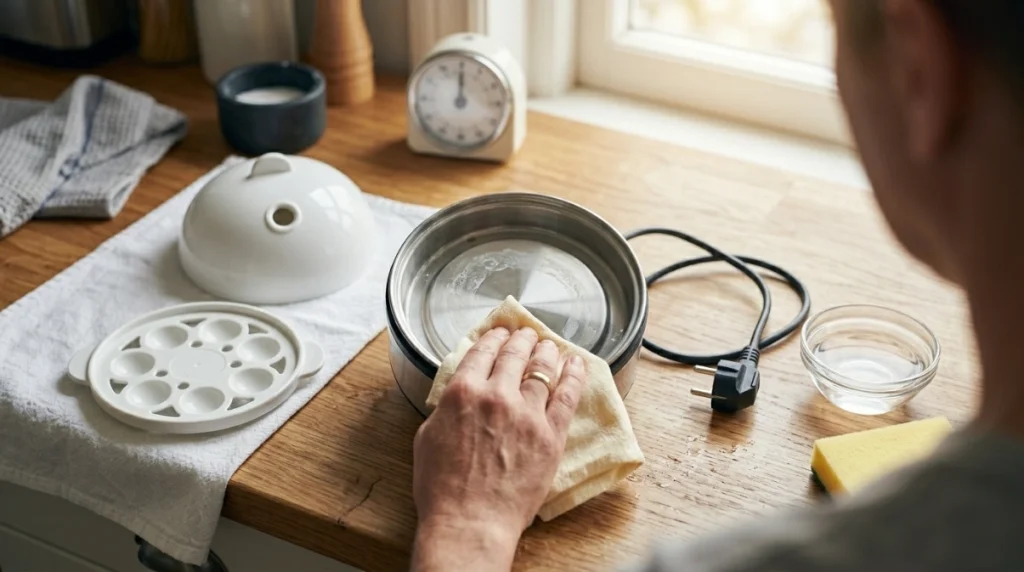
Let the unit cool and unplug it before you begin. Never place the powered base in water.
Wipe the heating plate with a soft cloth or non-abrasive sponge. Good cleaning protects the plate from scratches and helps it heat evenly.
For light scale, wipe the cool plate with diluted white vinegar. Let it sit for a few minutes, then wipe it with a damp cloth.
Use only the descaling method allowed in your manual. Do not scrape the plate with a knife, metal pad, or sharp tool.
Wash the removable tray and lid by hand unless the manual says they are safe for a dishwasher. Clear the steam vent with a soft brush, not a metal pin.
Mistakes to Avoid
The biggest mistake is using chicken egg settings without testing them. Quail eggs cook much faster because they are small.
Avoid these common errors:
- Filling the cooker with too much water.
- Leaving cooked eggs under the hot lid.
- Blocking or touching the steam vent.
- Piercing quail eggs without checking the manual.
- Packing small eggs into an unstable tray.
- Opening the lid toward your face.
- Running the cooker with no water.
- Placing the hot base under running water.
Be careful when lifting the lid. Tilt it away from your face and hands because the released steam can burn skin.
Do not open the sealed heating unit. Never bypass the safety switch, auto shut-off, or overheat protection.
If the buttons flash, the cooker beeps in an odd pattern, or it shuts down again and again, unplug it. Check the manual before using it again.
Timing Problems and Recommended Solutions
| Problem | Recommended solution | Difficulty |
|---|---|---|
| Eggs are always hard | Reduce water or cooking time | Easy |
| Eggs stay raw | Add a small amount of water | Easy |
| Tray does not hold eggs | Use a stable quail egg insert | Easy |
| Plate has white scale | Descale when cool | Easy |
| Unit will not heat | Check outlet and cord | Moderate |
| Burning smell continues | Stop using the cooker | Replace unit |
When to Replace the Egg Cooker
A timing problem alone does not mean the cooker is broken. Start by changing the water level, batch size, and egg temperature.
Replacement makes sense if the unit no longer heats, leaks from its powered base, or has a damaged cord. A strong burning smell is also a clear warning.
You should also replace it if the safety switch fails or the unit does not shut off. These parts protect against excess heat and should never be bypassed.
A cracked removable lid or tray may be replaceable. Stop using the cooker until the new part fits well and is approved for that model.
My Personal Experience
I began with eight cold quail eggs and the hard-boiled water mark for chicken eggs. The cycle lasted too long, and every yolk became dry.
For my second test, I used six eggs and about half as much water. I cooled them as soon as the cooker stopped.
Those eggs had firm whites and soft centers. They were close, but I wanted fully cooked yolks for a salad.
On my third test, I added a little more water. The cycle took just over six minutes, and the yolks were firm without a gray ring.
The best lesson was to change only one thing at a time. I kept the same number of eggs and changed only the water amount.
I also learned not to trust the sound of the shutoff alone. Cooling the eggs right away was just as important as choosing the correct cooking time.
Final Thoughts
So, how long to cook quail eggs in an egg cooker? Start with 4 minutes for soft eggs, 5 minutes for medium eggs, and 6 to 7 minutes for hard eggs.
Use a small batch first. Measure the water, keep the steam vent clear, and cool the eggs at once.
Your first test may need a small adjustment. Once you find the right water level for your cooker, write it down for easy and reliable results every time.