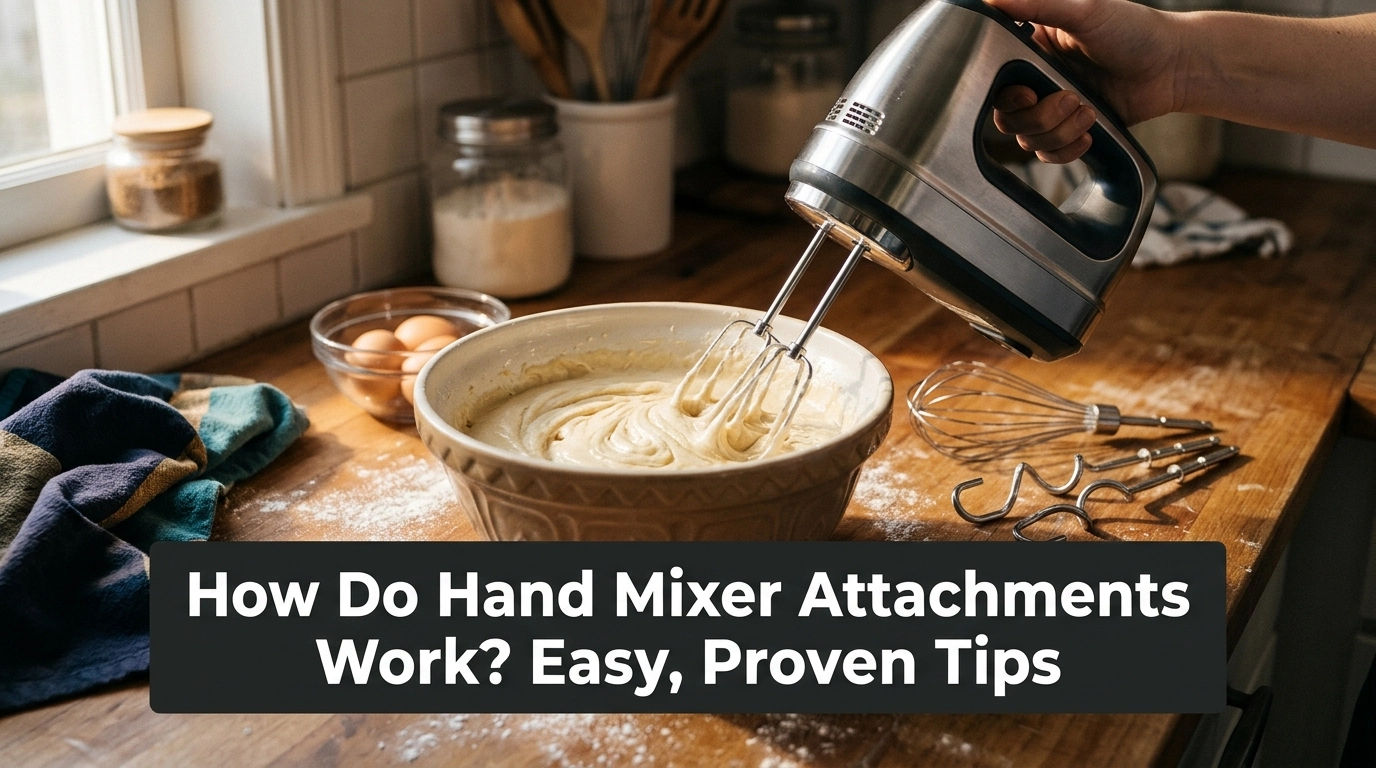
How do hand mixer attachments work? Each tool has a different shape and job. Some beat eggs, some mix cake batter, and others help whip cream.
I used to think the two beaters did the same thing. But the shape of each tool changes how it moves food. Using the right one makes mixing easier and helps prevent a mess.
This guide explains each common attachment, how to fit it, and which one to use for your recipe. It also covers common mistakes and simple ways to fix mixing problems.
Common Signs of the Problem
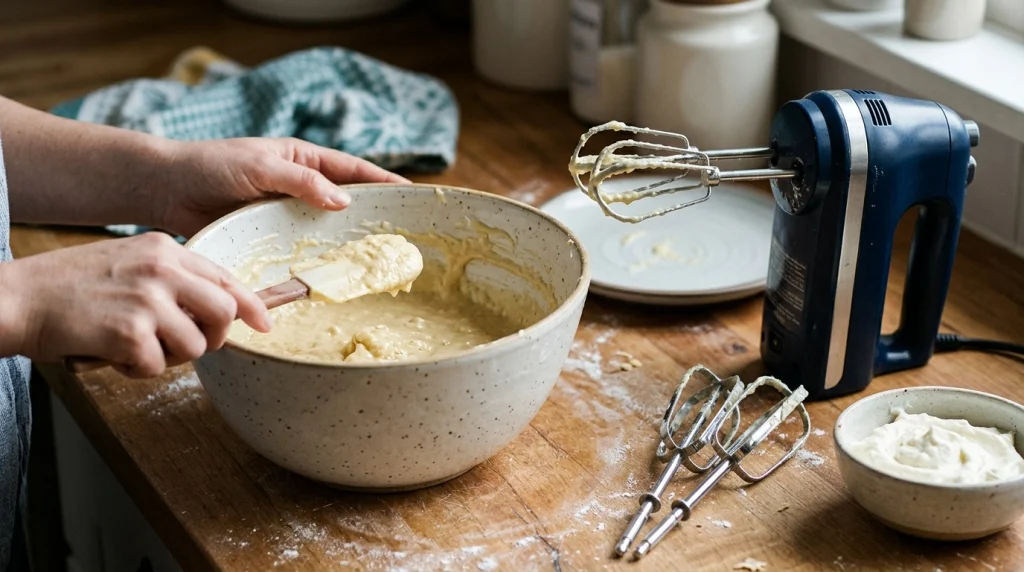
If your hand mixer does not mix food well, the attachment may not suit the job. A loose beater or a tool fitted into the wrong socket can also cause trouble.
Here are some signs to watch for:
- Lumpy batter: The tool may not reach all the food in the bowl.
- Flat whipped cream: The beaters may not add enough air, or the cream may be too warm.
- Egg whites that stay runny: The bowl or beaters may be greasy.
- Uneven mixing: One beater may not be fitted well.
- Food splashing out: The speed may be too high at the start.
- A beater that will not fit: You may have the wrong attachment or socket.
These signs do not always mean the mixer is broken. Often, a change of tool or speed solves the problem.
Possible Causes
Hand mixer attachments work by turning the motor’s movement into a mixing action. Their shape affects how they move food through the bowl.
The main causes of poor results include:
- Wrong attachment: Standard beaters are not the best choice for every task.
- Incorrect fitting: Some mixers have marked sockets for each beater.
- Wrong speed: High speed can splash liquid before it starts to blend.
- Poor bowl choice: A bowl that is too wide can make small amounts hard to mix.
- Wrong ingredients: Warm cream or greasy egg whites may not whip well.
- Worn or damaged tools: Bent metal or cracked plastic can affect mixing.
Before you buy replacement parts, check the mixer manual. Some models use special beaters that may not fit other brands.
How Do Hand Mixer Attachments Work?
The best way to understand the tools is to look at their shape and purpose. Most hand mixers use a pair of beaters, while some models include other attachments.
1. Standard Beaters: For Everyday Mixing
Standard beaters are the two metal tools most people use first. Their narrow loops move through food and help blend ingredients.
Use them for cake batter, pancake mix, eggs, cookie dough, and mashed potatoes. They are a good choice for most everyday kitchen tasks.
Start at a low speed. Raise it as the food blends. This helps keep flour and liquid inside the bowl.
2. Whisk Attachment: For Adding Air
A whisk has thin wires instead of broad metal loops. These wires move air into food as they turn.
Use a whisk for cream, egg whites, light sauces, and other mixtures that need a fluffy texture. It can help make soft peaks or stiff peaks when the recipe and ingredients allow it.
For best results, use a clean, dry bowl when whipping egg whites. A little fat can stop them from reaching their full volume.
3. Dough Hooks: For Thick Mixtures
Some hand mixers come with dough hooks. These have curved shapes that help move and fold dough.
They may work for small batches of soft dough, depending on the mixer. However, many hand mixers are not built for heavy bread dough.
Check the manual before using dough hooks. If the maker says the mixer is not suitable for kneading, use a stand mixer or knead by hand instead.
4. Identify the Correct Attachment
Not every hand mixer comes with all three tools. Some models include only standard beaters, while others offer a whisk or dough hooks.
| Attachment | Best Use | Main Action |
|---|---|---|
| Standard beaters | Eggs, cake batter, sauces | Blends and mixes |
| Wire whisk | Cream and egg whites | Adds air |
| Dough hooks | Suitable soft dough | Folds and works dough |
Always use attachments made for your model. A tool that looks similar may not lock into place or turn safely.
5. Fit the Attachments Correctly
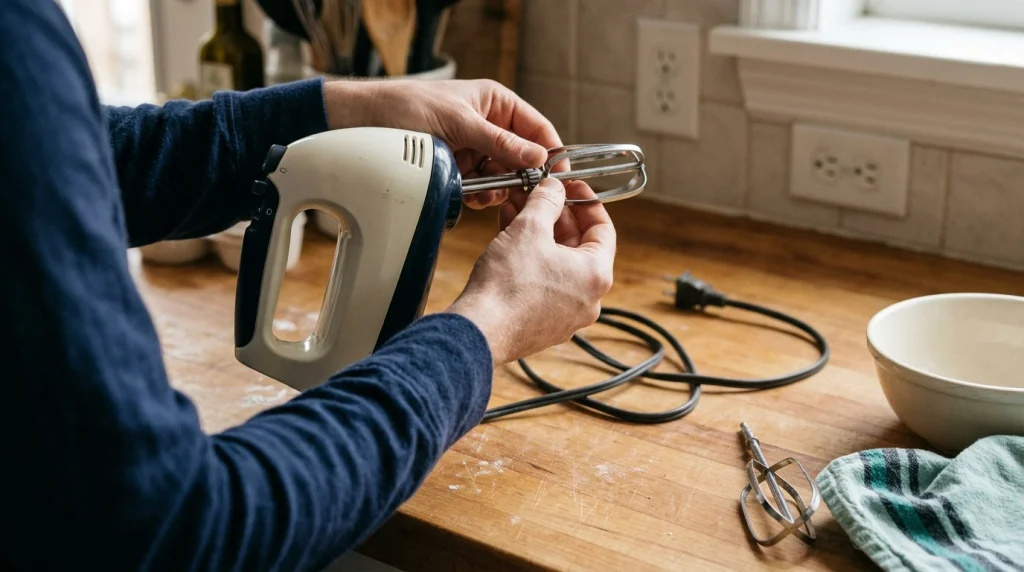
Turn the mixer off and unplug it before fitting or removing any tool. Line up each attachment with its socket, then push it in as the manual directs.
Some mixers have different-sized sockets or marked positions. Others use a simple release button to remove the tools.
Never force an attachment into place. If it will not fit, check the model number and instructions before trying again.
Around this point, it is worth checking whether your mixer needs a replacement beater or whisk. A bent tool or one with a damaged fitting may not work properly. A compatible replacement is safer than trying to reshape the old part.
6. Choose the Right Speed
Low speed is best when you first add flour, milk, or other loose ingredients. It helps stop splashes and keeps dry ingredients from flying out of the bowl.
Medium speed often works well for cake batter and eggs. High speed can help whip cream or egg whites, but start slowly and increase the speed when needed.
Use the speed limits in your manual. Thick mixtures can strain a small motor, even when you use the correct attachment.
7. Clean the Attachments After Use
Turn off and unplug the mixer before removing the tools. Press the release button if your model has one, and pull the attachments out as directed.
Wash removable tools with warm, soapy water if the manual allows it. Some attachments are dishwasher-safe, but others need hand washing.
Keep the motor body away from water. Wipe it with a slightly damp cloth, then dry it. Good cleaning habits help remove food residue and keep the attachments ready for the next recipe.
8. Check for Mixing Problems
If the food still looks uneven, stop the mixer and check the attachment. Make sure both beaters are fitted correctly and neither one is bent.
Use a spatula to scrape food from the sides of the bowl while the mixer is unplugged. Then restart at a low speed.
If the motor smells burnt, makes unusual grinding noises, or becomes very hot, switch it off and unplug it. Do not open the motor housing or try to repair its internal wiring.
Mistakes to Avoid
Small errors can affect both the result and the life of your mixer. These are the ones worth avoiding.
- Using one tool for every job: A whisk is better for adding air, while standard beaters suit many everyday mixes.
- Starting too fast: Loose ingredients can splash out before they blend.
- Forcing attachments: This can damage the fitting or release mechanism.
- Using the wrong tools for heavy dough: This can strain the motor.
- Touching moving beaters: Always switch off and unplug the mixer before scraping the bowl or removing a tool.
- Ignoring damage: Do not use bent metal, cracked plastic, or loose fittings.
- Immersing the motor body: Water can damage electrical parts and create a shock risk.
Never bypass a safety feature or open a sealed motor unit. If the mixer has an electrical fault, seek help from a qualified repair service.
When to Replace the Hand Mixer or Its Attachments
A damaged attachment does not always mean you need a new mixer. If the motor works well and the problem is limited to one tool, a compatible replacement may be enough.
| Repair Issue | Recommended Action | Replace Instead? |
|---|---|---|
| Bent beater | Find a compatible replacement | Usually no |
| Missing whisk | Check parts for your model | Usually no |
| Loose attachment fitting | Check the socket and locking system | Maybe |
| Cracked tool | Stop using it and replace it | Usually no |
| Burning smell or failing motor | Stop use and seek a repair check | Often worth considering |
Check the cost and availability of parts before replacing the whole appliance. If the motor repeatedly overheats, sparks, or smells burnt, stop using it until it has been assessed.
My Personal Experience
When testing how different attachment shapes affect mixing, I found that choosing the tool for the job matters more than using a high speed. Standard beaters are useful for everyday recipes, while a whisk is better suited to mixtures that need air.
I would start with a small amount of liquid or batter at low speed. Then I would raise the speed slowly and watch the texture. This makes it easier to spot splashing, uneven mixing, or a tool that is not turning as expected.
I would also check that the beaters are secure before switching the mixer on. If the mixture stays lumpy, I would pause, scrape the bowl with the mixer unplugged, and continue at a suitable speed.
The biggest lesson is simple: the right attachment helps, but the ingredients, bowl, and speed matter too. There is no single tool that works best for every recipe.
Final Thoughts
Hand mixer attachments work by using different shapes to blend ingredients, add air, or work suitable dough. Standard beaters handle many daily tasks, a whisk helps create a light texture, and dough hooks suit only the mixtures allowed by the maker.
Choose the correct tool, fit it securely, and start at a low speed. Clean the attachments after use and replace any damaged parts rather than trying to repair them by force.
If the mixer still struggles with the right attachment, check the manual and stop using it if you notice heat, sparks, or a burning smell. Safe use and the right tool can make mixing easier and help your appliance last longer.