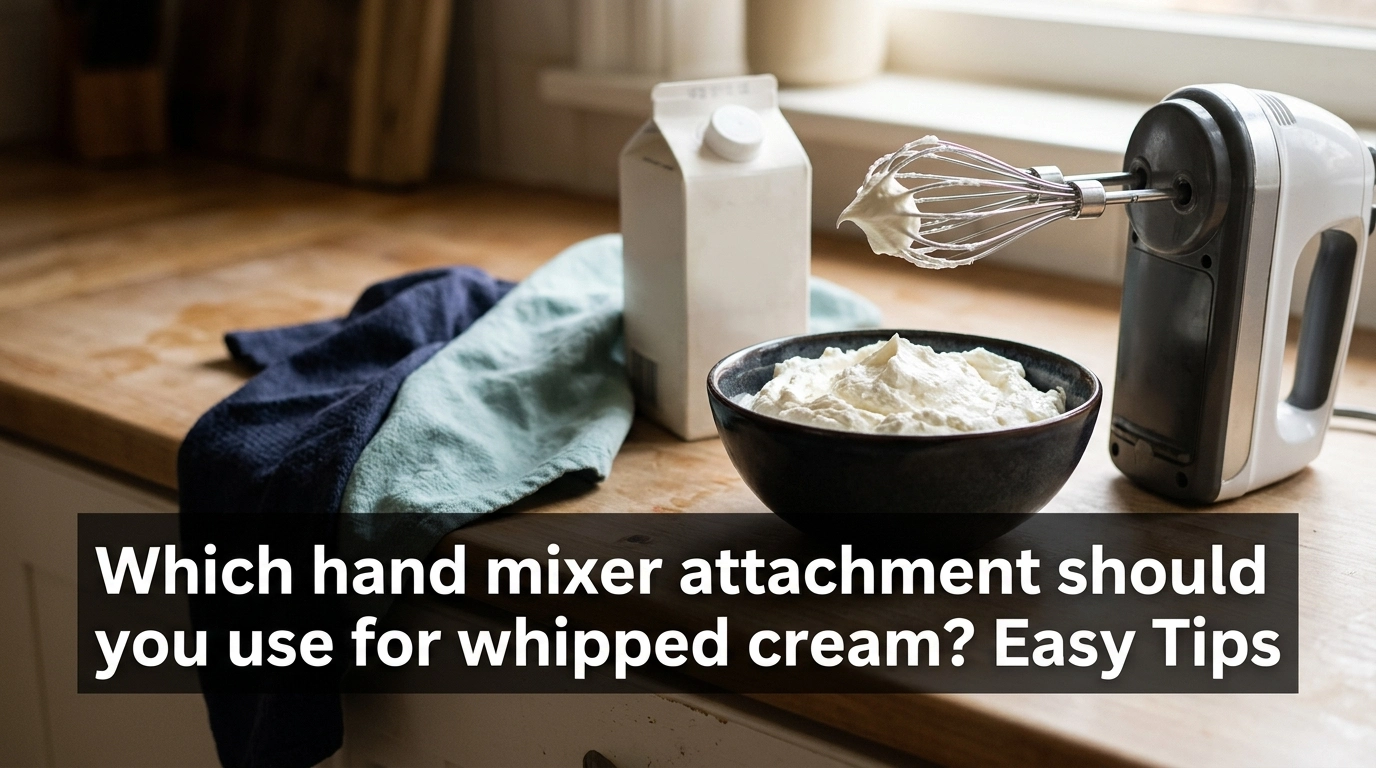
Which hand mixer attachment should you use for whipped cream? The answer is the standard wire whisk attachment. It adds air to the cream and helps it turn thick, light, and fluffy.
I find it helps to start with cold cream and a clean bowl. Using the wrong attachment can slow the process or leave you with cream that stays thin.
In this guide, I will explain which attachment works best, how to use it, and what to do if your cream will not thicken. These simple tips can help you get better results at home.
Common Signs of the Problem
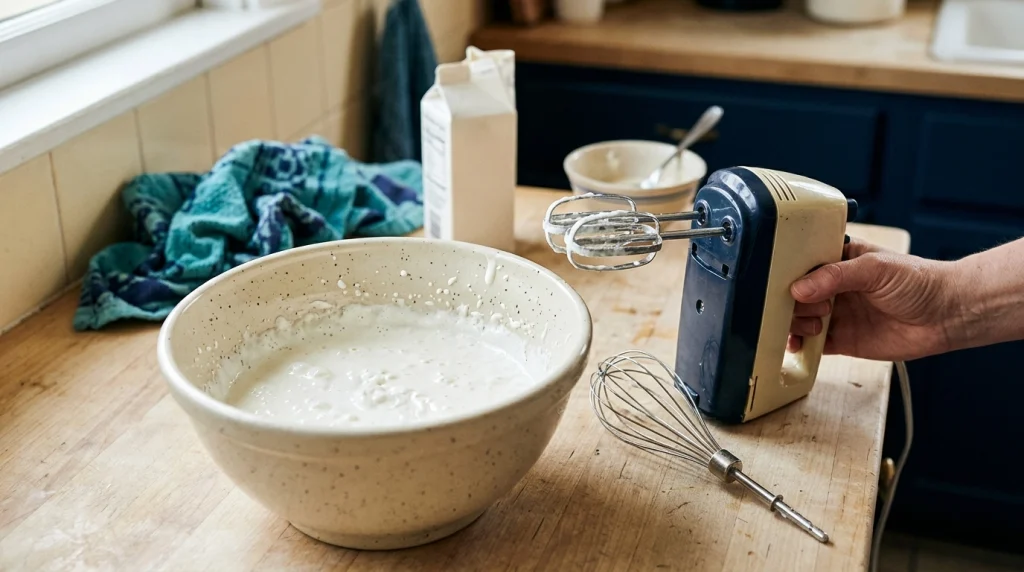
The wrong attachment can make whipping cream harder than it needs to be. Here are some signs to watch for.
- The cream stays thin: It may need more time, or the cream may be too warm.
- The cream forms large bubbles: The mixer may be moving too fast at the start.
- The cream splashes out: The bowl may be too small, or the speed may be too high.
- The cream turns grainy: It may have been whipped for too long.
- The cream will not hold peaks: The cream may have too little fat, or it may still need more whipping.
These signs do not always mean the attachment is wrong. Cream temperature, fat content, and mixing speed also matter.
Possible Causes
A few simple things can affect the final result. I would check these before changing your mixer or buying new parts.
- Wrong attachment: Beaters can whip cream, but wire whisks are usually better at adding air.
- Warm cream: Cold cream generally whips faster and holds its shape better.
- Low-fat cream: Cream with too little fat may never form firm peaks.
- Wrong speed: Starting at high speed can cause splashes and uneven mixing.
- Overwhipping: Too much mixing can make the cream grainy and eventually turn it into butter.
- Dirty equipment: Grease or food residue can affect the result.
The key is to use the right attachment with cold cream. Then adjust the speed as the cream thickens.
How to Choose the Right Hand Mixer Attachment for Whipped Cream
1. Use the Wire Whisk Attachment
The wire whisk is the best choice for most hand mixers. Its thin wires move through the cream and trap air as you mix.
This helps the cream grow in volume and become soft and fluffy. If your mixer came with a whisk attachment, start with that one.
2. Know When to Use Standard Beaters
Standard beaters can also whip cream if your mixer does not have a whisk. They may take a little longer to produce the same light texture.
I would use the beaters rather than buy a new mixer just for whipped cream. Make sure both beaters are fitted securely before switching the mixer on.
3. Avoid Dough Hooks
Dough hooks are made to mix and knead thick dough. They are not designed to add air to cream.
Using them will not give you the best results. Choose the whisk or standard beaters instead.
4. Chill the Cream and Bowl
Cold cream is easier to whip than warm cream. Keep it in the fridge until you are ready to use it.
For an extra boost, chill your mixing bowl and beaters for about 10–15 minutes. This can help the cream stay cold as you work.
5. Start at Low Speed
Pour the cream into a deep bowl. Place the whisk tips into the cream before switching the mixer on.
Start at low speed to limit splashes. Increase the speed once the cream begins to thicken.
6. Watch for Soft and Firm Peaks
Soft peaks form when you lift the whisk and the cream makes a peak that bends over. This stage works well for topping desserts and folding cream into other mixtures.
Firm peaks stand more upright when you lift the whisk. They are useful when you need cream that holds its shape for piping or decorating.
Stop as soon as the cream reaches the texture you want. A few extra seconds can make a difference.
7. Check the Cream’s Fat Content
Heavy cream or whipping cream with enough fat is best for this task. The exact fat level depends on the product and the result you need.
Some light creams do not whip well, even with the correct attachment. Check the package before you start.
8. Clean the Attachments After Use
Wash the whisk or beaters soon after whipping. Dried cream can stick between the wires and become harder to remove.
Good cleaning habits also help prevent old food residue from affecting your next batch. Use warm, soapy water unless the manufacturer says the attachment is dishwasher-safe.
If a whisk is bent, loose, or damaged, check whether the manufacturer offers a suitable replacement. You do not need special accessories to make ordinary whipped cream.
Attachment Comparison Table
| Attachment | Best Use | Works for Cream? |
|---|---|---|
| Wire whisk | Whipping and adding air | Yes, best choice |
| Standard beaters | Mixing and beating | Yes |
| Dough hooks | Kneading dough | No, not recommended |
Quick Troubleshooting Table
| Symptom | Likely Cause | Quick Fix |
|---|---|---|
| Cream stays thin | Warm cream or low fat | Chill cream and check the label |
| Cream splashes | Speed too high | Start on low |
| Cream looks grainy | Overwhipping | Stop mixing |
| Cream has soft peaks | Not fully whipped yet | Mix briefly at a higher speed |
| Cream will not whip | Unsuitable cream | Use cream made for whipping |
Mistakes to Avoid
Small mistakes can change the texture of your whipped cream. Keep these points in mind.
- Do not start at full speed. This can send cream across the counter.
- Do not use warm cream. It may take longer to thicken and can become harder to handle.
- Do not walk away while mixing. Cream can go from fluffy to grainy very quickly.
- Do not use dough hooks. They are made for a different job.
- Do not overfill the bowl. Leave room for the cream to expand as air enters it.
- Do not ignore damaged attachments. Stop using a whisk or beater that is bent, cracked, or loose.
Always switch off and unplug the mixer before removing or changing attachments. Keep your fingers away from moving beaters, and never try to adjust them while the mixer is running.
If the mixer sparks, smells burnt, or makes an unusual electrical noise, unplug it and stop using it. Do not open the motor housing or attempt unsafe electrical repairs.
When to Replace the Hand Mixer Attachment
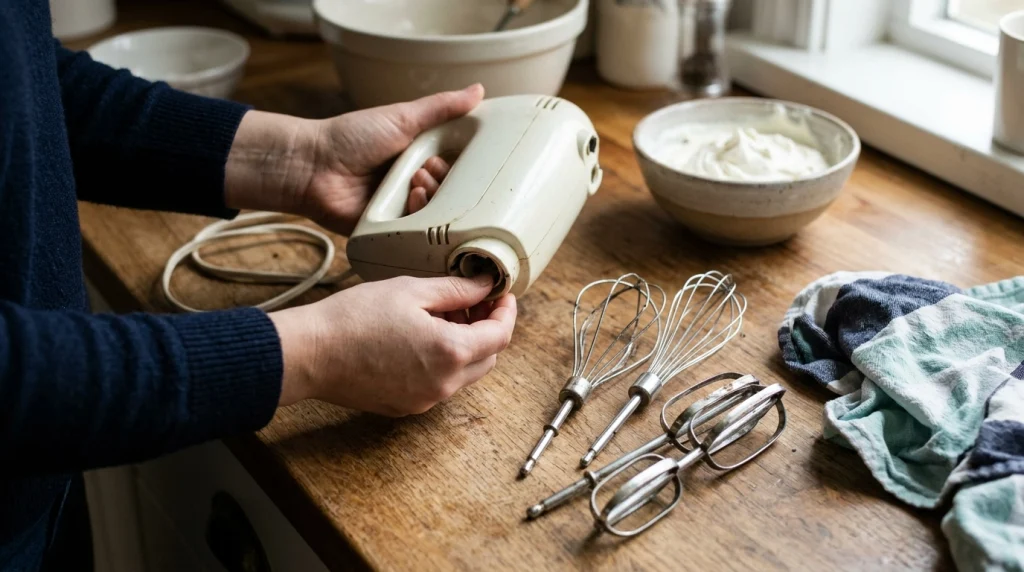
You usually do not need to replace an attachment just because cream takes longer to whip. First, check the cream, temperature, speed, and attachment fit.
Replacement may make sense if the whisk wires are bent, the attachment no longer locks into place, or the metal has signs of damage. Use a part made for your exact mixer model.
| Repair Issue | Recommended Action | Replace Instead? |
|---|---|---|
| Bent whisk wires | Check for a compatible replacement | Often yes |
| Loose attachment | Check the fitting and model guide | If damaged |
| Cream will not thicken | Check cream type and temperature | Usually no |
| Damaged mixer or exposed wires | Stop using it | Seek qualified service |
My Personal Experience
When making whipped cream, I would start with the wire whisk, cold cream, and a chilled bowl. I would begin at low speed, then increase it as the cream thickens.
One common mistake is to keep mixing because the cream still looks soft. I would pause and check for peaks instead of running the mixer without watching the texture.
If the cream stays thin, I would check its fat content and temperature before blaming the mixer. Changing attachments will not solve every problem.
My main lesson is simple: the right whisk helps, but the cream itself matters just as much. Careful speed control also helps prevent a grainy result.
Final Thoughts
The best answer to which hand mixer attachment should you use for whipped cream is the wire whisk attachment. It is designed to add air and create a light texture.
If your mixer has no whisk, standard beaters can still work. Use cold whipping cream, start slowly, and stop when you reach the peaks you want.
Avoid dough hooks, watch the cream closely, and clean the attachments after use. These simple steps can help you make smooth, fluffy whipped cream without special equipment.