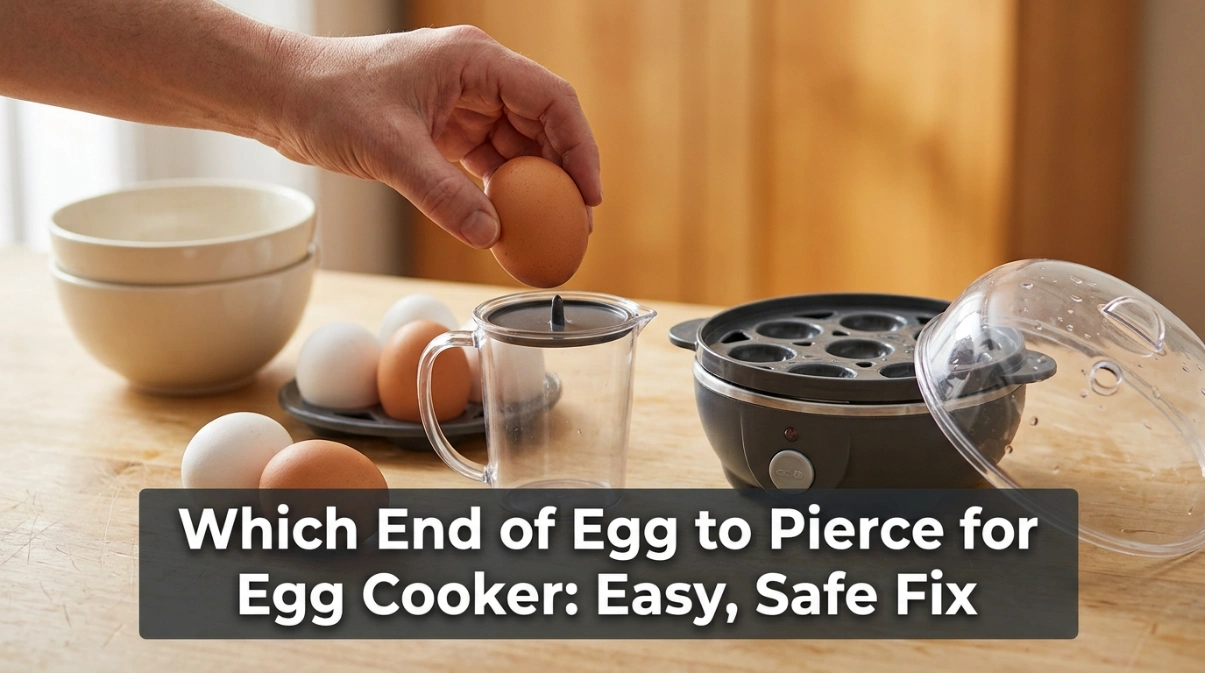
If you are wondering which end of egg to pierce for egg cooker, the answer is simple. Pierce the large, blunt end of the egg, not the narrow pointed end.
The blunt end normally contains the egg’s air pocket. Making a tiny hole there can help steam and pressure escape while the egg cooks.
I learned that the size and position of the hole matter too. A tiny pinhole worked well, while a deep or wide hole often caused egg white to leak out.
This guide explains where to make the hole, how to do it safely, and what to check if your eggs still crack.
Common Signs of the Problem
The most common problem is a cracked shell during cooking. Sometimes a small amount of egg white also comes through the hole.
I have also seen eggs cook normally but become harder to handle because the piercing hole was too large. This usually happens when too much force is used.
You may notice:
- Cracked shells during steaming
- Egg white leaking from the hole
- A hole made in the pointed end
- Eggs breaking while placing them in the tray
- A large hole instead of a tiny pinhole
- Uneven results from one batch to another
Many egg cookers include a water measuring cup with a small piercing pin on the bottom. I find this much easier to control than a kitchen knife or large needle.
If your original cup is lost, a compatible replacement measuring cup with an egg-piercing pin can be useful. Just make sure it matches the type of cooker you own.
| Symptom | Likely Cause | Quick Fix |
|---|---|---|
| Shell cracks | Wrong end pierced or no hole | Pierce the blunt end |
| Egg white leaks | Hole is too large or deep | Make only a tiny pinhole |
| Egg breaks while piercing | Too much pressure | Hold gently and press slowly |
| Results vary | Piercing method changes | Use the same method each batch |
Possible Causes
Most piercing problems are not caused by the heating plate or electrical parts. They usually come from how the egg is prepared.
The first cause is piercing the pointed end. The air pocket is normally at the broader end, so that is the end most egg cooker instructions mean when they tell you to pierce the shell.
Another common cause is pushing the pin too far. You only need to break through the shell.
Using the wrong tool can also cause trouble. A knife tip, thick skewer, or large nail may make the hole much wider than needed.
Very cold eggs may also be more likely to crack when exposed to sudden heat. I prefer to handle refrigerated eggs gently and avoid dropping them onto the tray.
The amount of water matters too. Egg cookers normally use water to control cooking time, so I follow the measuring marks supplied with the cooker rather than guessing.
Which End of Egg to Pierce for Egg Cooker: How to Do It
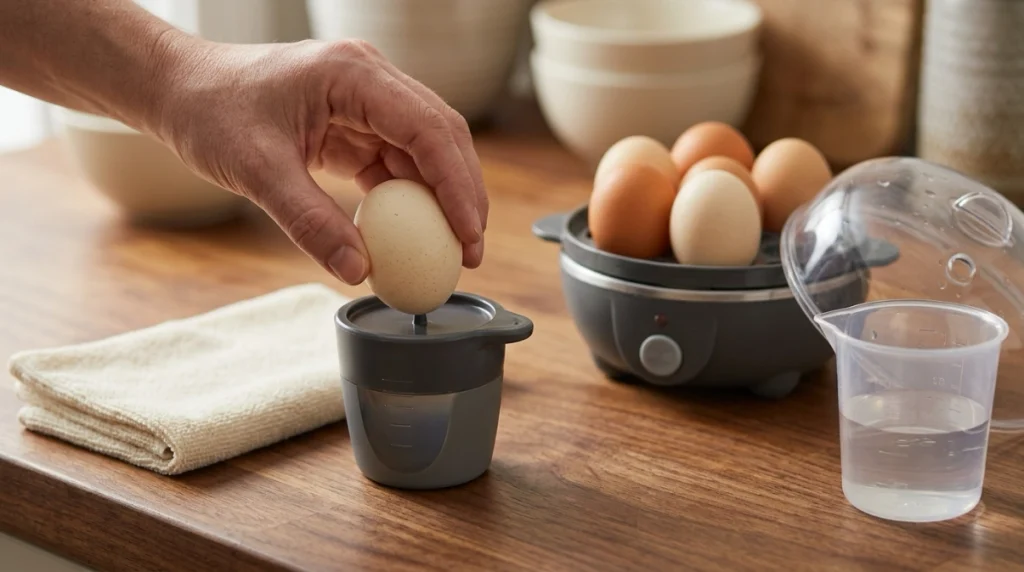
The large or blunt end is the correct end to pierce on most egg cookers that require egg piercing.
Look at the egg from the side. One end will appear narrow and pointed, while the other is wider and more rounded. Pierce the wider end.
Find the Blunt End
Place the egg in your hand and look at both ends.
The pointed end is usually easy to spot. Turn the egg around and use the broad, round end for the piercing hole.
I place the egg with the blunt end facing upward before using the piercing pin. This gives me more control.
Make One Tiny Hole
Use the piercing pin supplied with the egg cooker’s measuring cup when possible.
Press the egg down very gently until the pin just passes through the shell. You do not need to push the pin deep into the egg.
I found that forcing it harder did not improve cooking. It only increased the chance of making a large hole or cracking the shell.
Put the Pierced End in the Correct Position
Tray design can differ between egg cookers. On many models, the pierced end is placed upward while the eggs cook.
However, I always check the instructions for the specific cooker before loading the tray. Some designs may give their own placement directions.
The key point is not to assume every cooker works exactly the same way.
Measure the Water Correctly
The water measuring cup is more important than it may look.
Many cookers provide different water marks for soft, medium, and hard-boiled eggs. I use those marks as my starting point.
Too little water may stop cooking too early. Too much water may keep the eggs heating longer than expected.
| Problem | Recommended Solution | Difficulty |
|---|---|---|
| Unsure which end to pierce | Use the large blunt end | Easy |
| Hole keeps getting too large | Use the supplied piercing pin | Easy |
| Eggs crack while cooking | Check piercing and water amount | Easy |
| Egg white leaks | Make a shallower hole | Easy |
| Eggs overcook | Recheck measuring cup level | Easy |
Check the Egg Tray
Before starting, make sure every egg sits securely in the egg tray.
A tilted egg can move as the water boils. I have found that stable placement makes the whole process much more predictable.
Also check that the tray is seated correctly over the heating plate.
Keep the Piercing Pin Clean
Dried egg white can build up around a piercing pin. That can make the tool harder to use and may cause you to push harder than needed.
A quick cleaning with warm water and a soft cloth is normally enough. I avoid harsh scrubbers because they can damage plastic measuring cups.
The same applies to the egg tray and lid. Keeping them clean makes it easier to spot cracks, dirt, or damage before the next batch.
Check the Lid and Steam Vent
Piercing the egg does not replace the steam vent in the lid.
Make sure the vent is open and free from dried food or mineral deposits. Steam needs a safe way to leave the cooker.
Never block the vent or cover it while the cooker is running.
Mistakes to Avoid
The biggest mistake is piercing the narrow pointed end because it seems easier to balance.
For most cookers that use pierced eggs, the blunt end is the better choice because that is where the air pocket normally sits.
Do not make a large hole. A tiny opening is enough.
I also avoid using sharp kitchen knives. They are harder to control and can slip against the curved shell.
Do not hold an egg directly over a powered or hot heating plate while piercing it. Prepare the eggs before starting the cooker.
Never open the electrical base to solve an egg-piercing problem. There is no reason to bypass a safety switch, auto shut-off, or overheat protection system for this issue.
If the cooker has a damaged cord, exposed wiring, burning smell, or electrical fault, unplug it and stop using it.
When to Replace the Egg Cooker
Piercing the wrong end does not normally mean the egg cooker itself needs replacing.
If the tray, measuring cup, or piercing pin is damaged, replacing that simple accessory may be enough.
The cooker itself becomes more concerning when there are electrical problems.
| Repair Issue | What I Would Do | Replace Cooker? |
|---|---|---|
| Missing piercing cup | Replace the cup | No |
| Cracked egg tray | Replace compatible tray | Usually no |
| Damaged lid | Replace if available | Usually no |
| Damaged power cord | Stop using cooker | Often yes |
| Burning smell from base | Unplug immediately | Usually yes |
| Heating failure | Check warranty/service options | Possibly |
I would not try to open a sealed heating base at home. The cost and safety risk rarely make sense for a small countertop appliance.
If the unit repeatedly overheats, smells burned, or trips the outlet, replacement is usually safer than a DIY electrical repair.
My Personal Experience
The biggest lesson from my troubleshooting process was that more force does not make a better piercing hole.
The most reliable method was simple. I found the large rounded end, placed it gently over the small piercing pin, and applied only enough pressure to break the shell.
When I made the hole too deep, egg white sometimes appeared around the opening. That told me I was pushing farther than needed.
I also learned not to blame the piercing hole for every bad batch. Water level, egg size, tray placement, and cooking setting can all affect the final result.
When shells cracked, I checked one thing at a time. First the piercing point, then the hole size, water amount, tray fit, and lid vent.
That simple order made the problem much easier to find.
I now treat the piercing step as a gentle preparation step rather than something that needs force. A small, neat hole in the blunt end is all I aim for.
Final Thoughts
So, which end of egg to pierce for egg cooker use? In most egg cookers that require piercing, make a tiny hole in the large, blunt end of the egg.
That end normally contains the air pocket. Use the piercing pin supplied with the measuring cup, and only break through the shell.
Avoid making a deep or wide hole. Check the water level, egg tray, lid, and steam vent if cracking continues.
Most important, follow your egg cooker’s manual if its instructions differ. A gentle pinhole and correct water amount are usually all you need for clean, consistent eggs.