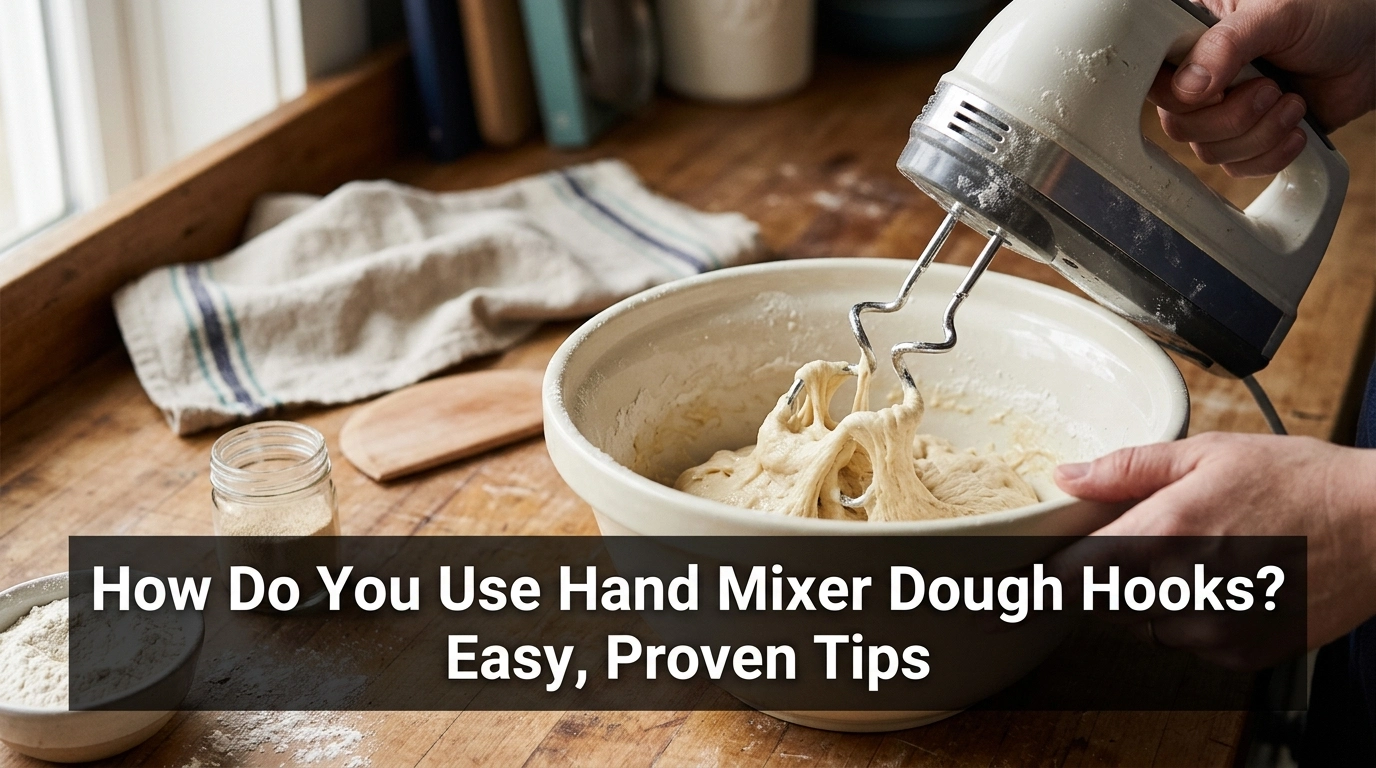
How do you use hand mixer dough hooks to make bread dough at home? The key is to fit the hooks well, use the right speed, and add flour with care.
I find that dough hooks can make mixing much easier than using a spoon. But they do not work like egg cooker parts or regular beaters. They are made to mix and knead dough.
In this guide, I will explain how to fit the hooks, mix dough, avoid common mistakes, and know when to stop. I will also share practical tips to help you get better results.
Common Signs of the Problem
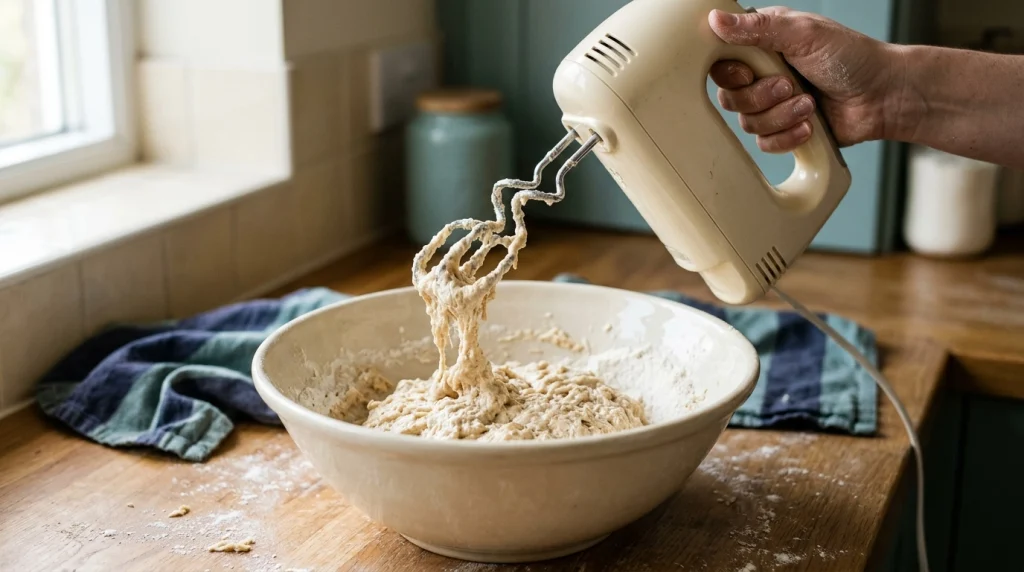
Dough hooks can seem hard to use at first. You may notice a few issues when mixing bread or pizza dough.
- Dough sticks to the hooks: The dough may be too wet or soft.
- Dough wraps around the hooks: This can happen when the dough is sticky or the mixer is too slow for the mix.
- The mixer shakes or strains: The dough may be too firm, or the mixer may not suit heavy dough.
- Flour stays dry: The dough may need more liquid or better mixing.
- The dough stays rough: It may need more mixing or a short rest.
These signs do not always mean the hooks are faulty. Often, the dough mix, speed, or mixer type is the cause.
Possible Causes
Before you start, it helps to know what can go wrong. Most problems have a simple cause.
- Wrong attachments: Regular beaters are not made for kneading bread dough.
- Too much flour: A stiff dough can strain a small hand mixer.
- Too much water: Very wet dough may cling to the hooks.
- High speed too soon: This can spread flour and splash liquid.
- Too much dough: A small mixer may not handle a large batch.
- Wrong mixer type: Some hand mixers are not designed for dough hooks.
- Poor hook fit: Hooks that are not locked in place may not turn as they should.
Check your mixer manual first. Some models come with dough hooks, while others do not support them.
How Do You Use Hand Mixer Dough Hooks?
The best way is to start with the right tools and a small batch. Follow these steps for a smooth and safe mix.
1. Check That Your Mixer Supports Dough Hooks
Look at the manual or the maker’s website. Make sure your hand mixer can use dough hooks and can handle the type of dough you want to make.
Do not force hooks into slots made for other beaters. If your mixer does not support them, use a sturdy spoon or knead the dough by hand.
2. Fit the Dough Hooks Correctly
Unplug the mixer before fitting the hooks. Match each hook to the correct slot, if the manual shows a set order.
Push each hook in until it locks in place. Give each one a gentle pull to check that it is secure. Never fit or remove hooks while the mixer is plugged in.
3. Measure Your Ingredients
Measure the flour, water, yeast, salt, and other ingredients in line with your recipe. Too much flour can make dough hard to mix.
Start with a small batch. If you are new to bread making, a small loaf is easier to manage than a large batch.
| Problem | Likely cause | Quick fix |
|---|---|---|
| Dry, crumbly dough | Too little liquid | Add a little water |
| Very sticky dough | Too much liquid | Add flour in small amounts |
| Mixer strains | Dough is too firm | Stop and check the recipe |
| Dry flour remains | Poor mixing | Stop and scrape the bowl |
4. Start at a Low Speed
Place the hooks in the bowl before turning on the mixer. Start at the lowest speed to bring the flour and liquid together.
Keep the hooks in the dough as much as possible. This helps reduce flour clouds and splashes. Increase the speed only if your manual and recipe allow it.
5. Mix Until the Dough Comes Together
Let the hooks pull the wet and dry ingredients together. Stop the mixer now and then if needed, and unplug it before scraping the bowl.
If the dough looks dry, check the recipe before adding more liquid. Add water in small amounts so the dough does not become too wet.
6. Knead in Short Sessions
Once the dough forms a rough ball, use the speed and timing stated in your manual. Many recipes need several minutes of kneading, but the right time depends on the dough and mixer.
Watch the motor as you work. If the mixer gets very hot, smells burnt, or struggles to turn, switch it off and unplug it. Let it cool and check the manual before using it again.
7. Check the Dough by Hand
Turn off and unplug the mixer before touching the dough or removing the hooks. The dough should usually feel more even and elastic after enough kneading.
For many bread recipes, a small piece can stretch without tearing at once. This is a useful clue, but some doughs need a different texture. Follow your recipe for the best result.
8. Clean the Hooks After Use
Unplug the mixer before removing the hooks. Take off any dough with your fingers or a soft utensil, then wash the hooks as the manual directs.
Good cleaning helps stop dried dough from building up around the hook joints. Dry the hooks fully before putting them away. Do not immerse the mixer body in water.
Useful accessories are simple. A sturdy mixing bowl, a dough scraper, and a kitchen scale can make the job easier. Buy replacement hooks only if the maker confirms they fit your model.
Mistakes to Avoid
A few small mistakes can make mixing harder or damage your mixer.
- Do not start at high speed. Flour may fly out of the bowl.
- Do not force stiff dough. Add ingredients as your recipe directs, and stop if the motor strains.
- Do not exceed the batch limit. A hand mixer may suit small batches but not dense dough.
- Do not use the wrong attachments. Regular beaters may not knead dough well.
- Do not pull dough off moving hooks. Always switch off and unplug first.
- Do not ignore a burning smell. Stop using the mixer and let it cool.
Never open the motor housing or try to repair live electrical parts. Do not bypass safety switches or use a damaged power cord. If the mixer keeps overheating, seek help from a qualified repair service.
When to Replace the Dough Hooks or Mixer
You may not need a new mixer just because the dough is hard to mix. First, check the recipe, batch size, and mixer limits.
| Repair issue | Possible action | Replace instead? |
|---|---|---|
| Bent or cracked hook | Check for a maker-approved part | Replace the hook |
| Hook will not lock in place | Check the slot and manual | Repair if safe and worthwhile |
| Motor strains with light dough | Stop and seek service | Consider a new mixer |
| Burning smell or damaged cord | Stop using it | Replace or have it repaired |
| Mixer cannot knead your recipe | Use hand kneading or a suitable mixer | Consider an upgrade |
The best choice depends on the cost of repair and the mixer’s age. If the motor repeatedly struggles with dough within its stated limit, a mixer designed for heavier work may be a better choice.
My Practical Experience With Dough Hooks
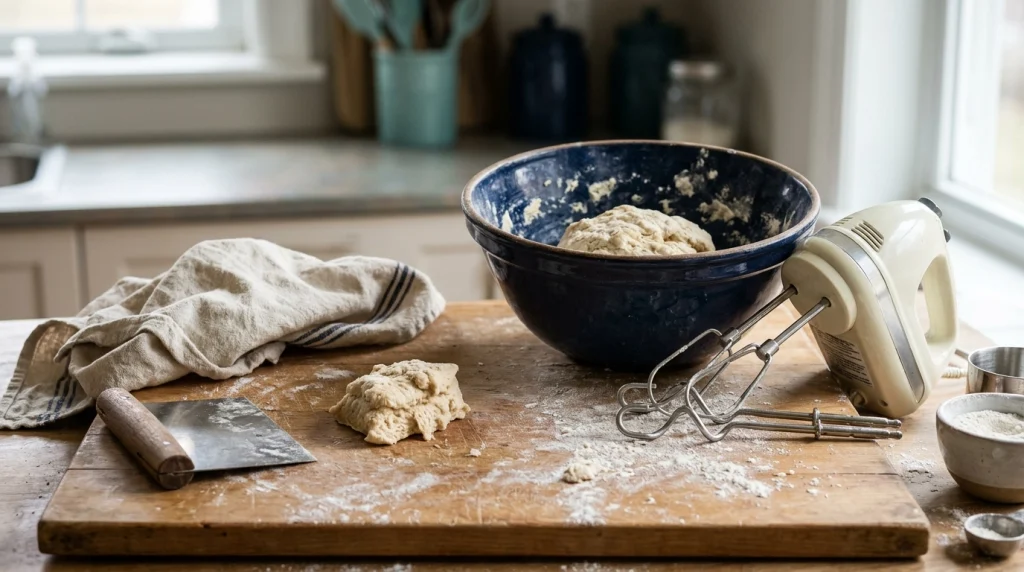
When learning to use dough hooks, I would start with a small batch and watch how the dough changes. This makes it easier to spot whether the mix is too dry, too wet, or too firm.
I cannot claim personal testing of your exact mixer model. However, these are useful checks based on normal mixer use and bread-making methods.
First, I would check that both hooks fit securely. Then I would add the measured ingredients, start on low, and let the dough come together before kneading further.
If the dough clings to the hooks, I would stop and check its texture before adding flour. Too much extra flour can make bread dry and firm. If the motor strains, I would stop rather than push it harder.
The main lesson is simple: use a suitable mixer, make a small batch, and follow the manual. These steps can prevent many common problems.
Final Thoughts
How do you use hand mixer dough hooks? Fit the right hooks, measure your ingredients, start slowly, and knead only within the mixer’s limits.
If the dough is too sticky or firm, check the recipe before changing it. Stop if the motor strains, overheats, or smells burnt.
With the right method, dough hooks can save time and help you prepare bread, pizza, and other doughs at home. Always put safety first and let your mixer guide the size and type of dough you make.