
I love making quick meals for my hungry family. But last week, I ran into a really huge problem. I put my food in the basket to start cooking.
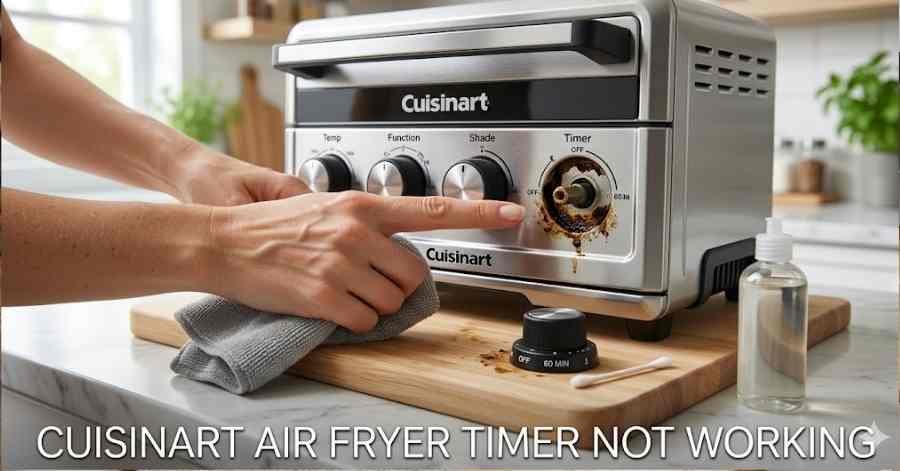
Then, I found my cuisinart air fryer timer not working at all. The dial just sat there and did not move. My food was getting cold on the kitchen counter.
I felt so mad and stressed out about it. I use this helpful machine every single day. I really did not want to buy a new one.
I decided to find out exactly what went wrong. I took it apart and tested a few simple things. Today, I want to show you how to fix it.
First, we need to look at how we cook. I used to let food drip everywhere inside the basket. Now, I use handy air fryer liners every single time.
These simple silicone liners stop deep grease buildup fast. They catch heavy oil residue and small food crumbs easily. This helps keep the bottom fan and parts completely safe.
Using parchment liners also makes washing up very fast. You just toss them in the trash after you eat dinner. It is a great way to protect your costly machine.
A tidy basket means better airflow for your hot food. Good airflow helps the timer and thermostat run very well. This simple habit saves you so much trouble later on.
Common Signs of the Problem
You might notice a few weird things happening first. Sometimes, the dial gets very hard to turn physically. It feels totally stuck when you try to set the time.
Other times, the timer moves but makes absolutely no sound. You do not hear the usual happy ticking noise. The machine just stays completely quiet on the counter.
In the worst cases, the fryer just shuts off early. The timer springs back to zero way too fast. This leaves your family dinner raw and very cold.
You might also see the dial skipping numbers entirely. It jumps from ten minutes down to two minutes fast. This makes cooking a good meal totally impossible to do.
Possible Causes
Why does this happen to our favorite kitchen machine? The most common reason is simple dirt and sticky grease. Thick grease buildup gets stuck right behind the timer knob.
Over time, cooking oil spray hardens into a thick glue. This traps the dial and stops the main gear inside. The small plastic parts inside simply cannot move at all.
Another big reason is a broken internal metal spring. The timer uses a tiny spring to tick down slowly. If it snaps, the timer loses all of its tight tension.
A bad power connection can also cause weird electrical issues. If the door switch fails, the timer simply stops working. The machine thinks the basket is still wide open.
Sometimes, heavy daily use just wears the plastic parts out. The tiny teeth inside the dial can chip or easily break. When this happens, the knob spins but does absolutely nothing.
| Symptom | Possible Cause | Recommended Solution |
| Knob feels stuck | Hard oil residue | Remove knob and scrub |
| No ticking sound | Broken spring inside | Replace the timer part |
| Shuts off early | Bad door connection | Check basket switch |
How To Fix Cuisinart Air Fryer Timer Not Working
Let us fix this annoying issue together right now. You do not need to be a pro to do this. Just follow these very simple steps safely at home.
Unplug and Remove the Knob
Always unplug the main power cord first for true safety. Never work on a plugged-in kitchen machine ever. Grab the timer knob and pull it straight out carefully.
Most Cuisinart knobs slide right off the simple metal peg. You might need to pull a little bit hard. Put the plastic knob in a safe spot nearby.
Do not lose the tiny metal clip hidden inside it. This clip helps the knob grip the timer peg tightly. Keep it safe in a small bowl for later use.
Clean the Sticky Grease
Look at the bare metal peg behind the plastic knob. You will likely see thick, dark brown sticky dirt. This old oil is blocking the timer movement very badly.
Grab a soft cloth and a very gentle kitchen degreaser. Wipe the metal peg until it shines brightly again. Do not let any liquid drip inside the main machine.
A good cleaning routine is a total game changer. I do a quick clean around the dials every week now. This stops the sticky buildup from coming back at all.
You can also use non-abrasive sponges for really tough spots. Scrub gently so you do not scratch the nice silver paint. A soft cloth is usually all you really need.
Test the Knob Tension
Push the fresh plastic knob back onto the metal peg. Turn it to the right to add some cook time. Feel how the dial moves nicely in your hand.
Does it turn smoothly and start ticking right away? If yes, the sticky dirt was your only big issue. You just saved yourself a lot of extra money!
If it still feels loose, the inside is totally broken. You might need to order a brand new timer unit. You can easily find them online for a low price.
Check the Basket Door Switch
Sometimes the timer is fine but the fryer stays off. The machine relies on a tiny safety door switch inside. It must know the basket is closed very tight.
Push the food basket in firmly until it securely clicks. Listen closely for a nice soft snap sound. If you hear nothing, the tiny switch might be bent.
Pull the basket out and look inside the open unit. You will see a small plastic tab near the top. Make sure no stray food crumbs are blocking it today.
Mistakes To Avoid
Many people make the exact same simple errors constantly. Do not use heavy tools like pliers on the knob. You will crack the weak plastic dial very easily.
Never spray harsh chemicals right onto the machine surface. The liquid can drip and ruin the main electrical board. Spray your rag first, then wipe the dirty surface safely.
Also, never force the dial backward to the zero mark. This strips the tiny plastic gears inside the timer box. Let the timer run down naturally to save it completely.
Do not take the whole machine apart by yourself either. The inside holds very dangerous electrical power wires. Just stick to fixing the simple outside parts instead.
| Bad Habit | Why It Is Bad | Better Choice |
| Using pliers | Breaks the knob | Pull by hand |
| Forcing dial back | Strips the gears | Let it run down |
| Spraying cleaner | Shorts out wiring | Spray a soft cloth |
When To Replace the Air Fryer
Sometimes a simple repair is just not quite enough. If you hear loud grinding noises, stop using it fast. The main fan motor might be ready to break forever.
If your kitchen smells like burning plastic, unplug it quickly. This is a huge safety risk for your whole home. You should never ignore a bad burning chemical smell.
Getting a brand new internal part can cost way too much. A new Cuisinart timer might cost around forty dollars alone. Plus, you have to wait and pay for slow shipping.
If your machine is very old and rusty, just upgrade it. A brand new model works faster and much safer anyway. You will save precious time and money in the end.
| Repair Issue | Repair Effort | Replace Decision |
| Sticky dial | Very easy | Fix it at home |
| Broken knob | Easy and cheap | Buy a new knob |
| Burning smell | Hard and unsafe | Buy a new unit |
My Personal Experience
I spent two full hours trying to fix my machine. At first, I was so afraid I broke it forever. I really did not want to buy a brand new one.
I realized the thick kitchen grease was my true enemy. The old oil spray trapped the dial tightly in place. I just had to wipe it down very well.
After I scrubbed it clean, the dial worked perfectly again. I heard that happy ticking sound right away. My chicken nuggets cooked totally crisp and hot again.
I felt so very proud to fix it by myself. It saved me a lot of hard money and daily stress. You can easily do this exact same thing at home.
Final Thoughts
A broken dial does not mean a totally dead machine. You just need to check a few basic simple parts. Dirt and grease cause most of these really bad issues.
Take your time and follow the easy steps listed above. Unplug the unit and check behind the plastic knob carefully. Scrub away any bad oil or sticky food crumbs daily.
I hope this helpful guide helps you cook again fast. Fixing your machine at home feels really super great. Now, go make some tasty hot food for your family!