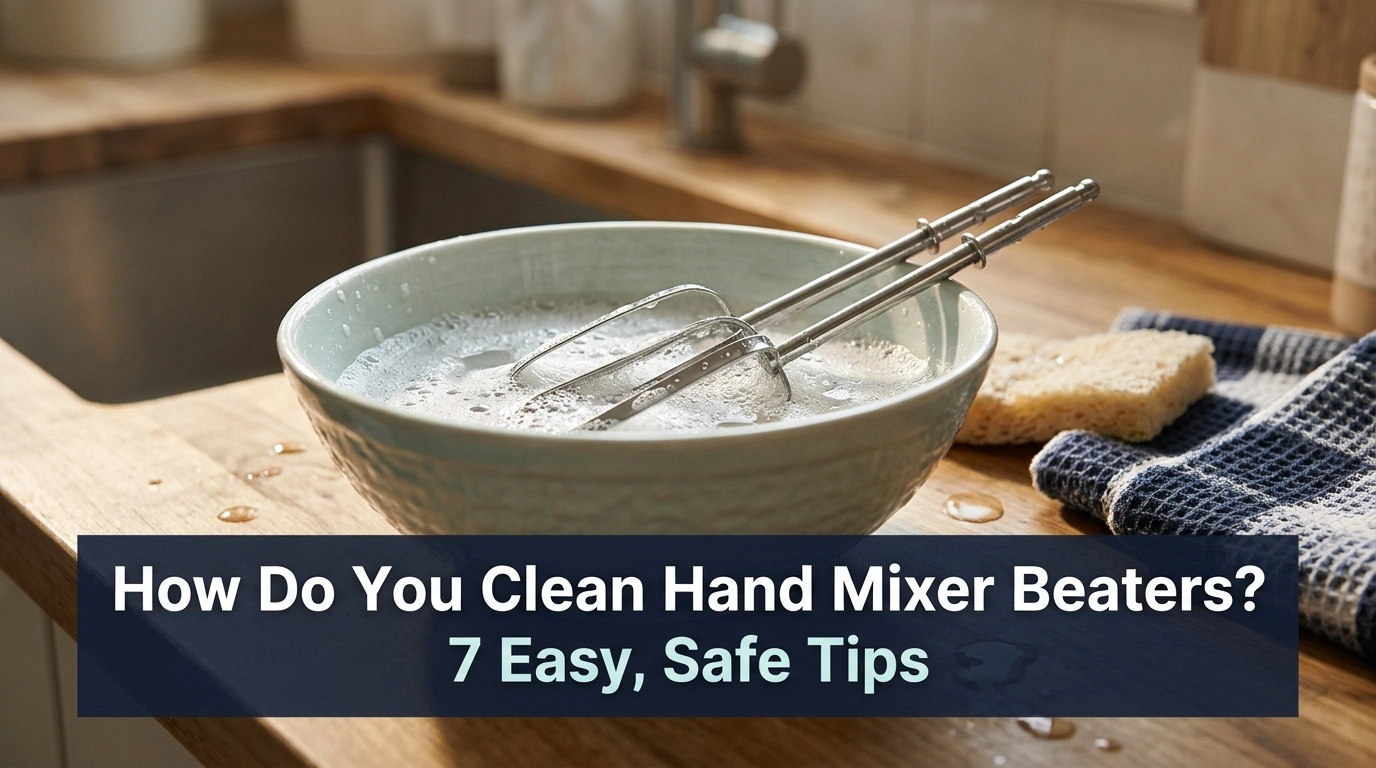
How do you clean hand mixer beaters without leaving bits of dough, cream, or dried food behind? The trick is to clean them soon after use and pay close attention to the spots where food gets stuck.
I find that dried batter is much harder to remove than fresh batter. A short soak can save time and effort. You also need to check whether your beaters are safe for the dishwasher.
In this guide, I will explain how to wash hand mixer beaters, remove stubborn food, avoid rust, and store them well. These steps are based on common cleaning methods, not a claim of personal testing with a specific mixer.
Common Signs Your Hand Mixer Beaters Need Cleaning
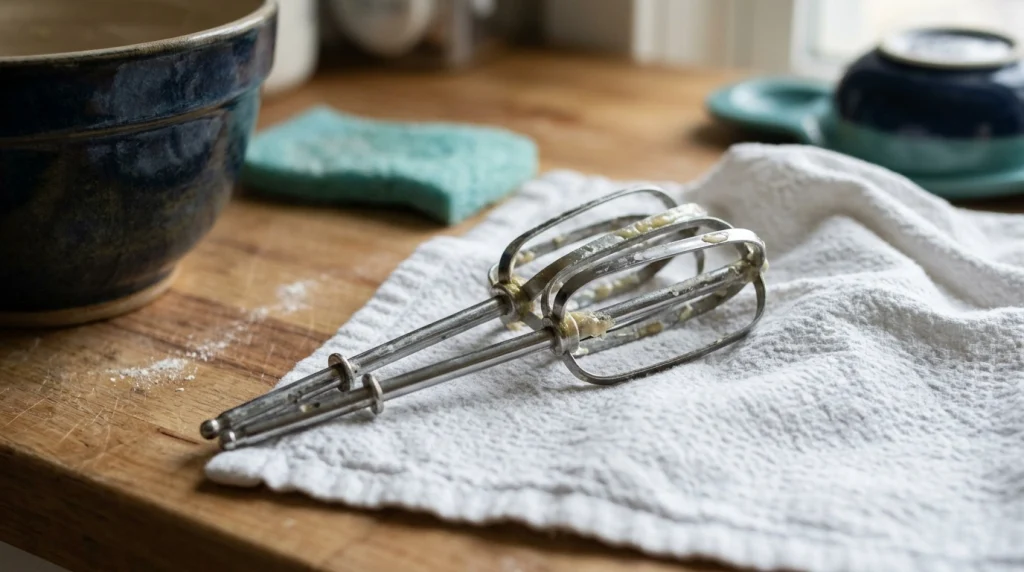
Food can hide in small gaps around the wires, shafts, and joints. Even when the beaters look clean, a thin film of grease or batter may remain.
Here are some signs that they need more care:
- Dried batter sticks to the wires.
- Grease leaves a slippery film.
- White marks appear after washing.
- A sour smell remains after rinsing.
- Rust-colored spots appear on the metal.
- Food bits stay near the part that locks into the mixer.
Do not use beaters with loose parts, deep rust, or damaged metal coatings. Replace them if the damage could affect your food.
Possible Causes of Dirty Hand Mixer Beaters
Most cleaning problems come from a few simple causes. Knowing the cause helps you choose the right cleaning method.
- Dried food: Batter hardens when left on the beaters.
- Grease buildup: Cream, butter, and oil can leave a film.
- Poor rinsing: Soap and food bits may remain between the wires.
- Hard water: Minerals can leave pale spots after washing.
- Wrong storage: Damp beaters may develop rust or a stale smell.
- Harsh cleaning tools: Steel wool and rough pads may scratch some finishes.
The good news is that most food residue comes off with warm water, dish soap, and a soft sponge.
How Do You Clean Hand Mixer Beaters?
The safest method depends on the beater material and the maker’s care instructions. Before washing, unplug the mixer and remove the beaters.
1. Remove the Beaters From the Mixer
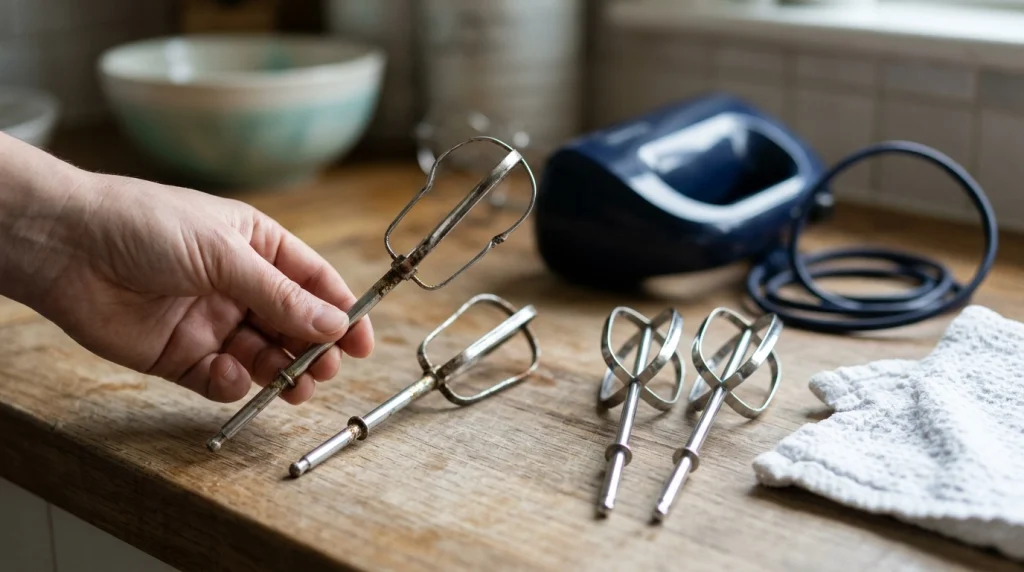
Turn off and unplug the mixer before removing any attachment. Press the eject button if your model has one.
Hold the beaters by their shafts and pull them out as the manual directs. Never try to clean attached beaters while the mixer is plugged in.
2. Scrape Off Loose Food
Use your fingers or a soft silicone spatula to remove loose batter. Work gently so you do not bend the wires or damage a coating.
For sticky dough, avoid scraping with a knife. A sharp tool can scratch the metal or slip and cut your hand.
3. Soak Stuck Food in Warm, Soapy Water
Fill a bowl with warm water and add a few drops of dish soap. Place the beaters in the water if their care instructions allow soaking.
Leave them for about 5–10 minutes. This gives dried batter time to soften and makes it easier to remove.
Avoid boiling water unless the maker says it is safe. Very hot water may damage some finishes or plastic parts.
4. Wash Between the Wires
Use a soft sponge or a small, soft cleaning brush to reach between the wires. Gently rub each part until the food and grease come away.
Pay close attention to joints and crevices. These areas can trap batter that is easy to miss during a quick wash.
A non-abrasive sponge is often enough for routine cleaning. You do not need a strong chemical cleaner for normal food residue.
5. Rinse and Check for Soap
Rinse both beaters under clean running water. Turn them as you rinse so water reaches the spaces between the wires.
Check for slippery patches, foam, and bits of food. If any remain, wash and rinse the beaters again.
6. Check Whether the Beaters Are Dishwasher-Safe
Some hand mixer beaters can go in a dishwasher, while others need hand washing. Check the user manual or the maker’s care label before placing them inside.
If they are dishwasher-safe, position them so they cannot fall through the rack. Keep them away from items that could scratch or bend them.
Hand washing is a good choice when you are unsure. It also gives you more control when cleaning coated or delicate attachments.
7. Dry the Beaters Fully Before Storage
Shake off excess water and dry the beaters with a clean, soft cloth. Let them air-dry completely before putting them away.
Pay attention to joints and hollow sections where water may collect. Storing damp metal attachments can lead to rust or unpleasant odors.
If your beaters have rust, peeling coating, or sharp damaged edges, stop using them until you can assess whether replacement is needed.
Quick Cleaning Guide: Symptoms and Solutions
| Symptom | Likely Cause | Quick Fix |
|---|---|---|
| Dried batter | Food left to harden | Soak in warm, soapy water |
| Greasy surface | Butter or cream residue | Wash with dish soap |
| White spots | Possible mineral deposits | Rinse and dry well |
| Bad smell | Trapped food or moisture | Wash crevices and dry fully |
| Rust spots | Moisture or surface damage | Check the material and replace if unsafe |
Around the halfway point in your routine, remember that cleaning works best when it is gentle and regular. You do not need to scrub hard if you soften food first.
A soft brush can help with tight spaces. If a beater’s coating is damaged, however, extra scrubbing will not restore it.
Mistakes to Avoid When Cleaning Hand Mixer Beaters
A few common mistakes can make cleaning harder or damage your attachments.
- Do not wash the mixer body in water. Unplug it and wipe its exterior with a damp cloth, following the manual.
- Do not use steel wool. It may scratch the finish or leave metal particles.
- Do not leave beaters wet. Dry them before storage.
- Do not use bleach or harsh chemicals without approval. They may damage the surface.
- Do not force bent beaters straight. This can weaken the metal and affect how the mixer runs.
- Do not assume every attachment is dishwasher-safe. Check the manufacturer’s instructions first.
Never put beaters back into a running mixer to shake off water. This creates an unnecessary risk of injury and splashing.
Recommended Cleaning Methods by Problem
| Problem | Recommended Solution | Difficulty |
|---|---|---|
| Fresh cake batter | Wash with warm, soapy water | Easy |
| Dried cookie dough | Soak, then brush gently | Easy |
| Greasy cream residue | Use dish soap and rinse well | Easy |
| Food in narrow gaps | Use a soft cleaning brush | Moderate |
| Rust or peeling coating | Inspect and replace if needed | Moderate |
When Should You Replace Hand Mixer Beaters?
Most dirty beaters do not need replacing. If the metal is sound and the finish is intact, proper washing is usually enough.
Replacement may be the safer option if you notice deep rust, cracks, loose joints, badly bent wires, or peeling coatings. These defects can affect safe food preparation or cause the beaters to fit poorly.
Before buying replacements, check your mixer’s brand and model number. Beaters can look alike but still have different shaft shapes or locking fittings.
A replacement set is useful only if it matches your mixer. Do not force an attachment that does not fit securely.
My Personal Cleaning Routine
I would start by unplugging the mixer and removing the beaters. Then I would scrape away loose food and soak any stubborn residue in warm, soapy water for a few minutes.
Next, I would wash between the wires with a soft sponge or brush. After rinsing, I would inspect the joints and dry each beater fully before storing it.
The most useful lesson is simple: do not wait for food to harden. Cleaning the beaters soon after use usually takes less effort than scrubbing dried batter later.
I would also check the manual before using a dishwasher or soaking attachments with plastic parts. Since designs differ, the manufacturer’s instructions should guide the final choice.
Final Thoughts
How do you clean hand mixer beaters? Remove them from the unplugged mixer, soften stuck food with warm, soapy water, scrub gently, rinse well, and dry them fully.
Avoid harsh pads, unsafe chemicals, and unapproved dishwasher use. Check for rust or damage before the next use.
A few minutes of gentle care can keep your beaters clean and ready for your next recipe.