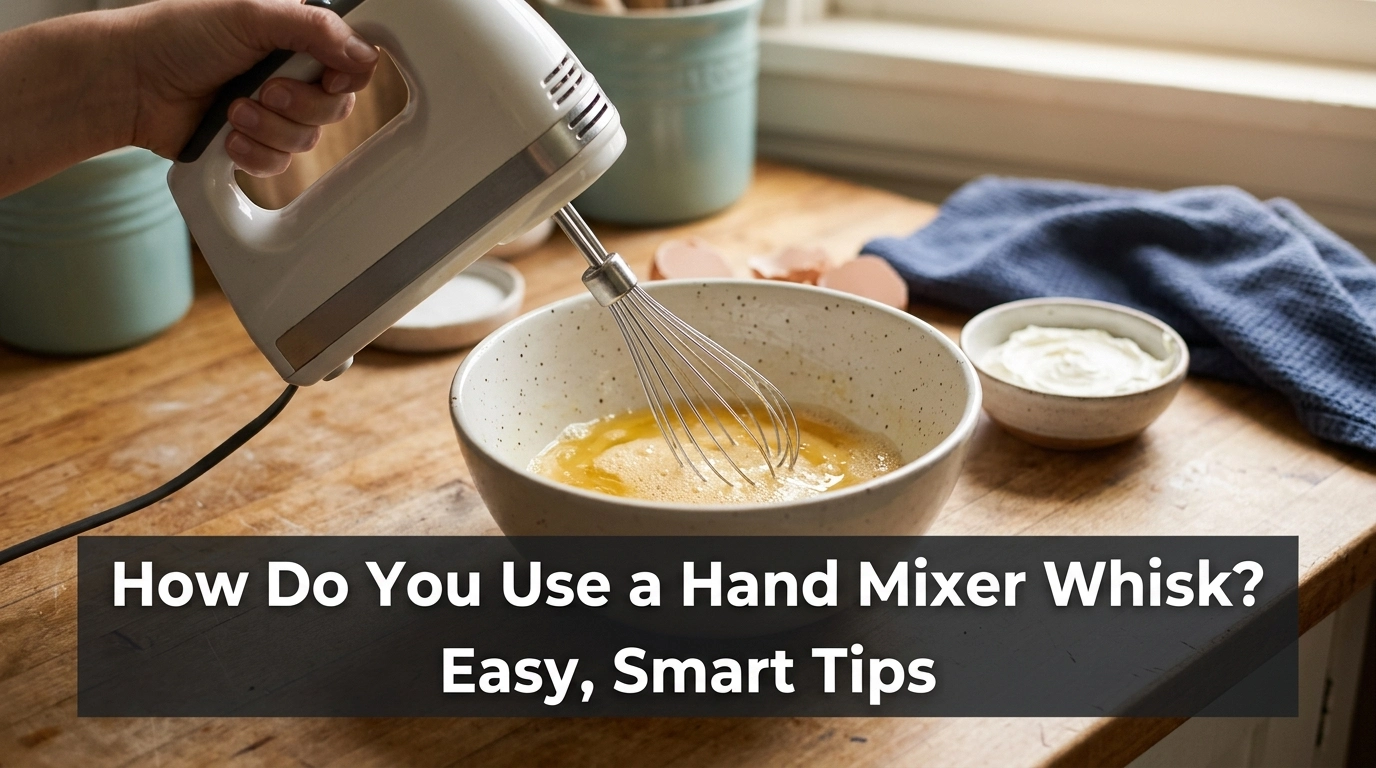
How do you use a hand mixer whisk? Start by fitting the whisk into the mixer, placing it in a bowl, and using a low speed. This helps you mix food without making a mess.
I find that the key is to start slowly and let the whisk do the work. You do not need to press hard or move it too fast.
A hand mixer whisk is useful for beating eggs, whipping cream, and making light mixtures. In this guide, I will explain how to use one, avoid common mistakes, and get better results.
Common Signs You Are Using a Hand Mixer Whisk Incorrectly
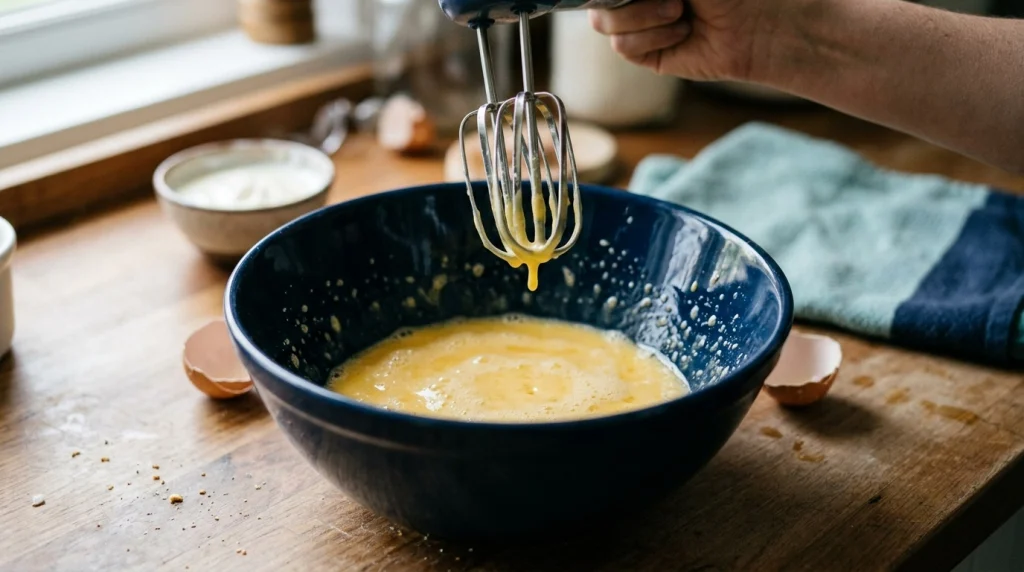
A whisk attachment should move smoothly through the mixture. If you use the wrong speed or bowl, you may notice a few problems.
- Mixture splashes out: The speed may be too high.
- Eggs remain uneven: You may need to move the whisk around the bowl.
- Cream stays runny: It may need more time or may be too warm.
- Whisk shakes or feels loose: The attachment may not be fitted correctly.
- Mixture sticks to the sides: The bowl may be too wide or the whisk may not reach the mixture well.
These signs do not always mean your mixer is faulty. Often, a small change in speed, bowl size, or technique can help.
Possible Causes of Poor Mixing Results
A hand mixer whisk is designed to add air and blend ingredients. However, a few simple mistakes can affect the result.
- Starting too fast: This can send liquid and flour out of the bowl.
- Using the wrong attachment: Standard beaters and whisk attachments do different jobs.
- Choosing the wrong bowl: A very wide or shallow bowl can make mixing harder.
- Using warm cream: Cold cream usually whips better.
- Overfilling the bowl: The mixture may spill as it grows in volume.
- Fitting the whisk poorly: A loose attachment may wobble or fail to turn properly.
The best approach is to match the attachment and speed to the food you are making.
How Do You Use a Hand Mixer Whisk?
Follow these simple steps before you start mixing. Always check your mixer’s manual, as attachment designs and speed settings can vary.
1. Check the Whisk Attachment
First, make sure the whisk is made for your hand mixer. Some mixers use one whisk, while others use two matching attachments.
With the mixer unplugged, push the whisk into the correct opening until it locks in place. Never force an attachment that does not fit.
2. Choose the Right Bowl
Pick a clean, deep bowl with enough room for the mixture to move. A bowl with high sides helps reduce splashes.
For a small amount of egg or cream, a smaller bowl often works better. Make sure the whisk can reach the mixture without scraping the bowl.
3. Add Your Ingredients
Place the ingredients in the bowl before turning on the mixer. For beaten eggs, crack them into the bowl and check for shell pieces.
For whipped cream, use cold cream and a bowl that can hold the extra volume. Do not fill the bowl to the top.
4. Start at a Low Speed
Hold the mixer with the whisk inside the bowl. Start on the lowest setting, then increase the speed as the ingredients begin to blend.
Keep the whisk below the surface when mixing liquids. This helps limit splashes and gives you more control.
5. Move the Whisk Around the Bowl
Move the mixer slowly from side to side and around the bowl. Keep the whisk away from the rim to avoid spills.
Do not press down hard. Let the spinning whisk blend the ingredients while you guide it through the mixture.
6. Increase Speed When Needed
Once the ingredients are combined, increase the speed if the recipe calls for more air. Beaten eggs may need more speed to become light and foamy.
Whipped cream also needs enough speed to form soft or firm peaks. Stop often to check the texture so you do not overmix it.
7. Turn Off and Unplug the Mixer
When the mixture reaches the right texture, switch off the mixer. Wait until the whisk stops moving before lifting it out of the bowl.
Unplug the mixer before removing the attachment. This simple habit helps prevent accidental starts while you clean the whisk.
8. Clean the Whisk Safely
Remove the whisk according to the manufacturer’s instructions. Wash it with warm water and dish soap if it is safe for washing.
Wipe the mixer body with a damp cloth. Never put the motor body in water, and let all parts dry before storing them.
Quick Troubleshooting Table
| Problem | Likely Cause | Quick Fix |
|---|---|---|
| Liquid splashes | Speed is too high | Start on low |
| Eggs mix unevenly | Whisk misses some areas | Move around the bowl |
| Cream will not whip | Cream is too warm | Chill the cream and bowl |
| Whisk wobbles | Attachment is loose | Switch off and refit it |
| Mixture becomes too thick | Overmixing | Stop when the desired texture forms |
Mistakes to Avoid
Using a hand mixer whisk is simple, but a few habits can cause problems. Avoid these common errors for better results.
- Do not start at full speed. This can cause splashes and spills.
- Do not use the whisk for every task. Thick dough may need dough hooks or another suitable attachment.
- Do not lift the spinning whisk out of the bowl. Stop the mixer first.
- Do not force the attachment into place. Check the manual if it does not fit.
- Do not immerse the motor body in water. Keep the electrical parts dry.
- Do not pull the cord to unplug the mixer. Hold the plug instead.
If the mixer smells burnt, sparks, or makes unusual electrical noises, turn it off and unplug it if safe. Stop using it until it has been checked or replaced.
When to Replace the Whisk or Hand Mixer
You may only need a new whisk if the attachment is bent, cracked, or no longer fits securely. Check whether the manufacturer sells a compatible replacement.
A new mixer may be a better choice if the motor repeatedly stops, the housing is damaged, or the unit shows signs of electrical failure. Do not open a sealed motor housing or attempt to repair live electrical parts.
| Repair Issue | Recommended Action | Replace Instead? |
|---|---|---|
| Bent whisk | Check for a compatible replacement | Usually no |
| Missing attachment | Contact the manufacturer | Usually no |
| Loose attachment fitting | Check the manual and warranty | Sometimes |
| Damaged cord or faulty motor | Stop using the mixer | Often, after assessment |
Prices and replacement options vary by brand. Compare the cost of a compatible part with the cost of a suitable new mixer before deciding.
My Personal Experience
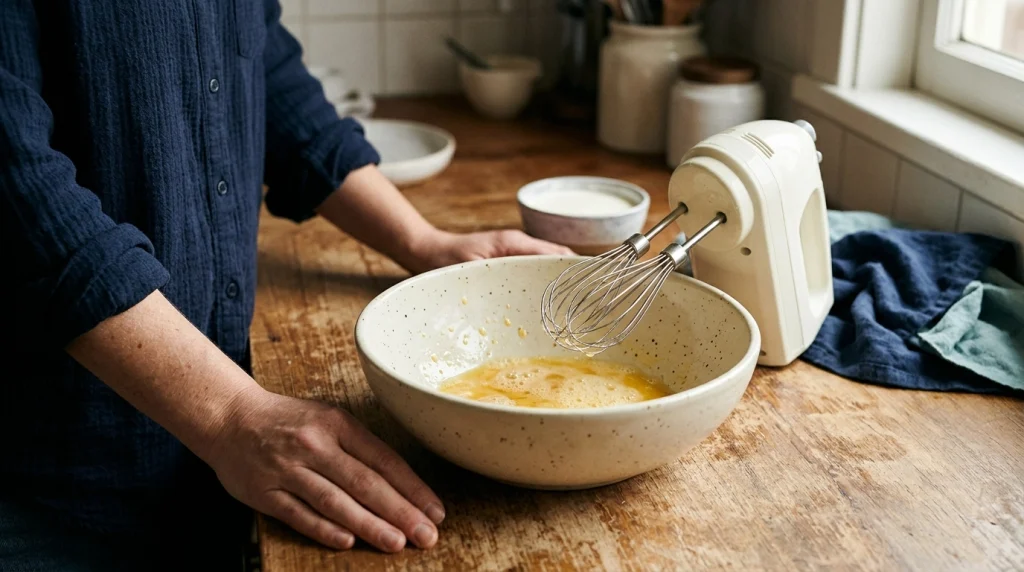
When learning to use a hand mixer whisk, I would start with a small batch of beaten eggs. This makes it easier to see how the attachment works without wasting many ingredients.
I would place the whisk in the bowl, select the lowest speed, and move it slowly through the eggs. After the mixture starts to blend, I would increase the speed and check whether the texture looks even.
The main lesson is to avoid rushing. Starting too fast can make a mess, while steady movements help the whisk reach more of the mixture.
For cream, I would focus on keeping the cream cold and checking its texture often. Once it forms the peaks the recipe needs, I would stop to avoid turning it grainy.
These are practical techniques rather than a claim that every mixer behaves the same way. Your model’s instructions should always guide attachment fitting, speed selection, and cleaning.
Final Thoughts
How do you use a hand mixer whisk? Fit the correct attachment, choose a suitable bowl, and start at a low speed. Move the whisk around the bowl and increase the speed only when needed.
For beaten eggs, focus on even mixing. For whipped cream, use cold ingredients and check the texture often.
Most importantly, keep your hands away from moving parts and unplug the mixer before removing the whisk. With the right technique, this simple kitchen tool can help you prepare smooth, light mixtures with less mess.