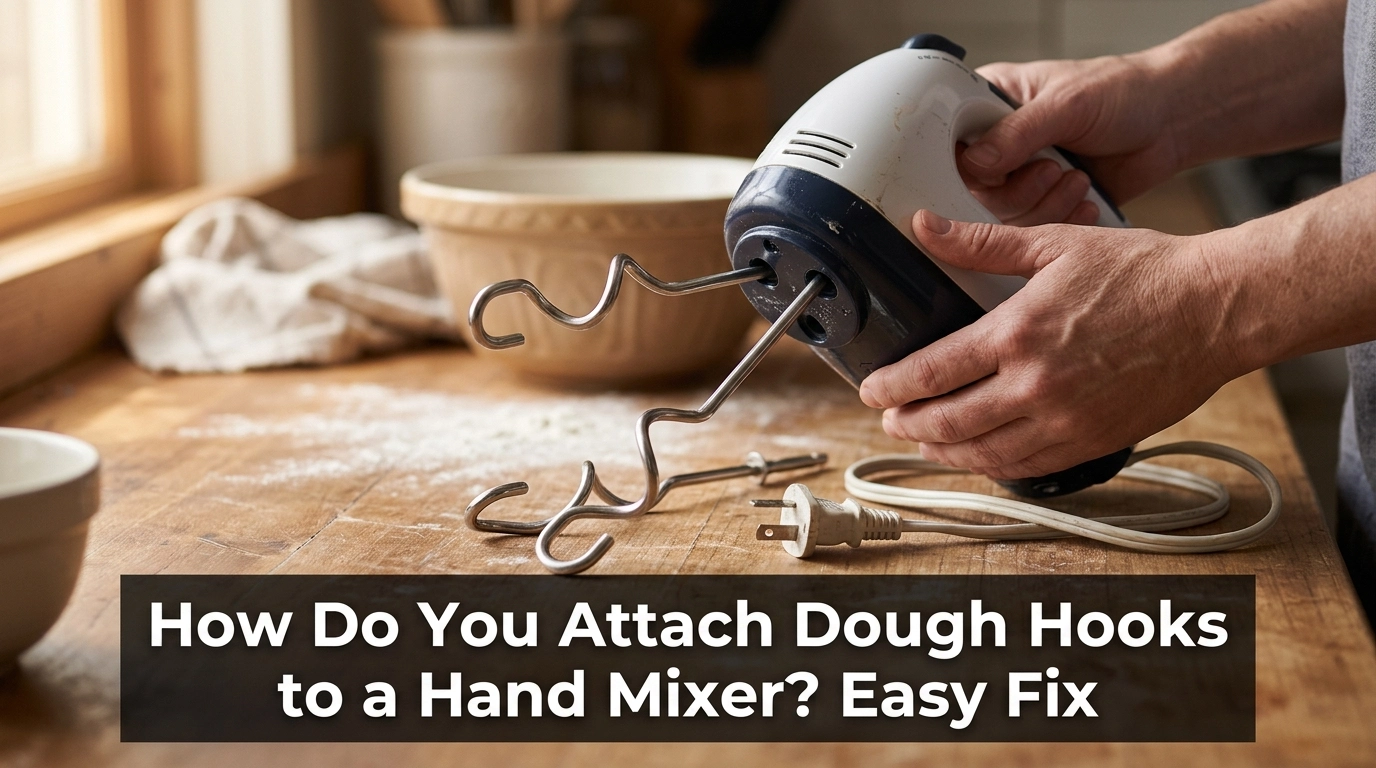
How do you attach dough hooks to a hand mixer? First, unplug the mixer, find the correct holes, and push each hook into its matching slot until it locks in place. The exact fit depends on your mixer model, so check the manual if the hooks look different.
I find that the main problem is often simple: the hooks are swapped, turned the wrong way, or not pushed in far enough. A little care can help you avoid damage and get ready to mix bread or pizza dough.
In this guide, I will explain how the hooks fit, what to check when they will not lock, and how to remove them safely after use.
Common Signs of the Problem
You may notice one or both hooks refuse to slide into the mixer. They may stop halfway, feel loose, or fall out when you tilt the mixer.
Another common sign is that the hooks look alike but do not fit both holes. Some mixers use hooks with different shapes or locking parts to keep them in the correct position.
Watch for these signs:
- One hook fits, but the other does not.
- A hook slides in but will not lock.
- The hooks wobble or drop out.
- The mixer makes an odd sound after the hooks are fitted.
- The hooks turn unevenly when the mixer runs.
If a hook will not fit, do not force it. The wrong hook or angle may be the cause.
Possible Causes
Most fitting problems come from one of a few simple issues. Check the hooks and mixer before trying again.
- Wrong hook position: Some mixers have a specific left and right hook.
- Wrong angle: The hook may need to line up with a notch or groove.
- Incomplete insertion: The hook may not have reached the locking point.
- Wrong attachments: Dough hooks from another model may not fit.
- Damaged parts: A bent shaft or worn locking point can stop a hook from staying in place.
- Dirty fitting holes: Dried dough or food bits may block the opening.
Some hand mixers use one dough hook with a collar or ring that helps identify its correct slot. Others use different shaft shapes. Always follow the markings or instructions for your model.
How to Attach Dough Hooks to a Hand Mixer
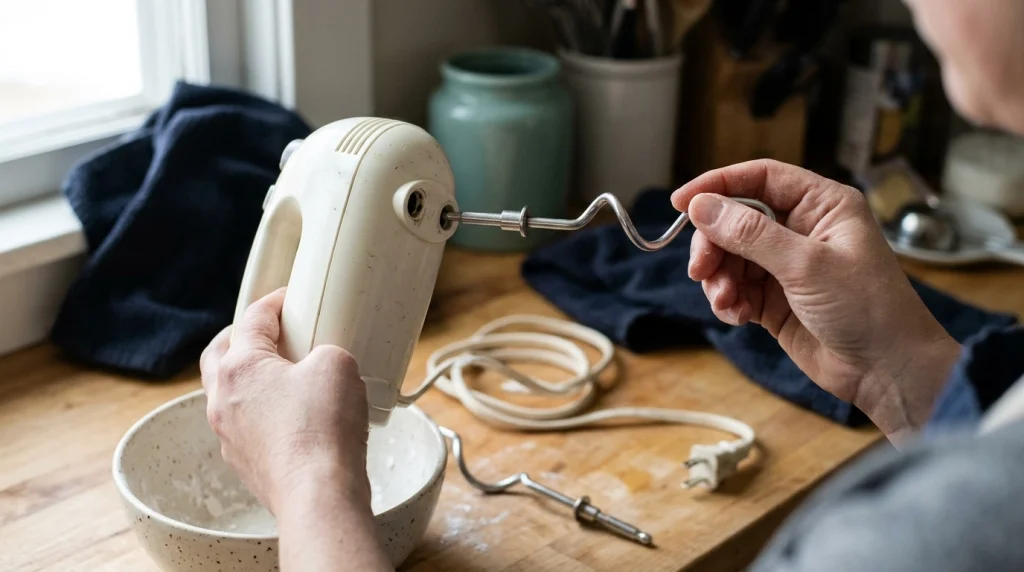
Follow these steps before turning the mixer on. Keep the mixer unplugged until both hooks are fitted and checked.
1. Unplug the Mixer
First, unplug the power cord from the wall outlet. This stops the motor from starting while your fingers are near the attachment holes.
Place the mixer on a dry, flat surface. Make sure the speed control is set to off.
2. Find the Correct Dough Hooks
Take both hooks out and look at their shafts. Check for a ring, collar, groove, flat edge, or other shape that may show where each hook belongs.
Read the manual or look for small marks near the attachment holes. If the hooks are marked left and right, match them to the correct sides.
Do not assume that both hooks fit either hole. Their shapes may look similar but serve different roles.
3. Line Up Each Hook With Its Slot
Hold one hook by its shaft, not by the curved end. Place the shaft straight into the matching hole.
Turn it gently if needed until the shape lines up. If it does not slide in with light pressure, pull it out and check the position again.
4. Push Until the Hook Locks
Push the hook into the hole until you feel or hear the locking point engage. Some mixers use a spring clip or a push-fit design, while others may use a different locking system.
Repeat the process with the second hook. Never hammer, twist hard, or force a hook into place.
5. Check Both Hooks
Give each hook a gentle downward tug. A properly fitted hook should stay in place rather than slide out.
Look at the shafts to make sure both are seated to a similar depth, where the design allows. If one sits much lower or feels loose, remove it and check the fit.
6. Test the Mixer Safely
Keep the hooks away from your hands and clothing. Plug the mixer in only after both hooks are secure and the bowl is in place.
If the manual allows a no-load test, use the lowest speed for a brief moment. Stop at once if the hooks wobble, strike each other, or make an unusual noise.
Do not test a loose hook over a bowl of dough. Fix the fit before mixing.
Quick Troubleshooting Table
| Problem | Likely Cause | Quick Fix |
|---|---|---|
| Hook will not enter | Wrong slot or angle | Check the markings and turn gently |
| Hook will not lock | Not fully inserted | Remove and refit it |
| Hook falls out | Wrong attachment or worn lock | Check the model and inspect the shaft |
| Hooks wobble | Poor fit or damaged part | Stop and check both hooks |
| Dried food blocks a hole | Poor cleaning | Unplug and clean the accessible area |
7. Clean the Fitting Area
If food bits block the opening, unplug the mixer and remove the hooks. Wipe the accessible area with a soft, slightly damp cloth, then dry it fully.
Keep water away from the motor housing and electrical parts. Good cleaning habits help prevent old dough from building up around the fittings.
If the opening remains blocked, check the manual before trying anything else. Do not push sharp tools into the holes.
8. Check for Worn or Incompatible Parts
If the hooks still will not fit, compare them with the attachments listed for your exact mixer model. A hook from a different mixer may have a similar shape but a different shaft or locking system.
If a shaft is bent or its locking part is damaged, stop using it. Replace it with a compatible set rather than trying to reshape it by hand.
A replacement dough hook set may solve the issue, but confirm the model number first. Buying hooks based on appearance alone can lead to another poor fit.
Mistakes to Avoid
A common mistake is pushing too hard when a hook does not slide in. This can damage the fitting or the hook itself.
Avoid these errors:
- Fitting or removing hooks while the mixer is plugged in.
- Swapping marked hooks without checking the manual.
- Pulling a hook out while the motor is running.
- Using pliers or a hammer to force a hook into place.
- Running the mixer when a hook is loose.
- Washing the motor housing under a tap.
- Opening the motor casing to fix a fitting problem.
Never bypass a locking feature or attempt electrical repairs unless you are qualified to do so. If the attachment socket is cracked or the locking mechanism has failed, stop using the mixer and arrange a suitable repair.
When to Replace the Hand Mixer or Dough Hooks
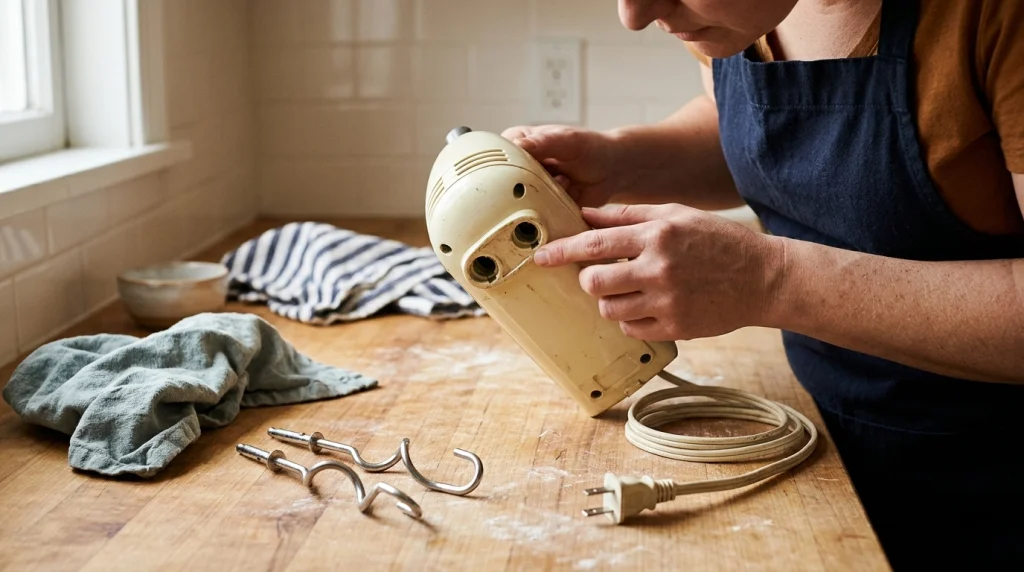
You usually do not need a new mixer just because a hook will not fit. First, check whether the hooks are in the wrong slots or are not compatible with the model.
| Repair Issue | Recommended Action | Replace Instead? |
|---|---|---|
| Wrong hook position | Refit correctly | No |
| Missing compatible hooks | Buy the correct set | No |
| Bent or worn hook | Replace the hooks | Usually no |
| Damaged attachment socket | Seek service advice | Possibly |
| Burning smell or damaged cord | Stop using the mixer | Seek repair or replacement |
If the mixer body is damaged, the sockets no longer hold attachments, or the motor smells burnt, do not keep testing it. A repair may be possible, but the cost and availability of parts will help determine whether replacement makes more sense.
My Personal Experience
When I check a hand mixer that will not accept its dough hooks, I start with the simplest steps. I unplug it, compare both shafts, and check the instructions for the correct slot.
The first thing I look for is a small difference in the hooks. A ring or collar can be easy to miss, especially when both attachments look almost identical.
Next, I line up each shaft and push gently. If one hook stops halfway, I remove it and change the angle instead of pressing harder. This is a safer way to find the correct fit.
I also check whether the hooks belong to that exact model. A similar-looking attachment is not always a suitable replacement.
The key lesson is simple: check the fit before applying force. If both hooks lock in place and stay secure during a brief, permitted test, you can move on to preparing your dough.
Final Thoughts
Attaching dough hooks to a hand mixer is usually easy once you know which hook goes in each slot. Unplug the mixer, match the shafts to the correct openings, and push each hook in until it locks.
Check that both hooks stay secure before use. If they refuse to fit, do not force them; check the manual, inspect the parts, and confirm that the hooks match your mixer model.
A careful fit helps protect the mixer and makes dough mixing safer and easier.