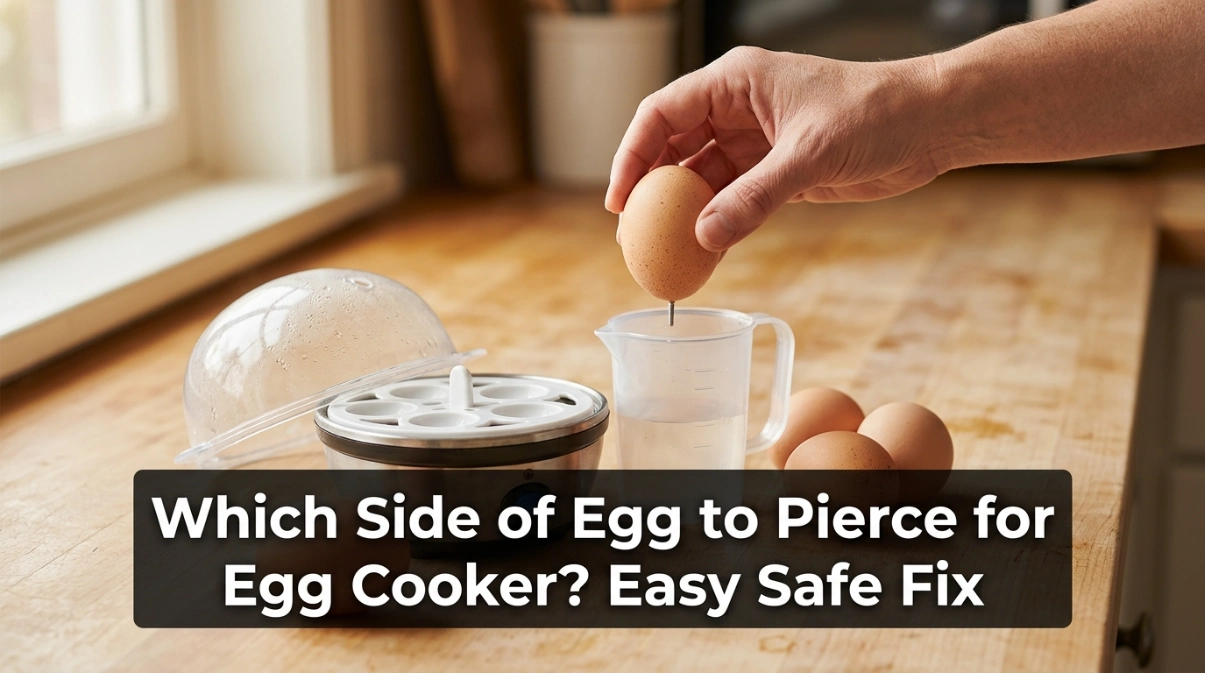
If you are wondering which side of egg to pierce for egg cooker, use the large, rounded end of the egg.
That is the blunt end, not the small pointed end.
I learned this after getting mixed results with an egg cooker.
At first, I pierced an egg without thinking much about which end I was using.
One egg cracked while cooking.
Another pushed a little egg white out through the hole.
Once I started piercing the large end with a very small hole, my results became much more consistent.
That is also the method shown in manufacturer guidance from brands such as Dash.
The large end usually holds the egg’s air pocket.
Piercing this end gives expanding air a small path to escape as the egg heats.
Common Signs of the Problem
Piercing an egg sounds simple, but small mistakes can cause odd results.
I noticed most problems were easy to spot once I knew what to look for.
| Symptom | Likely Cause | Quick Fix |
|---|---|---|
| Shell cracks while cooking | Hole too large or wrong end pierced | Make a tiny hole in the large end |
| Egg white leaks out | Piercer went too deep | Pierce only through the shell |
| Egg does not sit well | Pierced end facing down | Place the large pierced end upward |
| Shell stays intact | Normal result | No change is needed |
| Egg cooks unevenly | Wrong water amount | Use the measuring cup marks |
A tiny pinhole is enough.
You do not need to push the piercer deep into the egg.
If your eggs cook well even without piercing, check your manual before changing your routine.
Not every egg cooker requires the same preparation.
Possible Causes
Most piercing problems come from technique rather than a faulty cooker.
These are the causes I would check first.
- Piercing the small, pointed end
- Making the hole too large
- Pushing the pin too far inside
- Using a cracked egg
- Putting the pierced side downward
- Adding the wrong amount of water
- Using a damaged egg tray
- Using a blunt or bent piercing pin
The measuring cup is worth checking too.
Many egg cookers place the piercing pin on the bottom of that cup.
I nearly overlooked mine because it looked like a simple plastic measuring cup.
A replacement measuring cup with the correct egg piercer can be useful if the original pin is bent, missing, or damaged.
Do not use a large nail, knife, or thick kitchen tool as a substitute.
Those tools make it much easier to crack the shell or hurt your hand.
Which Side of Egg to Pierce for Egg Cooker?
Pierce the large, rounded, or blunt end of the egg.
This is the end opposite the narrow point.
The reason is simple.
An egg normally has an air cell near its larger end.
The air inside expands as the egg becomes hot.
A tiny hole can help release some of that pressure.
Dash specifically instructs users to pierce the larger end and then place the eggs so the holes point upward.
Cuisinart also gives instructions for piercing the larger part of an egg in one of its cooking methods.
Find the Large End
Hold the egg gently between your fingers.
One end should look slightly wider and rounder.
The other end usually has a more pointed shape.
The round end is the one I use for piercing.
Do not worry if the difference looks small.
Choose the end that appears wider.
Use the Egg Cooker’s Piercing Pin
I prefer the built-in pin on the water measuring cup when one is supplied.
It is small and designed for this job.
Place the cup or piercer on a steady counter.
Hold the egg with the large end facing the pin.
Press down very gently.
Stop as soon as the pin passes through the shell.
You only want a tiny hole.
You are not trying to push the pin into the egg white.
Keep the Pierced End Facing Up
After piercing, I place each egg in the egg tray with its large end upward.
This keeps the hole near the top while the egg cooks.
This placement is especially important on cookers whose instructions call for it.
Dash, for example, tells users to keep the pierced larger end facing upward.
| Problem | Recommended Solution | Difficulty |
|---|---|---|
| Wrong side pierced | Use the large rounded end next time | Easy |
| Hole is too deep | Use less pressure | Easy |
| Pin is blunt | Replace the measuring cup or piercer | Easy |
| Egg cracks before cooking | Use another intact egg | Easy |
| Eggs are undercooked | Check water measurement | Easy |
Check the Water Measuring Cup
Piercing the right end will not fix eggs that are cooked with the wrong amount of water.
Water controls how long many basic egg cookers produce steam.
I always check the measuring cup line before blaming the eggs.
Soft, medium, and hard eggs may need different amounts.
Use the amount stated in your own cooker’s manual.
Do not assume that another brand’s cup markings are the same.
Check the Egg Tray
The eggs should sit securely in the egg insert.
A tilted egg may touch parts of the cooker that it should not.
Check for a warped or cracked tray.
Replace it if it no longer holds eggs safely.
I also keep the tray and piercer clean.
Dried egg white around the holder can make eggs sit at an odd angle.
Let the cooker cool first.
Wash removable parts as directed in your manual and wipe the base without immersing electrical parts.
Hamilton Beach, for example, warns users to unplug the cooker before cleaning and not to immerse its electrical base, cord, or plug in water.
Mistakes to Avoid
The biggest mistake I made was assuming a larger hole would work better.
It did not.
A large hole can let egg white escape.
A small pinhole is all that is needed.
Do not pierce an egg while holding it over the hot heating plate.
Prepare the eggs before you start the cooker.
I also avoid piercing eggs that already have visible cracks.
Heat and steam may make those cracks spread.
Never use a knife to punch the shell.
The curved shell can make the blade slip.
Do not touch the heating plate after cooking.
It can remain hot even after the cooker switches off.
Be careful when lifting the lid too.
Hot steam can escape quickly and cause burns.
Hamilton Beach specifically recommends protecting your hands when opening an egg cooker because escaping steam can burn.
Never open the electrical base or bypass an auto shut-off or safety switch to solve an egg-piercing problem.
Those parts have nothing to do with which end of the egg you pierce.
What If I Pierced the Wrong Side?
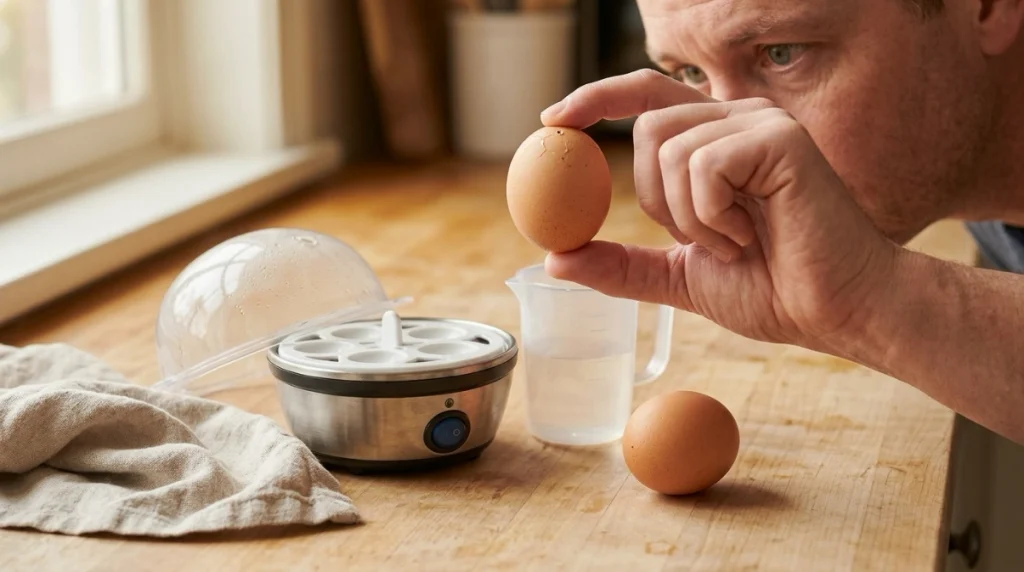
If you already pierced the small end, there is usually no need to panic.
The egg may still cook.
I would place it carefully in the tray and watch for any existing cracks.
If the shell has split badly or egg white is leaking before cooking, I would use another egg.
For the next batch, pierce the large end instead.
That is the simplest fix.
| Situation | What I Would Do | Replace Cooker? |
|---|---|---|
| One egg pierced wrong | Cook carefully or use another egg | No |
| Piercing pin is broken | Replace cup or piercer | No |
| Tray is badly cracked | Replace tray | No |
| Power cord is damaged | Stop using cooker | Possibly |
| Base overheats or smells burnt | Unplug and stop using it | Often |
When to Replace the Egg Cooker
A bad piercing result alone is not a reason to replace an egg cooker.
The problem is usually the egg, pin, tray, or technique.
I would consider replacing the appliance if the power cord is damaged or the base repeatedly overheats.
A strong electrical burning smell is another reason to stop using it.
The same applies if the cooker has a damaged safety system or serious water leak near electrical parts.
Do not open a sealed heating unit to repair these faults yourself.
For a broken piercer, measuring cup, lid, or egg tray, a replacement part may be enough.
Check that the part matches your exact cooker model.
My Personal Experience
My biggest improvement came from changing two small things.
I started piercing the rounded end and stopped pressing the pin so hard.
At first, I thought I needed to feel the pin go well inside the egg.
That caused more trouble than it solved.
A light press was enough.
Once the shell had a tiny opening, I stopped.
I then placed the pierced end upward and measured the water carefully.
That gave me much more repeatable results.
I also learned not to blame every cracked egg on the cooker.
Eggs with fine shell cracks can break as soon as steam starts heating them.
Now I inspect each shell first.
That simple check saves a lot of mess.
Final Thoughts
So, which side of egg to pierce for egg cooker?
Pierce the large, rounded end of the egg.
Make only a tiny hole.
Use the piercer supplied with the cooker whenever possible.
If your manual says to do so, place the pierced end facing upward in the egg tray.
Then use the correct amount of water for the egg count and desired doneness.
The key is gentle pressure.
You only need to break through the shell.
Do not make a deep hole or use sharp kitchen knives.
With the right end, a tiny pinhole, and careful water measurement, the process is simple and safe.