I love making a fresh smoothie every morning. It is the best way to start the day. But last week, my machine just blinked at me and refused to start.
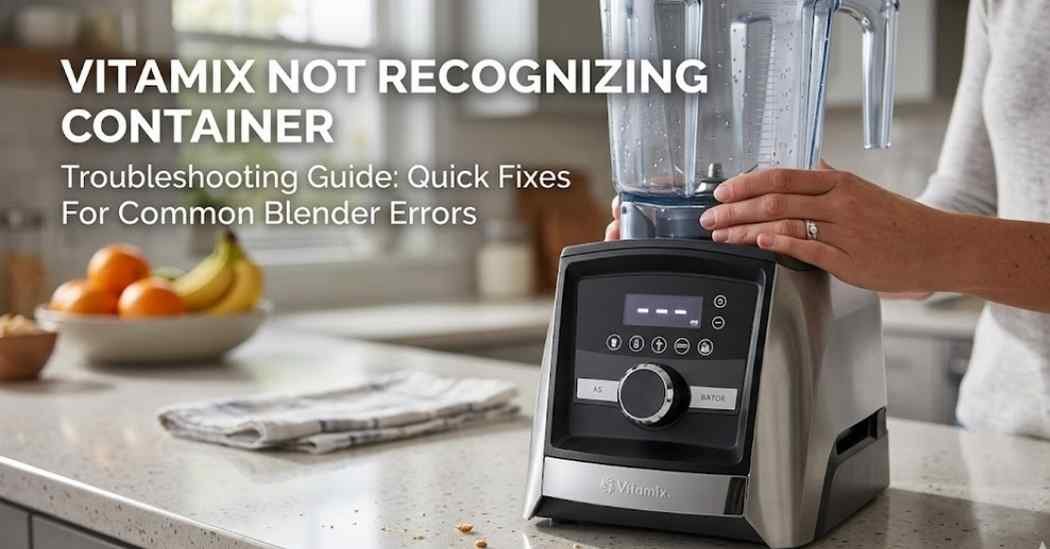
If your Vitamix not recognizing container issues are driving you crazy, I understand. I felt very upset when it happened to me. I just wanted my breakfast.
I spent a long time testing different ways to fix this. I wanted to solve the problem fast. Today, I will share the exact steps that worked for me.
You will learn how to fix this safely at home. You do not need to be a tech expert to do this. Let us get your kitchen back to normal.
Common Signs of the Problem
You know something is wrong when you press the power button and nothing happens. Instead of hearing the loud motor, you just get pure silence. It is very frustrating.
The control panel might show three flashing dashes. This is a very common error code. It means the safety switch is active and the motor will not spin.
When I first saw this error, I panicked a little bit. I thought I needed to buy expensive replacement blender jars right away. But before you buy anything, try my simple fixes.
Sometimes the lights will turn on, but the blend cycles will not work. The machine acts like the pitcher is completely missing. This means the smart sensor is failing.
Possible Causes
The newer smart models use a tiny chip to read the jar assembly. This chip tells the base what size pitcher you are using. If the base cannot read that chip, it will not start.
Sometimes, the pitcher is just not sitting flat on the drive coupling. Even a very small tilt can trigger the overload protection. The machine stops to protect itself.
Other times, liquid spills block the base sensor. A wet base or a dirty pitcher bottom can cause a bad connection. This is what happened to my machine.
Using the wrong type of pitcher can also cause this problem. Older pitchers do not have the required smart chips. The base simply cannot see them.
| Symptom | Likely Cause | Quick Fix |
| Flashing dashes | Base cannot read chip | Wipe base and pitcher |
| No power to buttons | Pitcher is tilted | Sit pitcher flat on base |
| Motor stops randomly | Overload protection active | Unplug and let cool |
How to Fix Vitamix Not Recognizing Container
You can fix this annoying issue at home in just a few minutes. I tried all of these steps when my own machine failed. They are very easy to do.
Start with the fastest and easiest fixes first. Do not take anything apart yet. Just follow these simple steps one by one.
Reset the Power Supply
The first thing I did was check the power cord. I unplugged the machine from the wall outlet. I wanted to cut all power to the computer inside.
I waited for about sixty seconds before doing anything else. This gives the internal computer a chance to clear any bad memory. It is a very safe step.
Then, I plugged the cord back into the wall outlet firmly. Sometimes, a quick reset is all the machine needs to work again. It is just like rebooting a phone.
Inspect and Reseat the Jar Assembly
Next, I took the pitcher completely off the motor base. I looked closely at the drive coupling. I wanted to make sure nothing was stuck inside the gears.
I placed the pitcher back down on the base. I made sure it sat perfectly flat and snug. It must not wobble at all.
If the pitcher is even slightly crooked, the safety lock will engage. The machine will block the motor from spinning. A firm, flat fit often solves the entire problem.
Check the Sensor Area
This specific step fixed my issue completely. I noticed a tiny bit of sticky apple juice on the base. It was very hard to see at first.
That sticky mess blocked the sensor from reading the pitcher chip. I took a soft cloth and a gentle food-safe degreaser. I wiped everything down very carefully.
I gave the base and the bottom of the pitcher a very thorough cleaning. Once every part was completely dry, the machine worked perfectly again!
Dry the Contacts Completely
Water is the enemy of smart sensors. If you wash your pitcher and put it on the base wet, you will get an error. The water stops the signal.
I always keep a dry towel right next to my setup now. I wipe the bottom of the pitcher every single time. It only takes two seconds.
Make sure the motor base is totally dry as well. If you see water resting in the center pad, soak it up. A dry machine is a happy machine.
| Problem | Recommended Solution | Difficulty Level |
| Sticky sensor pad | Wipe with soft cloth | Very Easy |
| Machine needs reset | Unplug for 60 seconds | Very Easy |
| Wrong pitcher used | Switch to smart pitcher | Easy |
Verify Pitcher Compatibility
Not all pitchers will work with the newer smart bases. You must use a smart pitcher with the proper NFC chip hidden inside. This is very important.
If you bought a cheap older pitcher online, it will not work. The smart base simply will not see it. It will flash those dashes at you forever.
Always check the box when you buy new parts. Ensure your parts match your exact model number. This saves you a lot of time and money.
Check the Lid Locking System
Some models are very picky about the lid. If the lid is not snapped down tight, the machine will not run. This is another safety feature.
Press down firmly on all sides of the lid. You should hear a soft click when it is secure. Make sure the side flaps grab the rim tightly.
If the seals and gaskets on your lid are old, it might not close right. A bad seal can trick the machine into staying locked.
Mistakes to Avoid
Do not ever force the pitcher down if it feels stuck. You could easily break the drive coupling. You could also damage the heavy motor inside.
Never try to bypass the safety switch system. Those features are there to keep your fingers safe from the sharp blender blades. Safety must always come first.
Avoid pouring water directly on the motor base to wash it. This can cause a major electrical short. Always use a damp cloth to wipe away spills safely.
Do not use harsh chemicals to wash the base. A simple food-safe cleaner is all you need. Strong chemicals can melt the plastic parts.
When to Replace the Blender
Most of the time, this error is just a quick and easy fix. But sometimes, the internal sensor goes completely bad. Electronics do fail over time.
If you tried all my steps and the screen still flashes dashes, you need help. You should call the official brand support team. They can test it over the phone.
If your machine is very old, a repair might cost too much money. Fixing a broken smart sensor is not cheap. Sometimes buying a new base is smarter.
Check your warranty status before you do anything else. These machines come with a very long warranty. You might get a free repair from the company.
| Repair Issue | Estimated Cost | Replace Instead? |
| Broken base sensor | High | Yes, if out of warranty |
| Damaged pitcher chip | Medium | No, just buy new pitcher |
| Dirty base contacts | Free | No, just wipe it down |
My Personal Experience
When my machine stopped working, I felt so frustrated. I had all my fruit chopped and ready to go. I just wanted to eat my healthy breakfast.
I tried twisting the pitcher and pressing the buttons really fast. That did not work at all. It just made me more annoyed.
Taking a deep breath and wiping the base was the real fix. It taught me to be much more careful with spills. Now, I always keep my setup perfectly dry.
I also learned that these smart machines are very sensitive. They are built well, but they hate sticky messes. A little care goes a long way.
Final Thoughts
A smart kitchen tool is great, but it can be very picky. The best thing you can do is keep the base dry and free of food crumbs.
If you face this flashing error again, do not panic. Just unplug the power cord and wipe everything down. Make sure the pitcher sits perfectly flat.
You can fix this common problem easily at home. You do not need to spend money on expensive repairs. Keep things clean and enjoy your healthy smoothies!