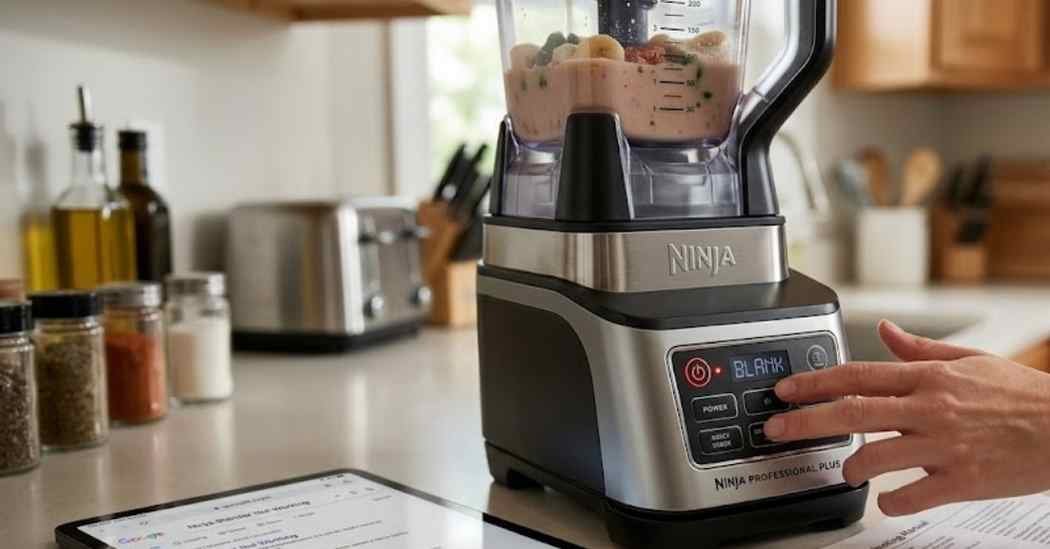
I love my healthy morning smoothies. But last week, I had a huge problem. My daily kitchen routine came to a sudden halt. My machine just stopped running out of nowhere.
Finding your Ninja blender not working is very annoying. I felt so frustrated right away. I thought I broke my favorite kitchen tool for good. But I decided not to give up so fast.
I spent hours testing different fixes at home. Some simple tricks failed completely. Other smart tricks worked like absolute magic. I will share exactly what helped me fix my machine today.
Common Signs of the Problem
You might see a few different visual clues first. Sometimes the power button flashes a steady red light. Other times, the white light flashes over and over again. These blinking lights are trying to tell you something.
Maybe your machine is completely dead and silent. You plug the power cord into the wall. But the control panel stays totally dark. The buttons and settings do not do anything when pressed.
Sometimes, the problem is just a broken part. You might need a new replacement blender jar. You could also need a fresh replacement lid or sharp new blender blades. These items are easy to find and swap out.
You might also hear a very strange noise. A low humming sound means the motor is stuck. A loud grinding sound means gears are slipping. I always listen closely to what my machine tells me.
Possible Causes
Why do these strong machines suddenly stop running? I found a few common reasons during my testing. Most of these problems are very simple to spot.
- The wall outlet has no power flowing to it.
- The power cord is bent, cut, or badly damaged.
- The lid locking system is not lined up right.
- The motor is too hot from heavy ice blending.
- The jar assembly is sitting loose on the base.
These small issues trip the safety switch inside. The machine turns off instantly to stay safe. This overload protection feature saves the motor from burning up.
Sometimes, the seals and gaskets wear out. This causes sticky liquid to leak down. The mess makes the moving parts stick together. Then the machine refuses to turn on at all.
How to Fix Ninja Blender Not Working
Let us walk through the very best fixes. These are the exact steps I used in my kitchen. They are completely safe for beginners to try at home.
Check the Power Supply
First, look closely at the main power cord. Make sure it is not cut or crushed by heavy pots. Then, plug the machine firmly into a different wall outlet.
Sometimes the kitchen outlet goes bad. Try plugging a small lamp into the same exact spot. If the lamp works, your power source is perfectly fine. If it is dark, check your home breaker box.
I once tripped my own kitchen breaker without knowing. The blender was perfectly fine the whole time. That taught me to always test the wall outlet first. It saves so much wasted time and unnecessary worry.
Line Up the Lid and Jar
Ninja machines are very picky about their safety rules. The jar must sit perfectly flat on the heavy base. The handle must lock firmly into place on the front.
Look for the two small white arrows. One arrow is printed directly on the lid. The other arrow is printed on the jar handle. These two white arrows must point exactly at each other.
If the lid is not locked, the safety switch stops everything. The sharp blades will not spin at all. Fixing this simple lock alignment solved my main problem instantly.
Let the Motor Cool Down
Did you try to blend a very thick smoothie bowl? Heavy frozen fruit can make the strong motor work too hard. This massive effort causes the machine to quickly overheat.
When it gets too hot, the overload protection kicks in. You must unplug the machine right away. Move the heavy base to a cool spot on your kitchen counter.
Wait at least fifteen minutes for the trapped heat to fade. I usually wait a full hour to be totally safe. Once the machine cools down fully, plug it back in and press power.
Inspect the Drive Coupling
Take the large jar off the heavy base. Look down inside the drive coupling area. This is the round black gear that spins the blade assembly.
Food can spill down deep into this open gear piece. Sticky mess acts just like strong glue. You must keep this area clean to let the rubber gears spin free.
Use a soft cloth to gently wipe the dark base. You can use food-safe degreasers for tough spots. Never pour actual liquid water directly onto the motor base.
Keep everything totally dry to prevent dangerous electrical sparks. You can use simple cleaning brushes to sweep out dry crumbs. Non-abrasive sponges work great for gentle wiping.
Let us look at a quick guide for common symptoms. This simple chart helped me figure out my issue fast.
| Symptom | Likely Cause | Quick Fix |
| Red flashing light | Motor overheating | Unplug and let cool |
| White flashing light | Lid not locked | Align white arrows |
| Completely dead | Bad wall outlet | Try a new outlet |
Mistakes to Avoid
I made a few very silly mistakes at first. You should truly try to avoid doing these dangerous things. They can easily break your expensive machine for good.
Never try to trick or bypass the plastic safety switch. Those locks are there to keep your fingers safe. Pushing the switch with a hand tool is very dangerous.
Do not open the sealed black motor base. There are no safe parts for you to fix inside. You could get a very bad electrical shock from touching loose wires.
Avoid using heavy metal tools to scrape the side of the jar. Always use proper tamper tools meant for food. Metal spoons can hit the blades and easily shatter the plastic.
When to Replace the Blender
Sometimes, fixing the machine is just not worth your time. You might hear terrible loud grinding noises from the spinning gears. You might even smell a nasty burning smell from the motor.
If the black drive coupling gear is completely flat, it is useless. The plastic teeth must be sharp to grip the pitcher tightly. If the teeth are gone, the blender cannot spin your food.
If the motor loudly sparks when you plug it in, stop. Do not use a sparking kitchen tool ever again. It is simply time to go out and buy a brand new machine.
Here is a simple look at basic repair difficulty levels. This helpful chart will help you decide what action to take next.
| Problem | Recommended Solution | Difficulty Level |
| Arrow not lined up | Twist lid to lock | Very Easy |
| Blown kitchen fuse | Check main breaker box | Easy |
| Worn out seals | Buy new rubber gaskets | Easy |
My Personal Experience
Testing my own machine was a very fun learning trip. I started by checking the flat control panel buttons. I quickly realized the white light was flashing right at my face.
I took the whole heavy jar off the base. I carefully checked the sharp blades to make sure they could spin. Everything felt loose and completely normal to my hands.
Then I noticed the locked lid on top. I had rushed to make my morning drink before work. I simply did not line up the tiny white arrows.
I locked the lid the right way. Suddenly, the strong machine started purring like a happy cat. The sharp blades spun super fast and crushed all my ice.
It was such a silly little user mistake! But it taught me a very great lesson. Always check the very simple things before you panic about a broken motor.
If you need new pieces, part costs can easily vary. This helpful table shows what I found when shopping for spare parts.
| Repair Issue | Estimated Cost | Replace Instead? |
| Cracked pitcher | Very low cost | Buy new jar |
| Dull blades | Low cost | Buy new blades |
| Burned out motor | Very high cost | Buy new blender |
Final Thoughts
Dealing with a totally dead kitchen tool is deeply stressful. But most simple fixes are very quick and truly easy. You do not need to be a clever repair expert.
Take your sweet time and carefully test the plastic locks. Check the thick power cord and the wall outlet first. Keep the black base completely free of sticky fruit spills always.
If you slowly follow these basic steps, you will win. You will be making tasty iced drinks again in no time at all. Enjoy your happy and safe blending!