
I love using my air fryer for quick daily meals. But keeping it totally spotless was very hard at first. I struggled with sticky grease buildup and burnt crumbs daily.
You might be wondering how to clean a bella air fryer easily. I want to share my exact process with you today. This simple routine will save you a lot of time.
My food started to taste a little bit weird recently. I noticed some white smoke coming out during normal cooking. That is when I knew a deep clean was truly needed.
Why Regular Cleaning Matters
Cooking leaves behind a lot of hidden old oil residue. This thick grease buildup blocks the airflow inside the basket. Bad airflow makes your food cook very unevenly every time.
Old food crumbs also cause bad smells and heavy smoke. I learned this the hard way after burning some fries. Regular maintenance stops these annoying smoke prevention issues very fast.
I recently started using silicone air fryer liners inside. These reusable liners catch all the messy drips and crumbs. They really help protect the non-stick coating from hard scrubbing.
Things You Need Before Cleaning
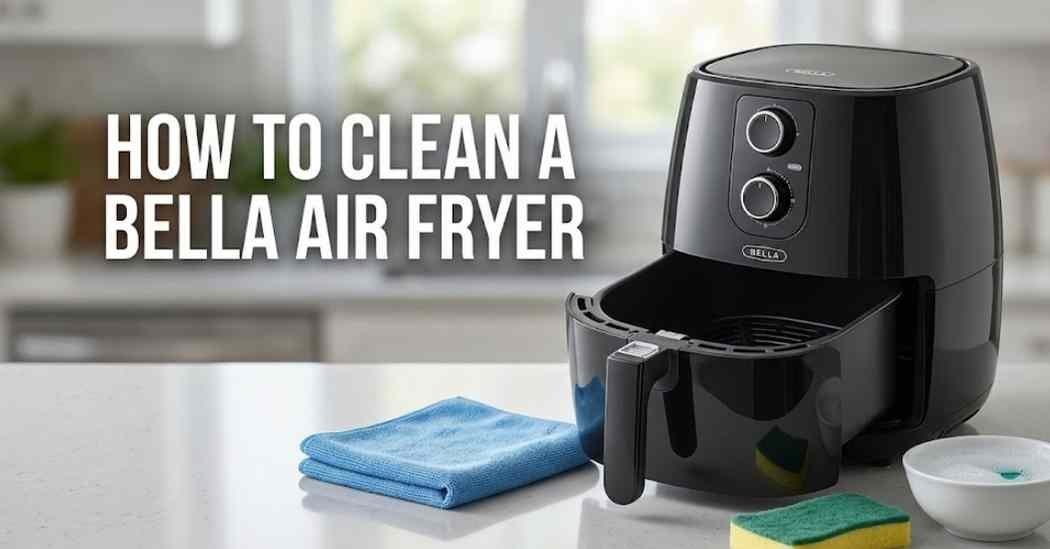
You do not need any fancy kitchen cleaning tools here. Simple household items work best for this quick daily job. Gather everything before you start to save some precious time.
Grab these specific items before starting your daily washing routine. You probably have all these simple items in your kitchen right now. Here is what I always use to safely clean my basket:
- Warm soapy water
- A very soft cloth
- Non-abrasive sponges
- Baking soda powder
Keep a small cleaning brush handy for tight basket corners. You might also want some white vinegar for bad odors. These simple items keep the crisper tray maintenance super easy.
Steps on How to Clean a Bella Air Fryer
Learning how to clean a bella air fryer is very easy. You just need to follow a few safe steps carefully. Let me walk you through my exact daily washing routine.
This simple process takes me less than ten minutes completely. I usually do this right after we finish eating dinner. A clean kitchen always makes me feel so much better.
Unplug and Cool Down
Safety should always be your very first step right here. Unplug the machine from the wall right after cooking ends. Let the whole unit sit until it is completely cool.
I usually wait about thirty minutes to be totally safe. Touching a hot basket will burn your hands very badly. Never skip this vital cool down step for any reason.
Remove Basket and Tray
Pull the main basket completely out of the cold machine. Take the inner crisper tray out of the basket too. Place both of these dirty parts gently in your empty sink.
Look at the bottom of the empty main basket carefully. You will likely see lots of cold oil residue there. Do not scrape this dirt with any sharp metal tools.
Wash Removable Parts
Fill your kitchen sink with warm soapy water right now. Let the basket and tray soak for ten full minutes. This simple soaking method loosens all the stuck food fast.
Grab one of your gentle non-abrasive sponges for safe washing. Wipe away the loose food from the basket cleaning process. Rinse everything with clean water until the soapy bubbles disappear.
Wipe Interior Surfaces
The inside of the main machine base gets dirty too. Take a slightly damp soft cloth to wipe the interior walls. Make sure the cloth is not dripping wet at all.
Gently wipe away any hidden food crumbs you see inside. Be very careful around the sensitive top heating elements overhead. You want to keep all electrical parts totally dry always.
Clean the Heating Element
The heating element cleaning step is actually very important daily. I turn my air fryer upside down to clearly see it. This makes the hidden metal coil much easier to physically reach.
I use a damp cloth to do a light clean there. This quick cleaning stops burnt smells from building up inside. Just wipe the coil softly to remove thin grease layers.
Dry and Reassemble
You must dry every single part before using it again. I use a dry kitchen towel to wipe the wet basket. Let everything air dry on the counter for extra safety.
Water left inside can ruin the electrical parts over time. Slide the crisper tray back into the main basket carefully. Push the dry basket back into the base unit smoothly.
How To Remove Burnt Grease and Stains
Sometimes basic soap and water are not quite strong enough. Stubborn burnt food residue needs a little more help safely. I use a simple baking soda paste for tough spots.
Mix some baking soda with a tiny bit of water. Rub this thick paste on the badly stained basket areas. Let it sit there for about twenty minutes to work.
Scrub the dark stains away gently with a soft brush. You can also spray a weak vinegar solution for grease. These simple tricks melt away tough stains without scratching anything.
| Problem | Cause | Cleaning Method |
| Sticky basket sides | Old cooking oil residue | Warm soapy water soak |
| Hard black spots | Burnt food residue left | Baking soda thick paste |
| Lingering bad smells | Hidden old food crumbs | White vinegar water solution |
Dishwasher Safety
Many people ask if they can use a dishwasher safely. Most Bella models have dishwasher safe baskets and inner trays. Always check your specific printed user manual to be totally sure.
I personally prefer washing my parts strictly by hand daily. Hand washing offers much better non-stick coating protection over time. Dishwasher soap is often too harsh for the delicate pan coating.
If you do use the dishwasher, use the top rack. High heat on the bottom rack can warp plastic parts. A gentle wash cycle keeps your machine looking brand new longer.
What Not To Use While Cleaning
You must avoid certain harsh things to protect your appliance. Never use rough steel wool pads on the basket or tray. Harsh metal pads will completely ruin the non-stick surface fast.
Avoid strong chemical degreasers inside your food cooking areas completely. These toxic sprays leave bad chemicals near your daily meals. Stick to safe natural cleaners like basic soap and water.
Never put the main electronic base in any sink water. The heavy base holds all the sensitive electrical cords and parts. Just wipe the outside base gently with a damp towel.
| Cleaning Tool | Recommended Use |
| Soft kitchen sponge | Daily gentle basket washing |
| Small soft brush | Scrubbing tight corner stains |
| Dry cotton towel | Wiping the outside plastic base |
How Often You Should Clean an Air Fryer
A light wash is needed after every single cooking use. Wash the basket and tray as soon as they fully cool. This stops new food from sticking like hard glue next time.
A full deep cleaning is needed once every single month. This means wiping the heating coil and interior walls carefully. Good odor removal depends on this strict monthly maintenance schedule.
If you cook greasy meats often, wash it much more. Foods like bacon create a lot of splattering oil fast. Catching grease early makes the whole washing job much easier.
My Personal Experience
My early cleaning routine was honestly a big huge mess. I used to let the grease sit for several days. Scrubbing hard old grease was a very frustrating weekly chore.
Now I wipe things down while the pan is still warm. Warm grease slides off much faster than cold hard grease. This one tiny habit change saved me hours of hard scrubbing.
Using silicone liners really changed the game for me too. I just toss the dirty liner right into the kitchen sink. The main basket stays shiny and clean almost every single day.
| Air Fryer Part | Best Cleaning Method |
| Main electronic base unit | Damp cloth gentle wipe |
| Inner metal crisper tray | Warm soapy water soak |
| Top heating element coil | Gentle dry towel wipe |
Final Thoughts
Taking care of your machine does not take long today. A quick daily wash keeps your food tasting fresh and delicious. It also stops dangerous smoke from filling up your kitchen.
Knowing exactly how to clean a bella air fryer helps greatly. You will enjoy using it much more without the sticky mess. Just remember to be very gentle with the delicate non-stick pan coating.
I hope my simple daily tips help your cooking routine. Stick to warm soapy water and very soft wiping tools always. Happy cooking and enjoy your perfectly clean kitchen appliance today.